Disclosure: Some of the links below are affiliate links, meaning, at no additional cost to you, I may earn a small commission if you click through and make a purchase.
Welcome to Day 1
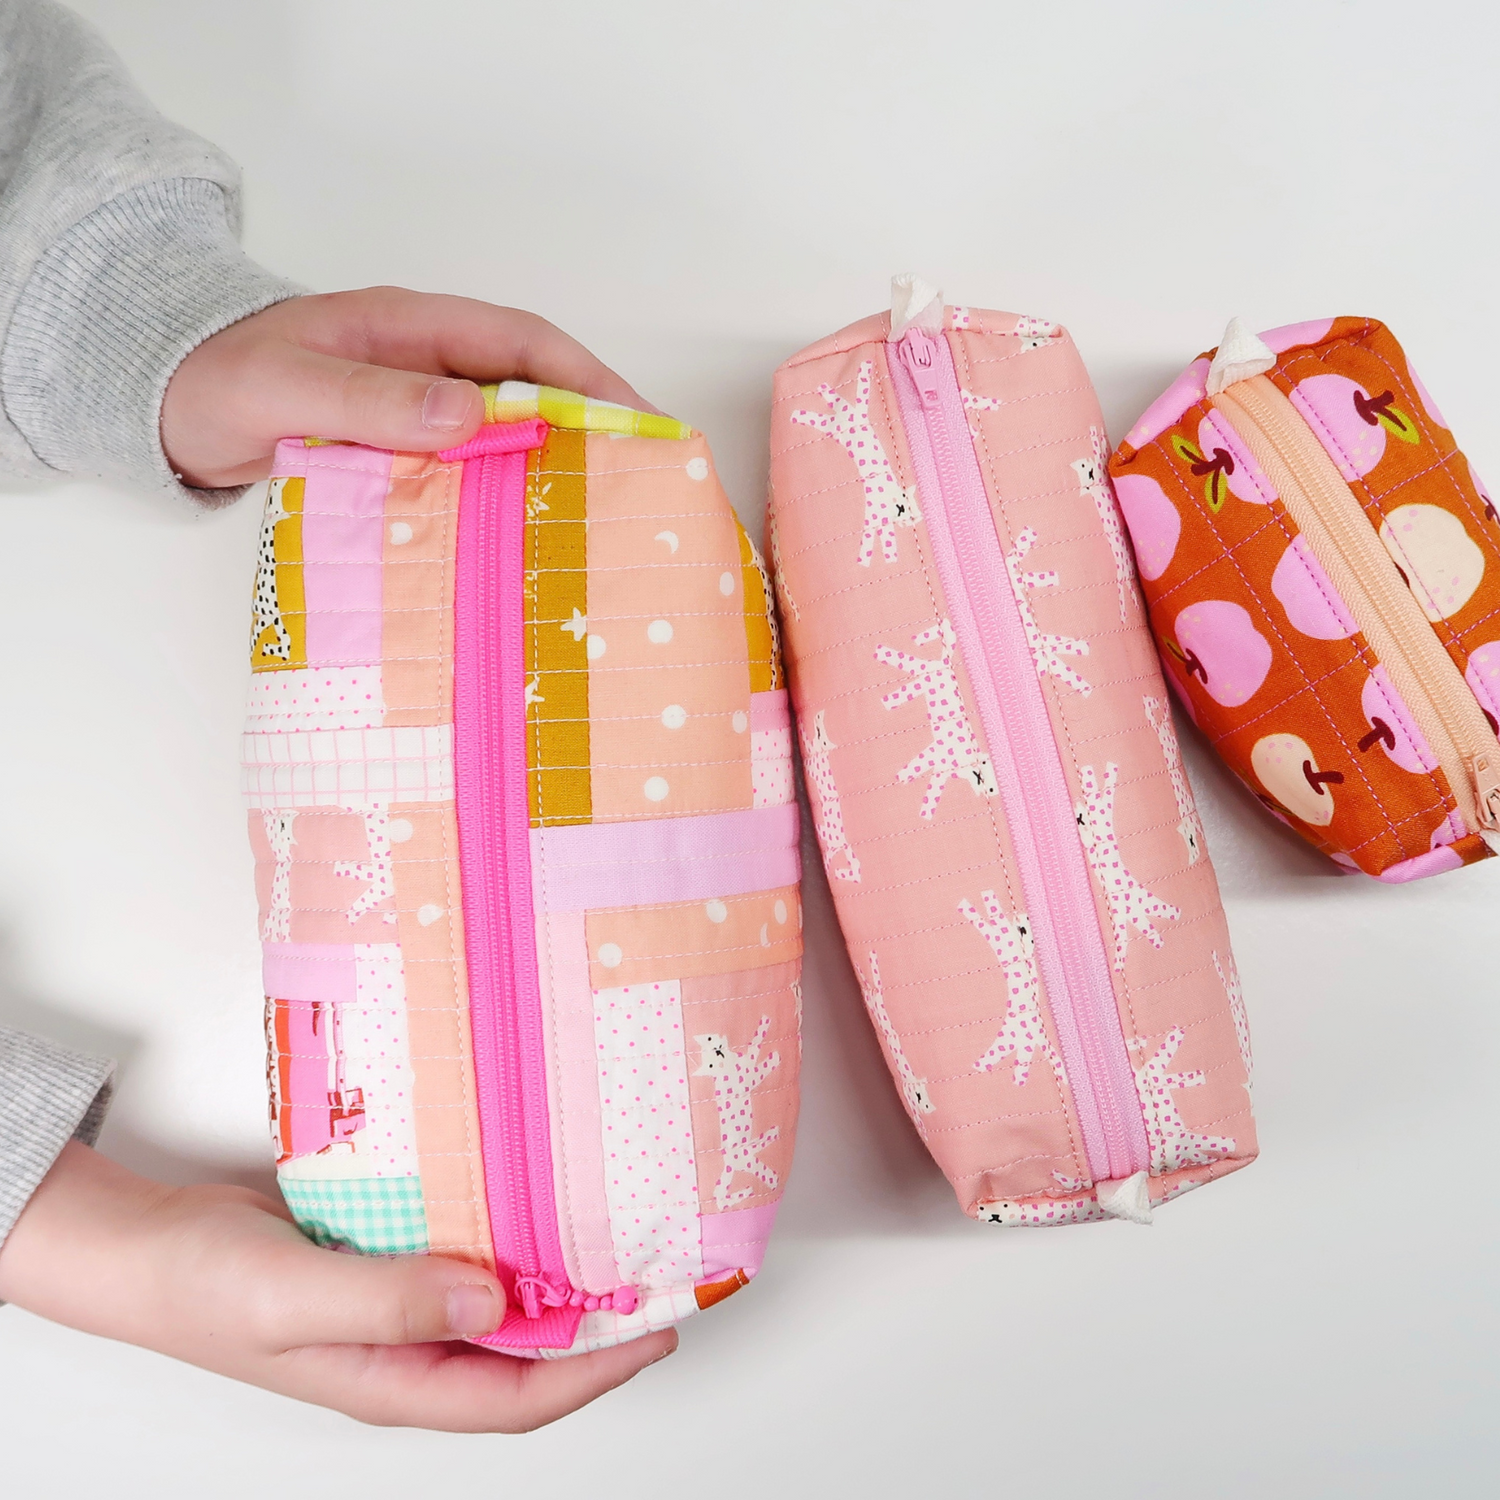
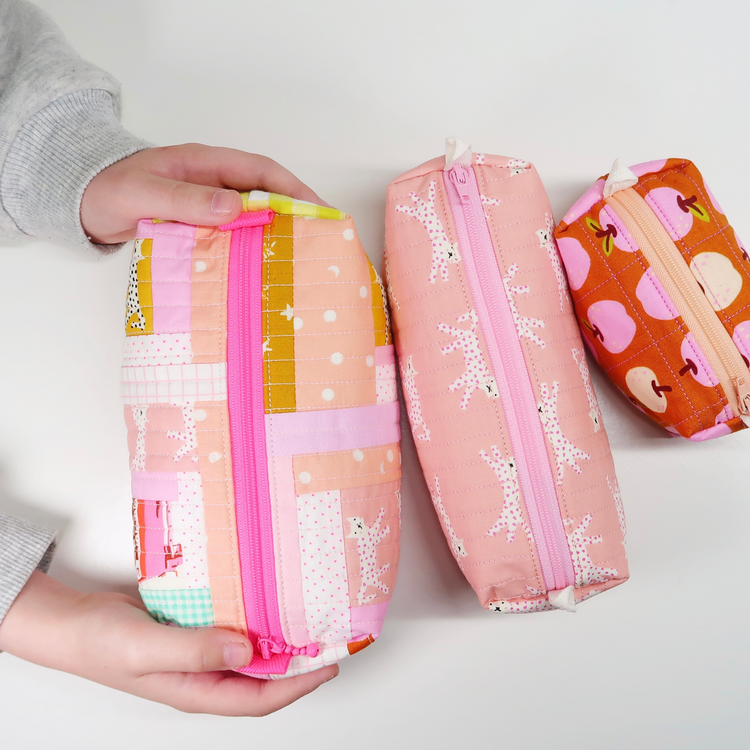
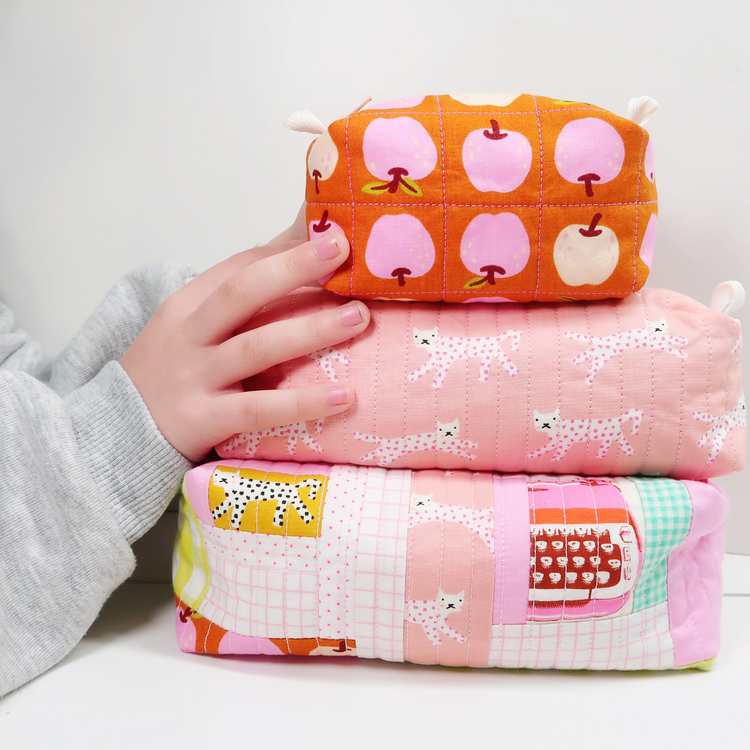
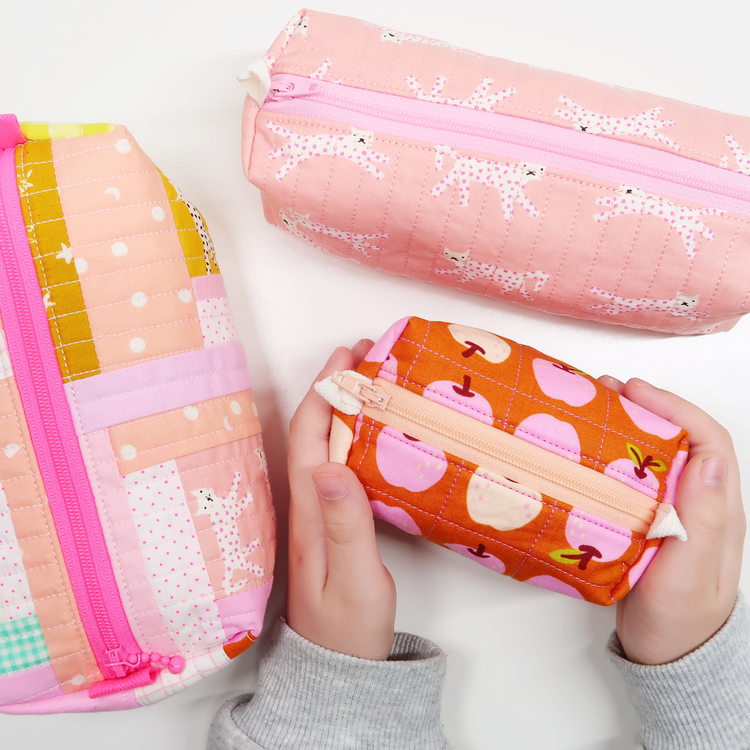
Welcome to day 4 of the Quilted Boxy Pouch Sew Along! We are getting so close to finish your boxy bag now... Y-A-Y!
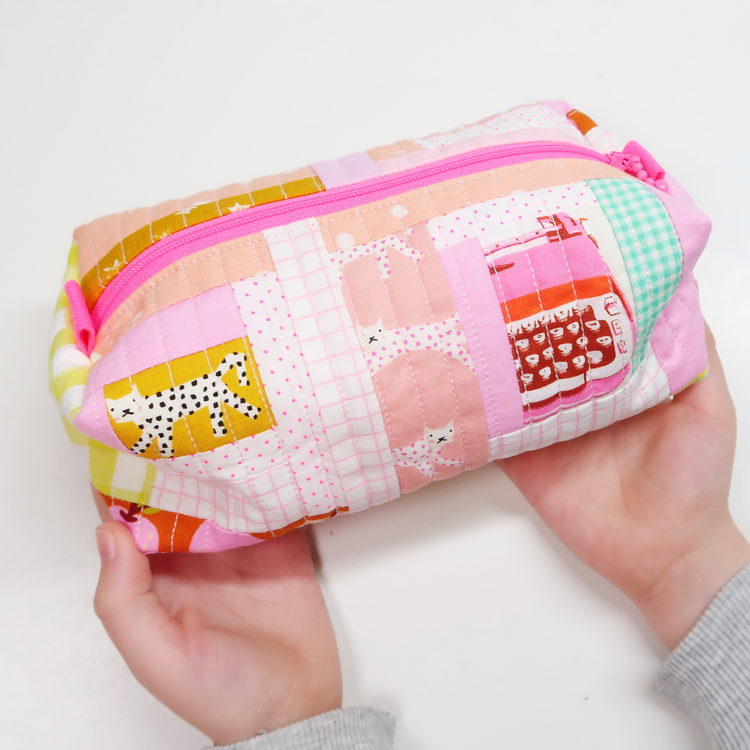
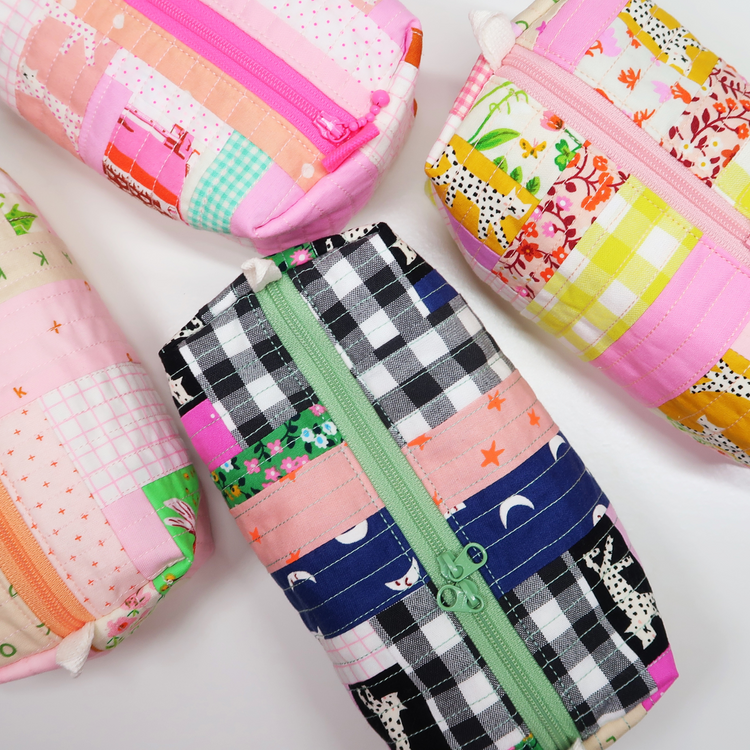
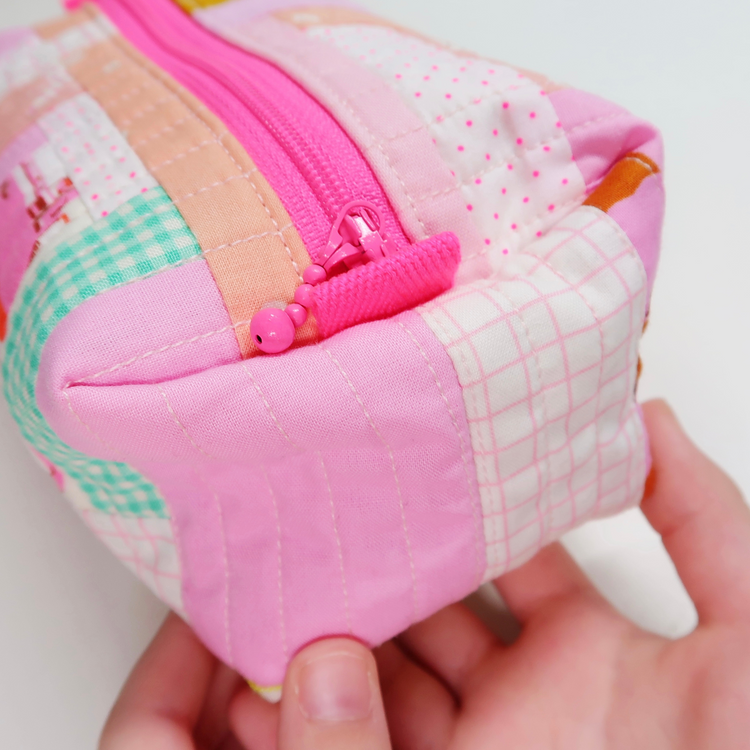
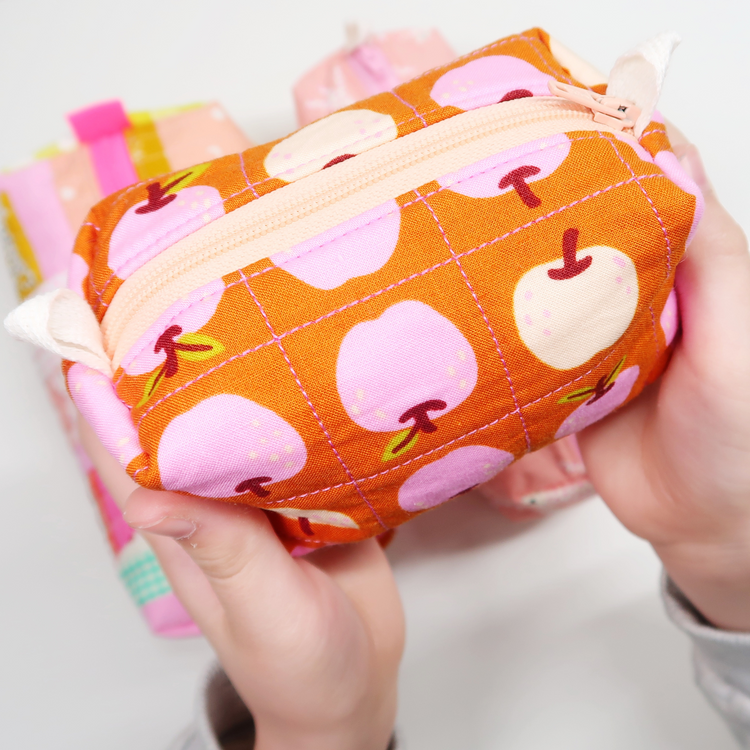
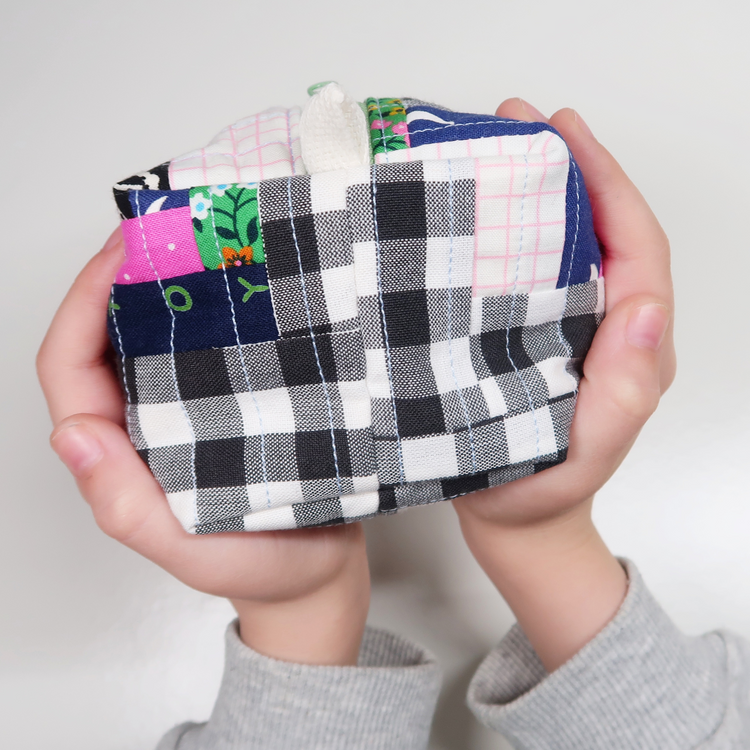
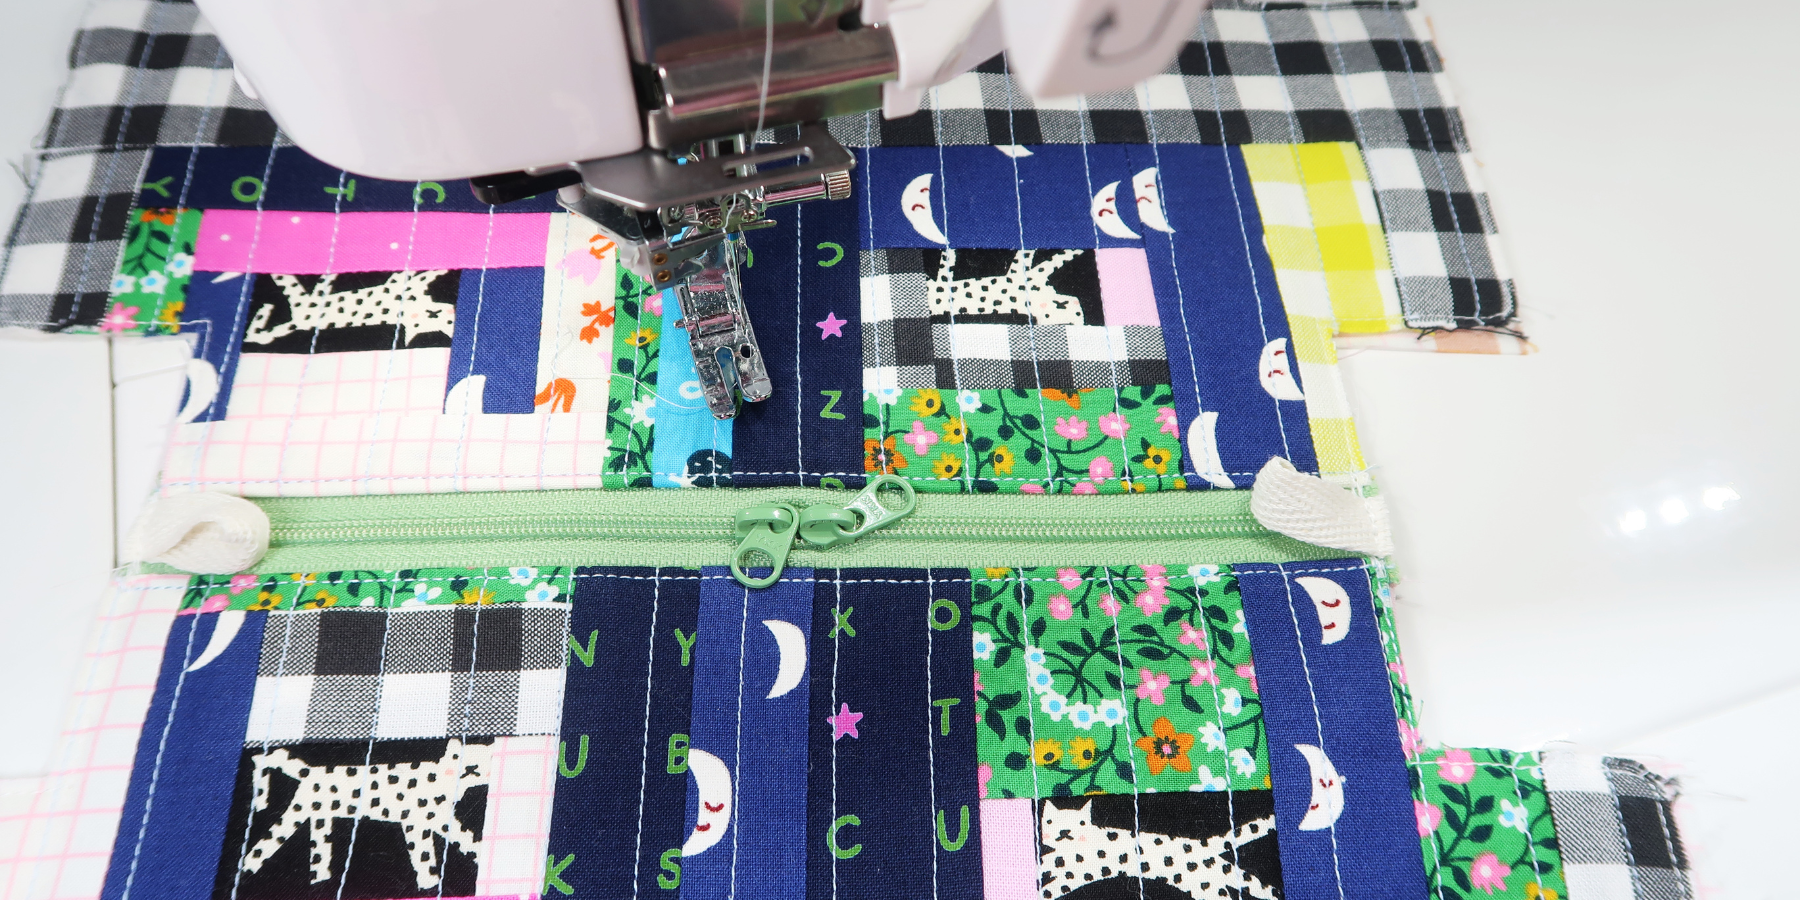
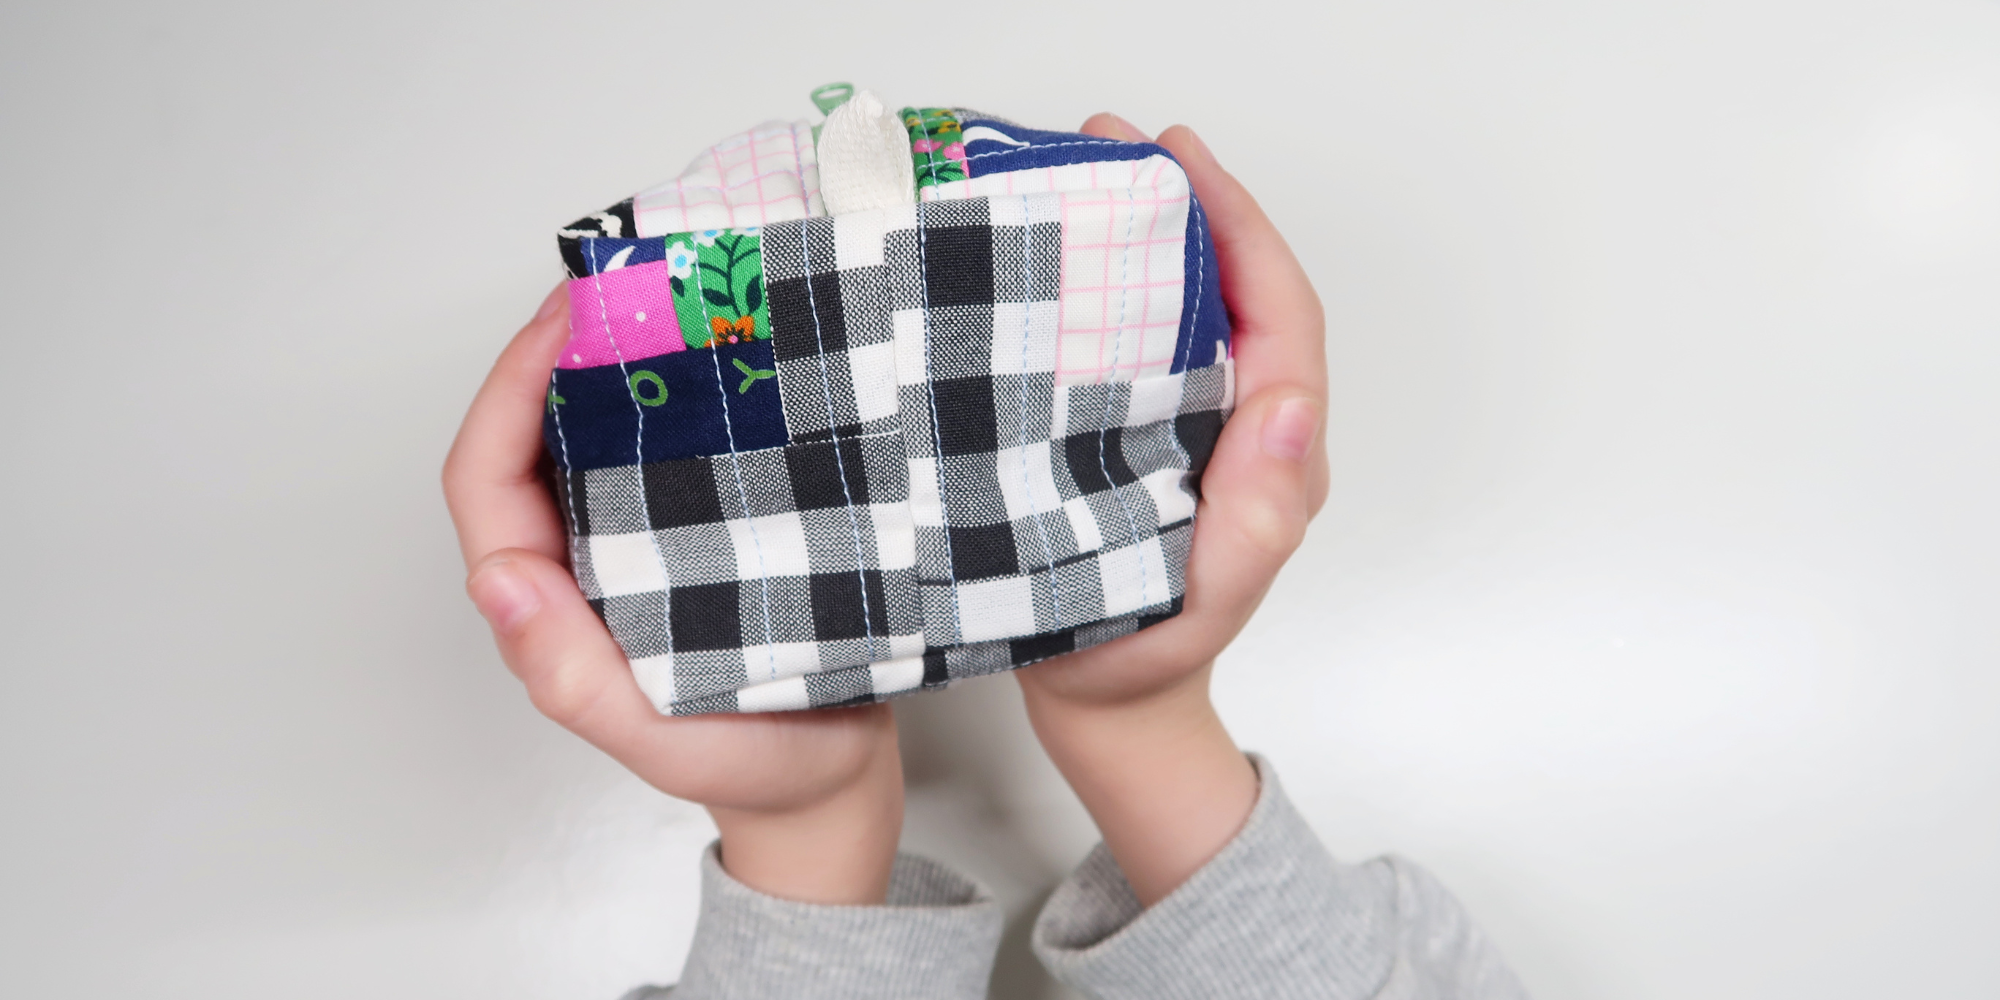
Today we are assembling your pouch. Sewing it all together and boxing out all the corners. You will see your quilty pouch taking shape today!
Schedule
And here again the schedule for the week!
- Day 1 - piece your patchwork panels
- Day 2 - quilting your panels
- Day 3 - insert your zipper
- Day 4 - assemble your bag (today)
- Day 5 - finishing touches
It's going to be a super quick Sew Along and today is yet another quick day! But let's get started...
If you feel you're falling a little behind. No worries! Don't feel pressured to rush along. Save your email and catch up whenever you're ready! You are in charge, my friend.
Day 4 - Video
And here's the video for Day 4 of the Quilted Boxy Pouch Sew Along. Tab on the image below to play the video!

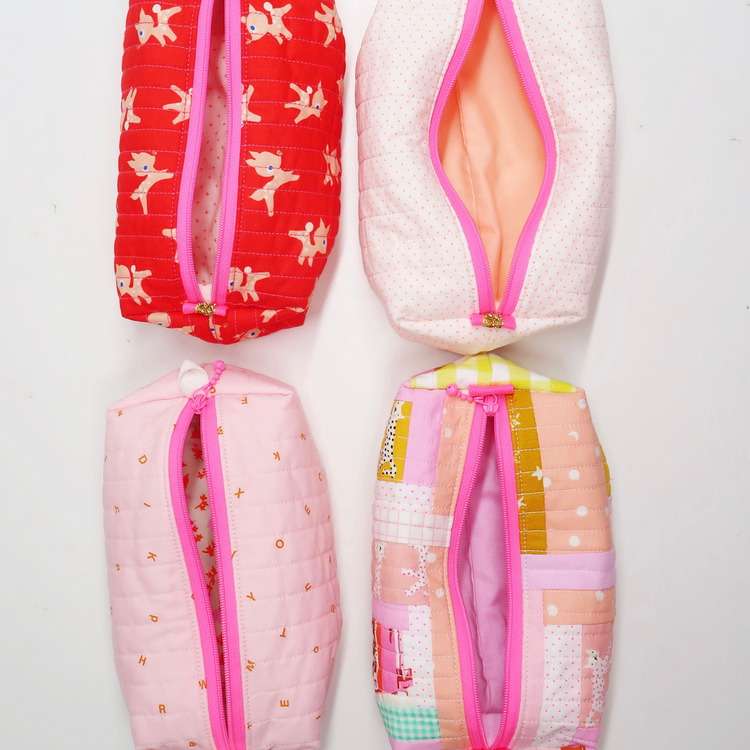
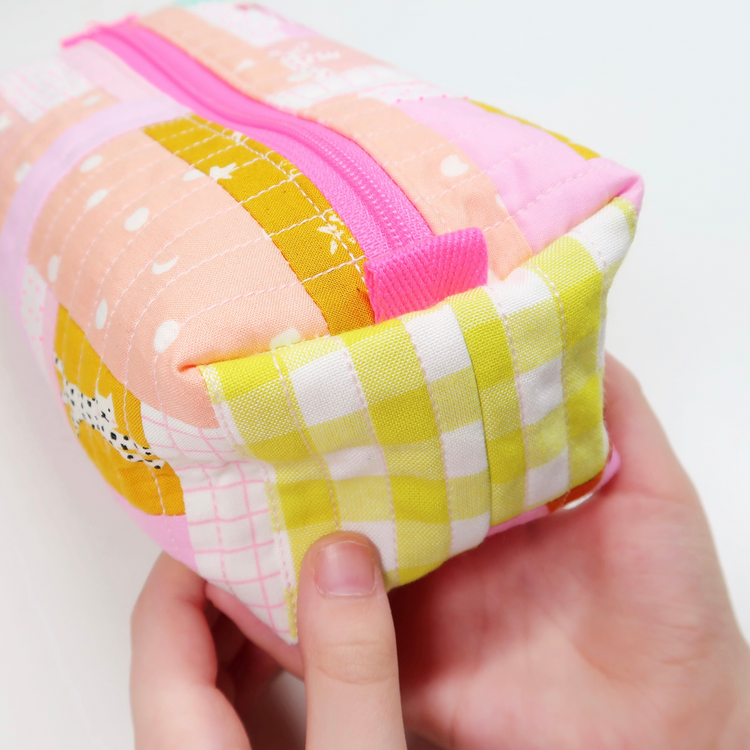
Today I am sharing with you how I assemble my pouch. I start with sewing all the layers together before boxing out all six corners. But see for yourself...
Materials
No fancy new materials needed today (or any other day for that matter). Just thread and a couple clips to keep all your fabric in place. Again... you'll have everything at home already.
But of course... if you're curious about some of the materials I am using, please have a look below for more details.
Thread. For the construction of the pouch I am using Aurifil 50wt in white. It's strong and won't be visible later on. My fave thread weight for piecing (on day one) and today's construction of the pouch.
Basic quilty notions. Again. Nothing fancy needed. I am using wonder clips instead of pins as they are much easier to use. And especially today I am recommending to use a strong needle (denim/ or jeans needles) for your sewing machine as we are sewing through a lot of layers and your zipper! You don't want your needle to break and you'll machine will thank you.
Share your progress!
And now the fun bit! Please share your progress over on Instagram (or Facebook) using the #quiltedboxypouch. We are now sooo close to finishing your bag!
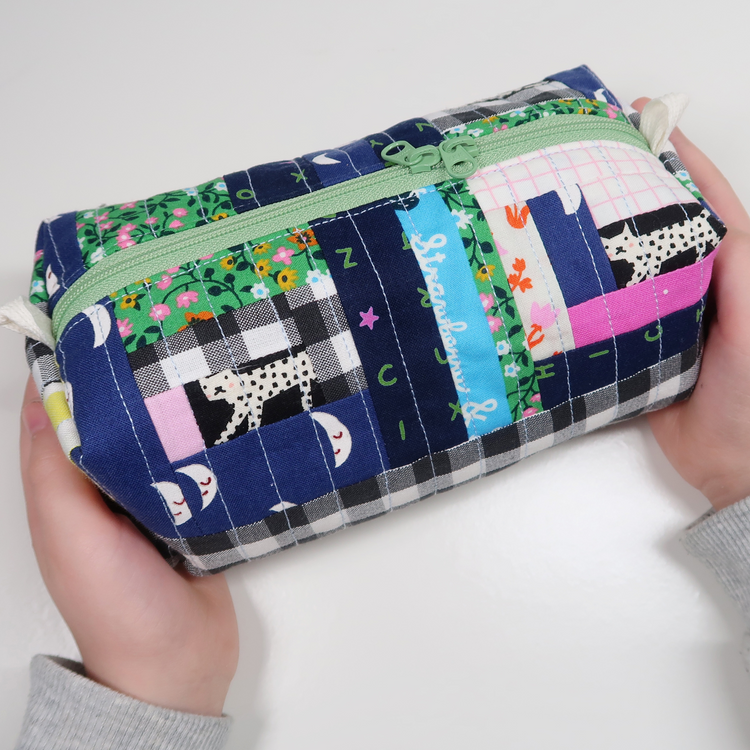
And thats's a wrap for day 4. You done it! Tomorrow we finish your Quilted Boxy Pouch and then it's time to celebrate you! And your bag of course...
Take care and big quilty hugs,
Laura x
-----------------------------------------------------------
This blog post contains affiliate links, specifically I am a participant in the Amazon Services LLC Associates Program, an affiliate advertising program designed to provide a means for us to earn fees by linking to Amazon.com and affiliated sites. I will never post a link to a product I do not personally recommend. If you click on an affiliate link and then proceed to purchase something from that affiliated website, I receive a small commission. This helps me continue to provide high quality, free content. Please send me an email to laura@sweetcinnamonroses.com if you have any questions.