Disclosure: Some of the links below are affiliate links, meaning, at no additional cost to you, I may earn a small commission if you click through and make a purchase.
Welcome to Day 1
Welcome to day 1 of the Easy Duffle Bag Sew Along! I am so excited to have you join me. It'll be so much fun!!
But let's get started. Shall we?
Today we are getting ready for the next couple days, making your new duffle. Pulling all the materials you'll need and I quickly like to share my best tips about spicing up your zippers (easy and fun, I promise!).
Schedule
Now. Before diving right into it. Here's the schedule for the next days.
- Day 1 - material pull (today)
- Day 2 - piecing the outside
- Day 3 - quilting the duffle
- Day 4 - handles and pockets
- Day 5 - assembly
- Day 6 - shoulder strap
It's going to be a super quick Sew Along even though the duffle is rather big. I would say it will take you about one hour a day each day of the Sew Along (maybe a little longer for piecing the patchwork panels on day 2... depending how detailed/ small your pieces are but of course, you can also make a whole cloth duffle and skip this day altogether). Probably even less for most days...
If you feel you're falling a little behind. No worries! Don't feel pressured to rush along. Save your email and catch up whenever you're ready! You are in charge, my friend.
Day 1 - Video
And here's the video for Day 1 of the Easy Duffle Bag Sew Along. Tab on the image below to play the video!

Today I am showing you what materials I'm using. Fabric, hardware, zipper and interfacing. And I share how I'm prepping my zipper - turning my zipper into a "double pull" zipper and change out the pulls.
Grab your copy of the pattern
You will need a copy of the pattern for the Easy Duffle Bag. You can get it right here if you don't already have it...
Remember, it's a measure and cut pattern, meaning all pattern pieces are cut using a rotary cutter, cutting mat and ruler. No need to print anything, unless you wish to do so. So you can start straight away!
Make a decision!
Today, I would like you to make a decision! Well... three to be precise.
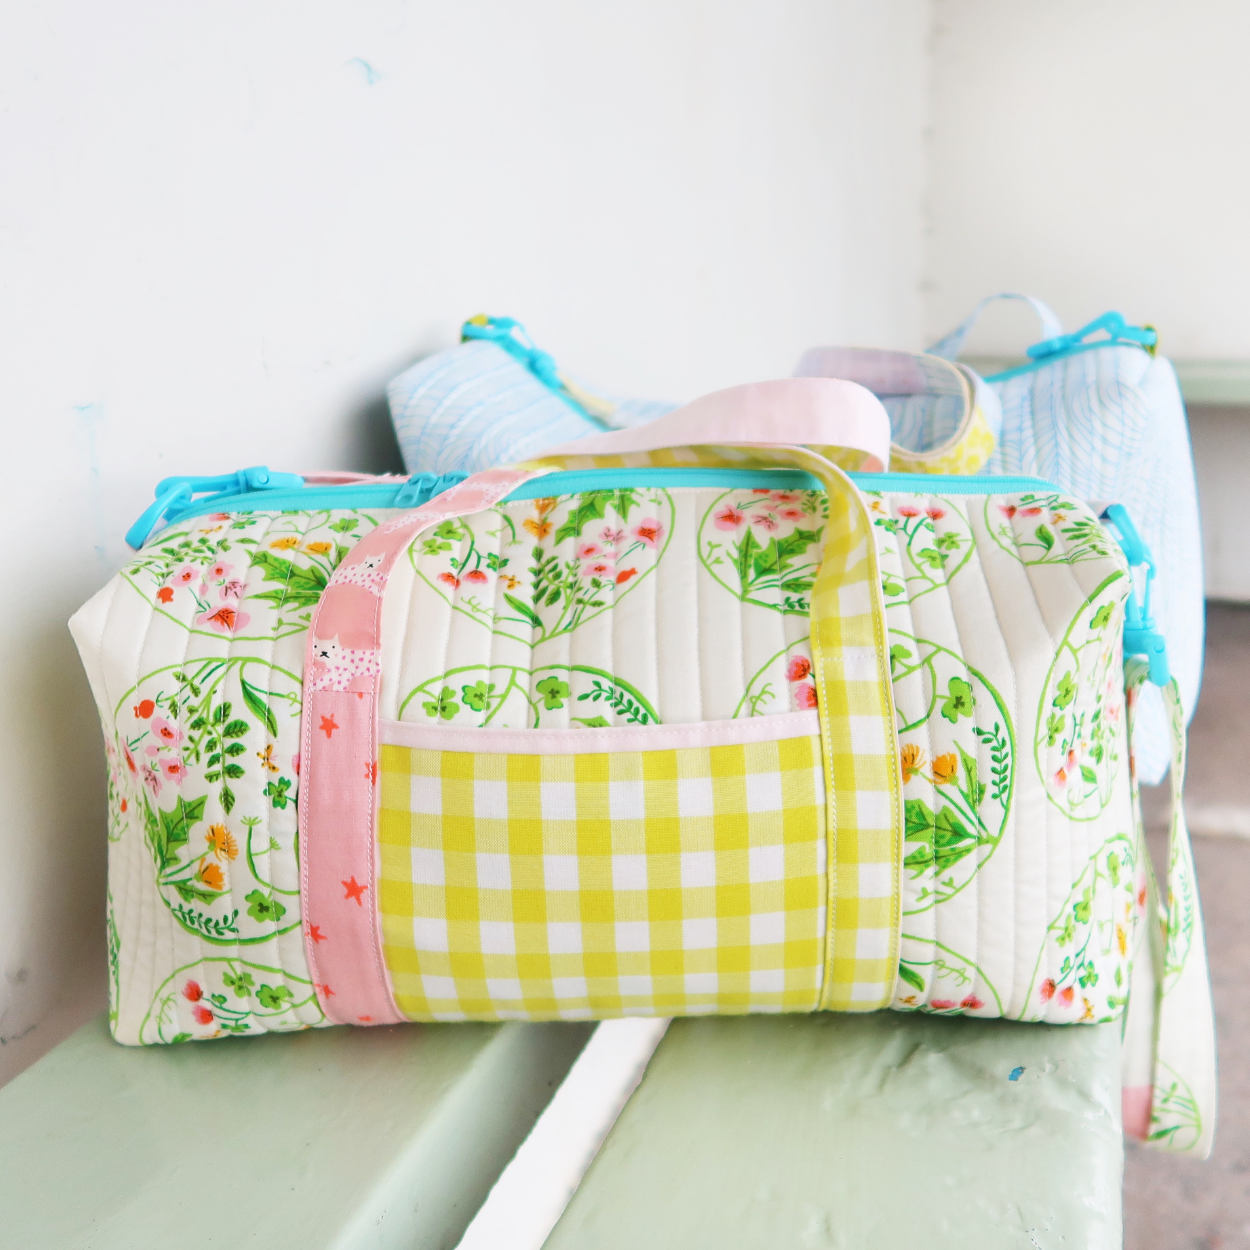
- What size are you planning to make? Mini or Large?
- Will you add pockets and handles?
- And are you making a whole cloth version (aka using only one piece of fabric for the outside) or a patchwork duffle (using loads of prints)?
Here's my plan. You can of course follow along and make the same choices, or make it totally you and unique. Well... no two bags will ever be the same really.
- I am making the mini.
- I will add pockets and handles.
- And I am making a patchwork duffle.
The decision on size, pockets and handles is easy. Just make a choice that feels right for you. Regarding the patchwork decision... I am going all in. Making it super unique. Using a ton of my favourite prints and styles.
And this is my patchwork plan.
I like to add a couple economy blocks - like five or six. And then scrappy, improv piece the rest around those blocks. So two piecing techniques I love - precise FPP and improv piecing.
More about my patchwork panels on Day 2 of the Sew Along. But of course - if your choice is to make a whole cloth duffle, you get to skip Day 2 and continue on Day 3. Wahooo!
And if you're anything like me and like to check out those two techniques - check out my free pattern and templates on Foundation Paper Piecing and Improv Piecing.

Materials
You will need a couple materials that you might not already have laying around at home. We are talking zipper, hardware and interfacing.
Regarding the fabric - I bet you have plenty at home. No need to buy anything new. I will be making a scrappy patchwork one using up whatever I have on hand. Not buying more stuff and staying on track with my fabric diet.
And here's everything I am using.
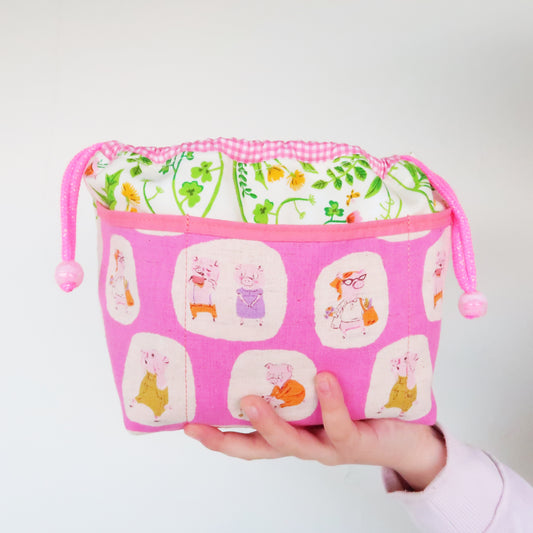
Fabric. I am using a mix of scraps. Pretty much all over them are by RSS for Moda. Some prints by Heather Ross and a solid pink for the lining. Scraps for the pockets, handles and shoulder strap. Again - please use what you have on hand. No need to buy more!
Interfacing. I recommend using Soft and Stable for your Easy Duffle! It gives your bag great structure without being too bulky at the same time (but of course, you can also use some leftover quilt batting or fusible fleece for a softer, more flexible bag). Soft and Stable can be a little tricky to quilt though, as your fabric tends to shift a little (glue spray may be helpful here).
Hardware. You will need some hardware. More specifically two D-rings, two swivel hooks and a slider for your adjustable shoulder strap (I can highly recommend them - see the pink swivel hook on the left in the picture below). I also got some from this shop on Etsy but I found them a little too small and they are maybe better for lanyards etc (see the one on the right in the picture below).
And of course - you can also use metal hardware (I love the gold ones).

Zipper. The length of your zipper depends on the size of your duffle. For the Mini you'll need a 15" zipper (or longer) and for the Large Duffle it's an 18" zipper (or longer).
Check out the video above on how I turn my zipper into a "double pull" zipper and change out the colours. It's super easy and so much fun.
And now my best tip: buy them in bulk! I order mine all the way from the US but they are here in absolute no time, super cheap if I buy a pack of a 50 or more and the colour choice is amazing (cotton candy pink, bubble gum pink and gray are my faves if you were wondering).
Thread. You will need thread. For the construction of the duffle, I am using Aurifil 50wt. That's for all the seams that are not visible later on but have to last. And for quilting and topstitching along the zipper, I am switching over to Aurifil 28wt. That's for all the seams that are visible later on. The result looks super neat!
Find out more about thread and when to use which thread weight over on my blog post here.
Basic quilty notions. And finally, you'll need some basic quilty notions. You probably have most of them already at home.
Make sure you have a large enough cutting mat, a ruler (an extra square one comes in handy for this project and is always used in my studio) and rotary cutter. And for marking your quilty lines, I would highly suggest to get a hera marker. It only ever leaves creases and no nasty stains behind! Ohhh... and of course glue spray comes in super handy!
Sewing Pattern. And finally. You'll need a copy of the duffle pattern which you can find in my shop. Remember, it's a measure and cut pattern, meaning all pattern pieces are cut using a rotary cutter, cutting mat and ruler. There's no need to print the pattern unless you wish to do so. So you can start straight away picking your fabric!

Big picture
And if you like to sew the Easy Duffle in one go and need a little more visual help - watch the full video tutorial right here. Rather than me breaking it down into small quilty vlog chunks.
The video tutorial in combination with the pattern will walk you through every step of the process. Quick and efficient. If that's for you.
Be social!
Please feel free to share your material pull and duffle decisions you've made today over on Instagram (or Facebook) using the #easydufflebag. I can't wait to see what you came up with. Your biggest cheerleader right here!!!
And thats's a wrap for day 1. You done it! Tomorrow we are piecing the patchwork panels of your duffle. The most creative day of them all! I am sure you'll love it.
Take care and big quilty hugs,
Laura x

-----------------------------------------------------------
This blog post contains affiliate links, specifically I am a participant in the Amazon Services LLC Associates Program, an affiliate advertising program designed to provide a means for us to earn fees by linking to Amazon.com and affiliated sites. I will never post a link to a product I do not personally recommend. If you click on an affiliate link and then proceed to purchase something from that affiliated website, I receive a small commission. This helps me continue to provide high quality, free content. Please send me an email to laura@sweetcinnamonroses.com if you have any questions.