She's here. The Quilted Bum Bag!
Probably the easiest bum bag sewing pattern ever. No binding or raw edges on the inside. No tricky finish - taking you forever to complete!
Easy and super straight forward.
Skill level - (confident) beginner!


Disclosure: Some of the links below are affiliate links, meaning, at no additional cost to you, I may earn a small commission if you click through and make a purchase.
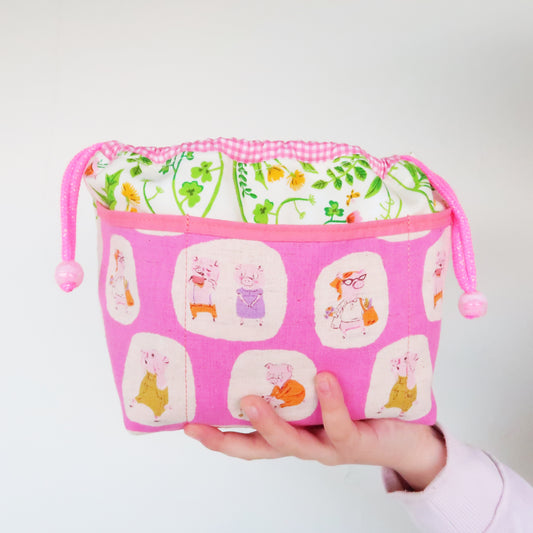
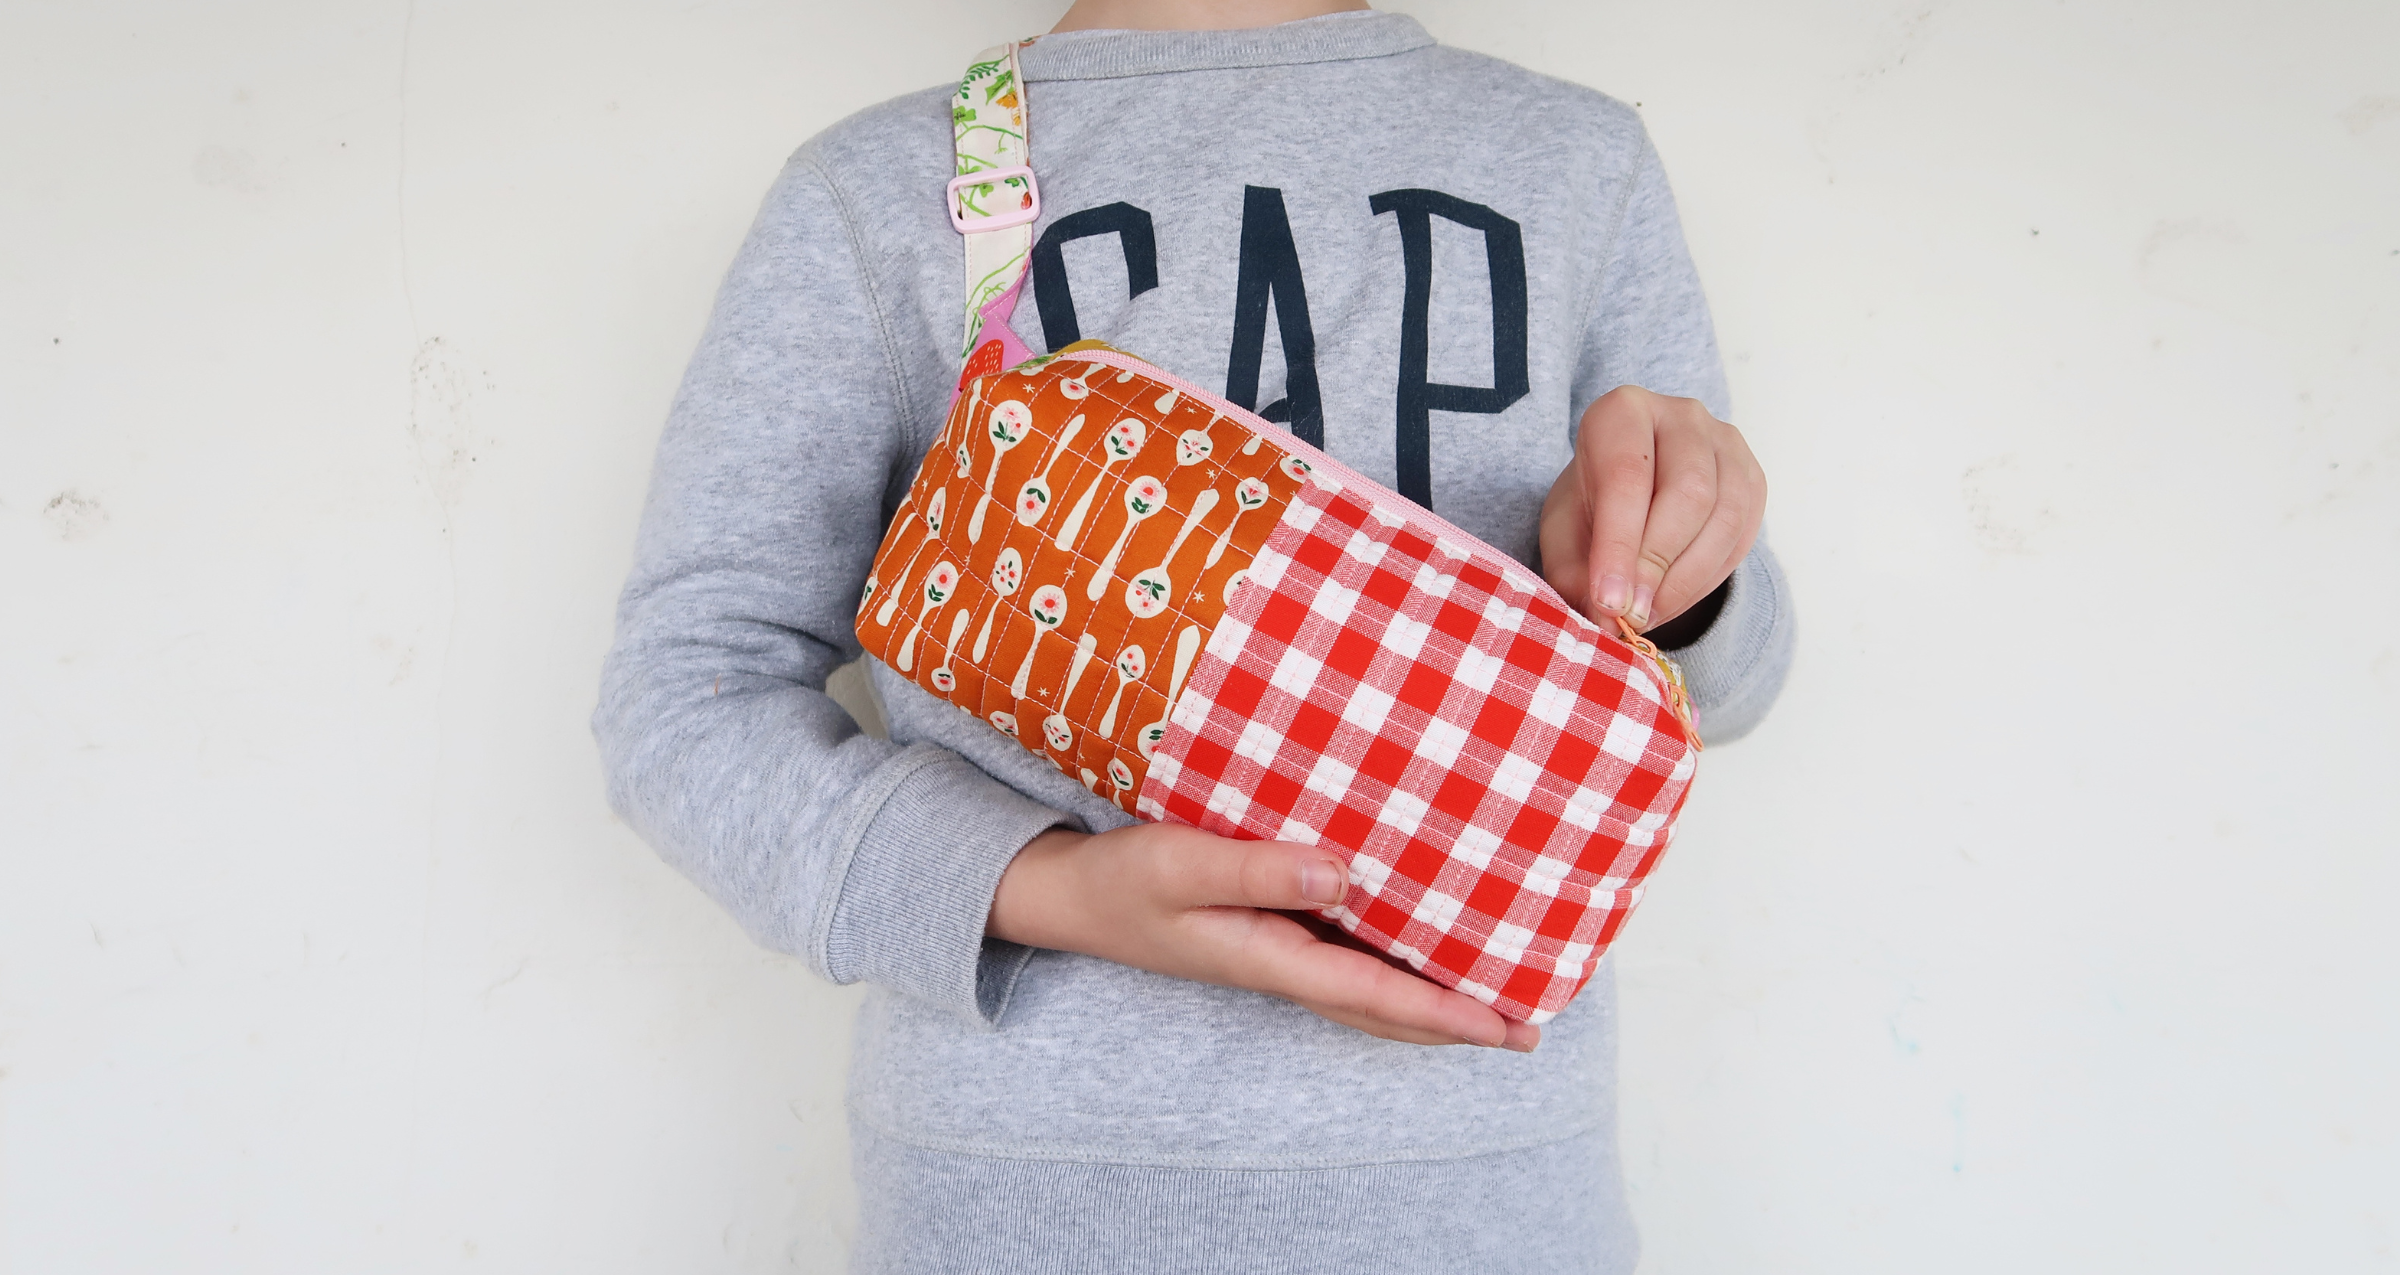
And this is her. The Quilted Bum Bag. All the patchwork and quilty goodness for you in a bag.
Customise your bag to your liking. Go super scrappy or whole cloth. Add loads of quilting either by machine or hand. No bag is ever like the next and the quilty world is your oyster.
“I love it - perfect opportunities to use my precious scraps, lovely structure, clever lining method, sweet clasps and a really quick make!” Karen, Scotland


Let's talk about skill level and time a little. Shall we?
Time to make your Bum Bag
The Quilted Bum Bag will take you about 2h to finish. Piecing and Quilting your fabric. Cutting it all to size. And then assembling your bag. The assembly part is actually super quick (choosing fabric and quilting it takes the longest I think).
I included a separate technique - helping you to make your bag even quicker. The One Slap Method. Saving you another half hour or so...
But in the end. It's not about making it as fast as you can. Right? You're not competing with anyone and no need for speed sewing. Enjoy the process of making your very own patchwork bum bag.
Skill level for making your own Bum Bag
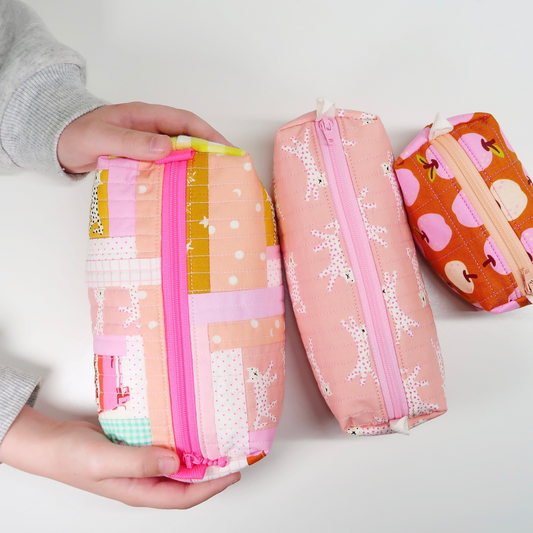
I would say the Quilted Bum Bag is for beginners. But... you will have quite a lot of pieces. I'll show you how to keep track of everything and I think anyone can do it. But if you're a little nervous - maybe make her small sister first, the Quilted Boxy Pouch. Once you master her... you can totally make the Bum Bag as well!
So skill level. Maybe confident beginner it is. But no worries. I will walk you through every step of the process. Showing you exactly how to make your very own bag.
And remember. There's no fiddly binding for you to install on the inside. No raw edges. Or sewing by hand to install your lining. It's all neatly finished. Easy and quick.


Quilted Bum Bag in Detail
And now... let me tell you. THIS is the best project ever. Like ever ever. I think I never made anything this cute. This magical.
At the very end when turning her right side out - it's pure magic!
Trust me. It's the best feeling. I never made anything with more satisfaction than this one. It's truly one of a kind.
But let me give you a couple more details.
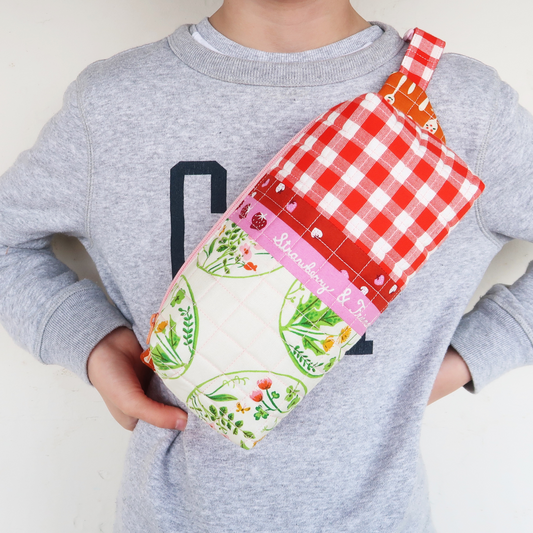
- The Quilted Bum Bag finishes at approx. 8" x 3.5" x 3.5" (wxhxd) with an adjustable belt from 32" to 57" in length
- You can make a whole cloth version or go all scrappy
- The Pattern comes with a free video tutorial (see below)
And of course - if you like to go scrappy and don't know where to start. Please watch this free tutorial over here. I am sharing my best tips and tricks on how to assemble a patchwork panel for my quilty bags.
Video Tutorial
Now for all visual learners. I get it. Sometimes it's just easier to watch the video alongside a pattern. So here we go.
Click below and watch the step by step video tutorial for the Quilted Bum Bag right here.

Make sure to subscribe to my YouTube channel for more!
I slowly walk you through every step of the process. I promise - it's so easy!
Sewing Pattern for the Quilted Bum Bag
And of course. Please get your copy for the Quilted Bum Bag right here.
It's a digital pattern, ready for instant download. Making sure you get to start straight away.
One more thing. Please be careful getting all your dimensions right. Cutting it exactly to the measurements given in the pattern (otherwise she will end up wonky). And of course - mark all your pieces as shown. You don't want to loose track of your pieces.
And finally. If you feel you're not there yet. The Quilted Boxy Pouch is a fab starting project. Once you've made her - you can totally make the Bum Bag as well. Think of it as a skill builder.
“I just finished my first bum bag and I’m thrilled with the result!! I was worried it would be too complex for my skill level but the steps make it so easy and it came together so nicely. I’m obsessed!” Heather, England
Sewing Techniques for YOU
For my panels I am using Patchwork panels. You might have noticed me mentioning them in the video above.
You can find a full blog post and video tutorial for them right here.
I share how I piece my Patchwork panels using my fave scraps. Making my quilted bags extra special. Truly one of a kind.

And of course. You can also include FPP blocks in your Patchwork panels. In fact - I think I'll have to do that next.
You can download my free pattern and templates for the Economy Block (in three mini sizes) right here. And of course - watch the free video tutorial!
And finally. Making your Quilted Bum Bag even more special. You can even customise your zipper.
Changing out your zipper pulls - creating one of a kind zippers! It's super easy and only takes you two minutes.
Read more about this fun Bag Making technique right here.

Materials for your Bum Bag
And as we are talking about zippers... of course, you'll need materials for your Bum Bag. It's not too much. Promise.
First of all - you will need your copy of the pattern which you can find in my shop. Remember, it's a measure and cut pattern, meaning all pattern pieces are cut using a rotary cutter, cutting mat and ruler. There's no need to print the pattern unless you wish to do so. So you can start straight away picking your fabric!
Fabric
You will need fabric. Obviously. I like using quilting cotton (I yet have to make one using Liberty *eeeep*) but of course other fabric works as well. Whatever you have on hand. Ohhh... and for the patchwork version, this is a great chance for you to use up some of your most precious scraps. No need to buy anything new really. Just sayin'!
Interfacing
I recommend using Soft and Stable for your Quilted Bum Bag! It gives your bag great structure without being too bulky at the same time (but of course, you can also use some leftover quilt batting or fusible fleece for a softer, more flexible bum bag). Soft and Stable can be a little tricky to quilt though, as your fabric tends to shift a little (glue spray may be helpful here).
Hardware
You will need some hardware. More specifically a slider and a buckle. I buy mine from this shop on Etsy and they also stock cute zippers. Just saying. Now... if you don't have or like to use a buckle, that's cool. Just replace your buckle with a D-ring and swivel hook and you're good to go. I let you know in the pattern when to swap your buckle for your D-ring and swivel hook.
And of course - you can also use metal hardware (I love the gold ones).
Zipper
You'll need a plastic zipper for your Bum Bag and it has to be 10" or longer. Please don't use a metal one as you have to sew over it at the very end and you don't want to snap your needle!!
And now the tip: buy them in bulk! I order mine all the way from the US but they are here in absolute no time, super cheap if I buy a pack of a 50 or more and the colour choice is amazing (cotton candy pink, bubble gum pink and gray are my faves if you were wondering).
Thread
You will need thread. For the construction of the bum bag, I am using Aurifil 50wt. That's for all the seams that are not visible later on but have to last.
And for quilting and topstitching along the zipper, I am switching over to Aurifil 28wt. That's for all the seams that are visible later on. The result looks super neat!
Basic Quilty Notions
And finally, you'll need some basic quilty notions. You probably have most of them already at home.
Make sure you have a large enough cutting mat, a ruler (an extra square one comes in handy for this project and is always used in my studio) and rotary cutter. And for marking your quilty lines, I would highly suggest to get a hera marker. It only ever leaves creases and no nasty stains behind! Ohhh... and of course glue spray comes in super handy!
And that's it. All you really need.

And that's a wrap, my friend. I hope you'll love the Quilted Bum Bag as much as I do. It's seriously the one pattern I love the most!
It really doesn't get any better than this. Quilty goodness, patchwork and magic at the end.
With so much love, Laura xx


------------------------------------------------------------
This blog post contains affiliate links, specifically I am a participant in the Amazon Services LLC Associates Program, an affiliate advertising program designed to provide a means for us to earn fees by linking to Amazon.com and affiliated sites. I will never post a link to a product I do not personally recommend. If you click on an affiliate link and then proceed to purchase something from that affiliated website, I receive a small commission. This helps me continue to provide high quality, free content. Please send me an email to laura@sweetcinnamonroses.com if you have any questions.