How to choose fabric. The right way. Or maybe better... YOUR way.
You might have guessed it. There's not one way to do it. Or even a right way. Just do whatever feels best. And what you love best.
No judging. No quilt police. You are the designer. And you choose.


Disclosure: Some of the links below are affiliate links, meaning, at no additional cost to you, I may earn a small commission if you click through and make a purchase.
But if you're feeling a little lost. What fabric works best?! Then this might be for you.
Let me show you how I place my fabric. What am I thinking when arranging my fabric. Not that I always have a plan... but let me show you what my gut is telling me (and I really hope it makes sense).
Watch me choosing my fabric
I'm sharing how I arrange my fabric. It's easy + quick to replicate. And definitely a fab starting point for you.
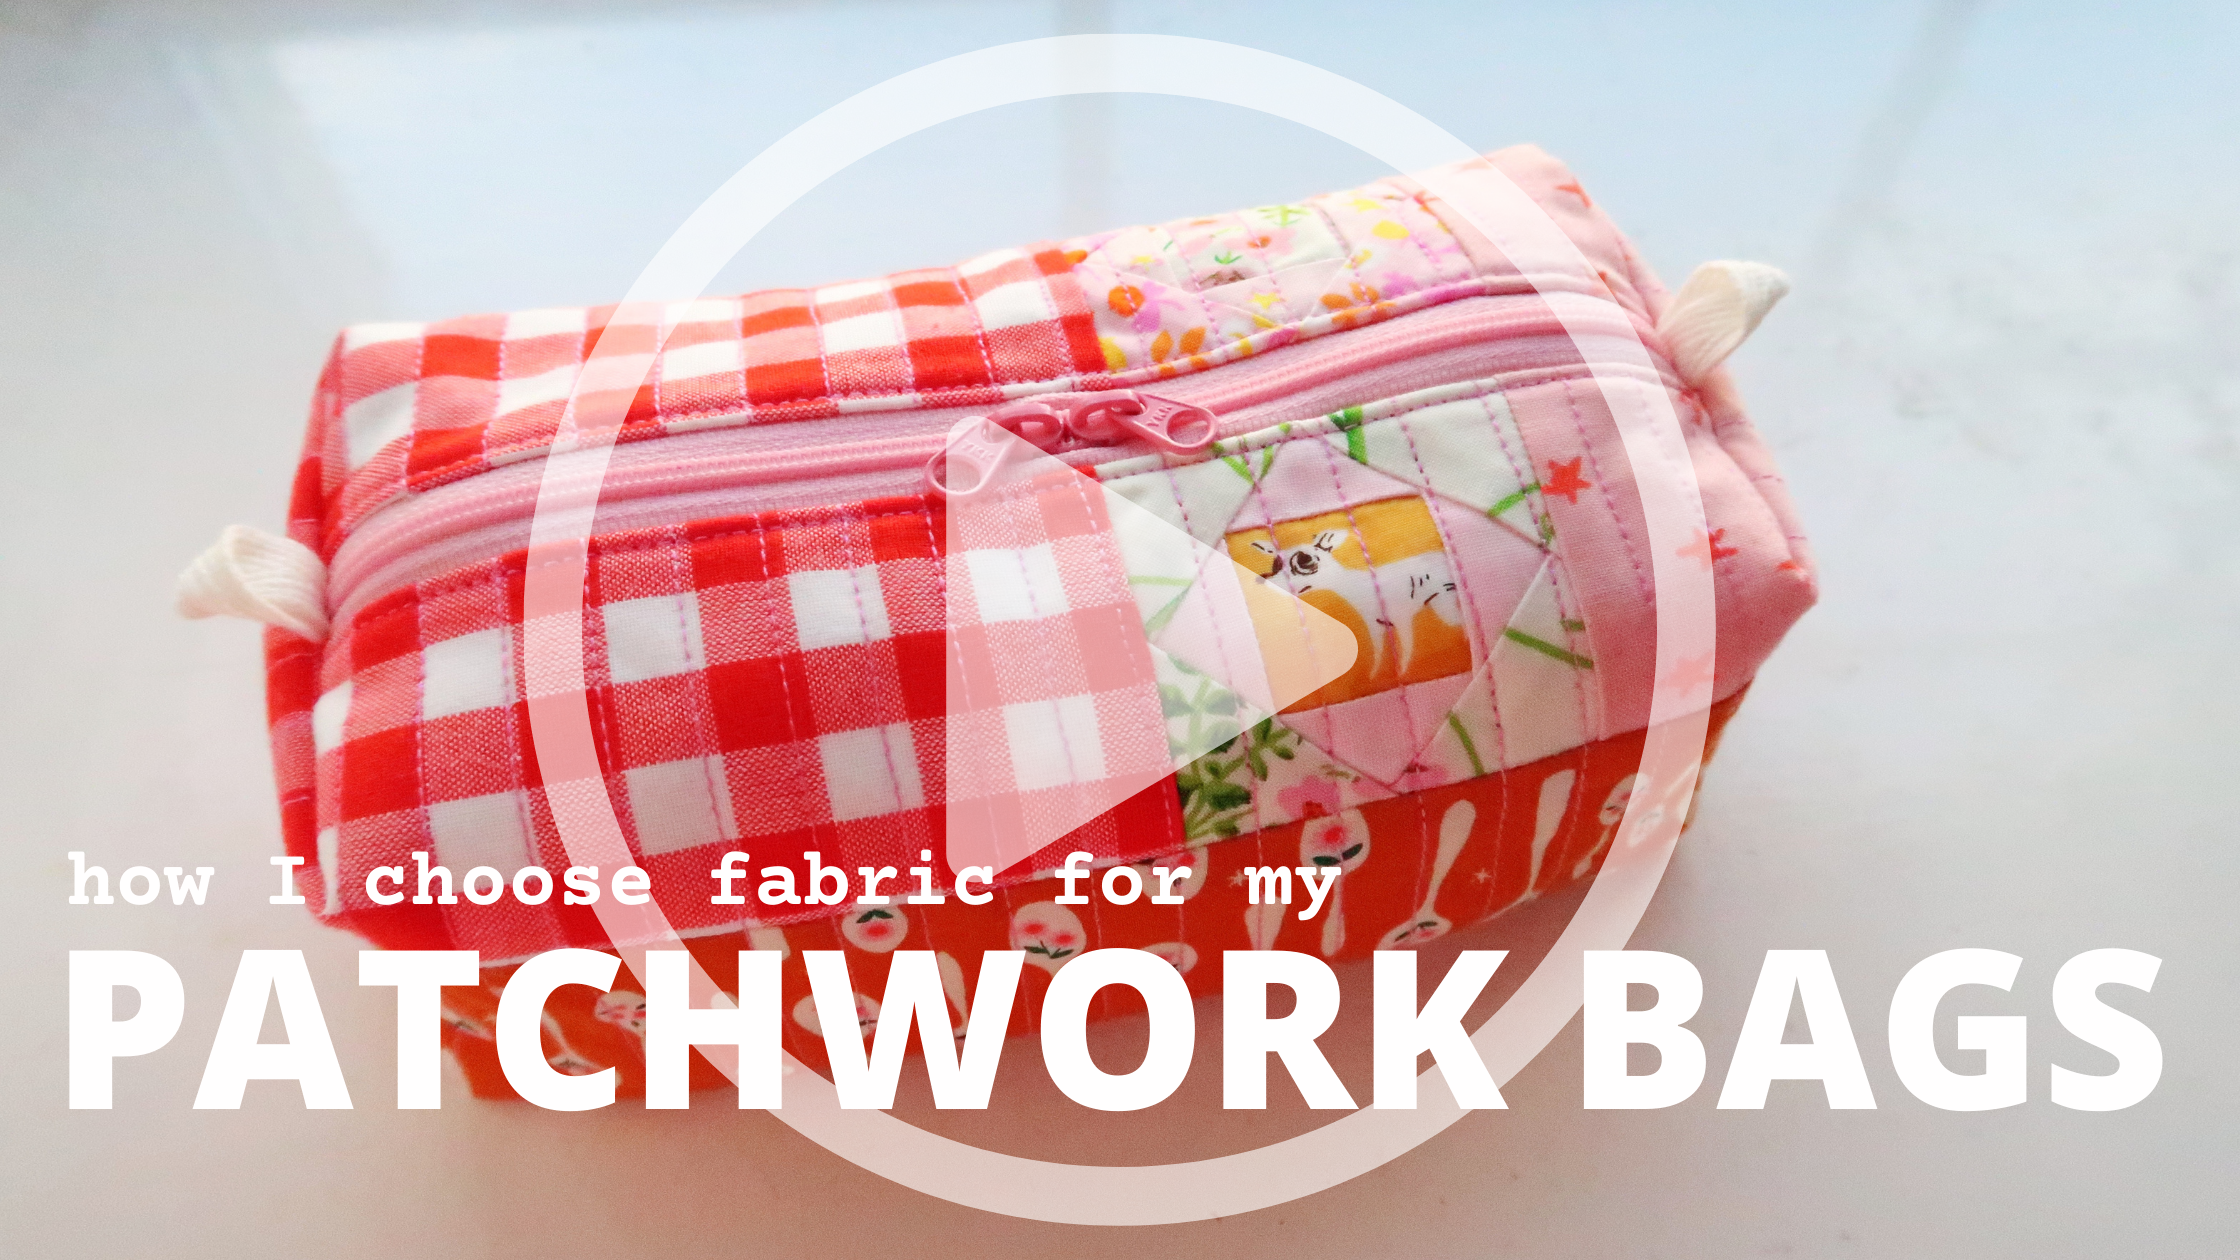
And here we go. Tab on this link and watch me how I chose fabric for my latest Quilted Boxy Pouch.
Make sure to subscribe to my YouTube channel for more!
I slowly walk you through my design process. It's mostly what I feel and not solid science. But I hope it makes sense to you.
Patchwork Techniques
For my panels I am using different quilty techniques. You might have noticed me mentioning them.
- Improv Piecing - using what you have + piece them together "improv" style
- Foundation Paper Piecing - super precise piecing every time
Let's start with Foundation Paper Piecing (or FPP).
You are basically sewing on paper templates and every single block you'll make - is exactly like the next one. Quilty precision at it's best.
And I love this technique. It's not only super precise but also super relaxing. Making FPP blocks is probably the closest thing to yoga for me.
If you like to give it a go - I have a free pattern, video tutorial and templates for you. I know it can seem tricky but please trust me. I show you exactly how to do it, holding your hand throughout.


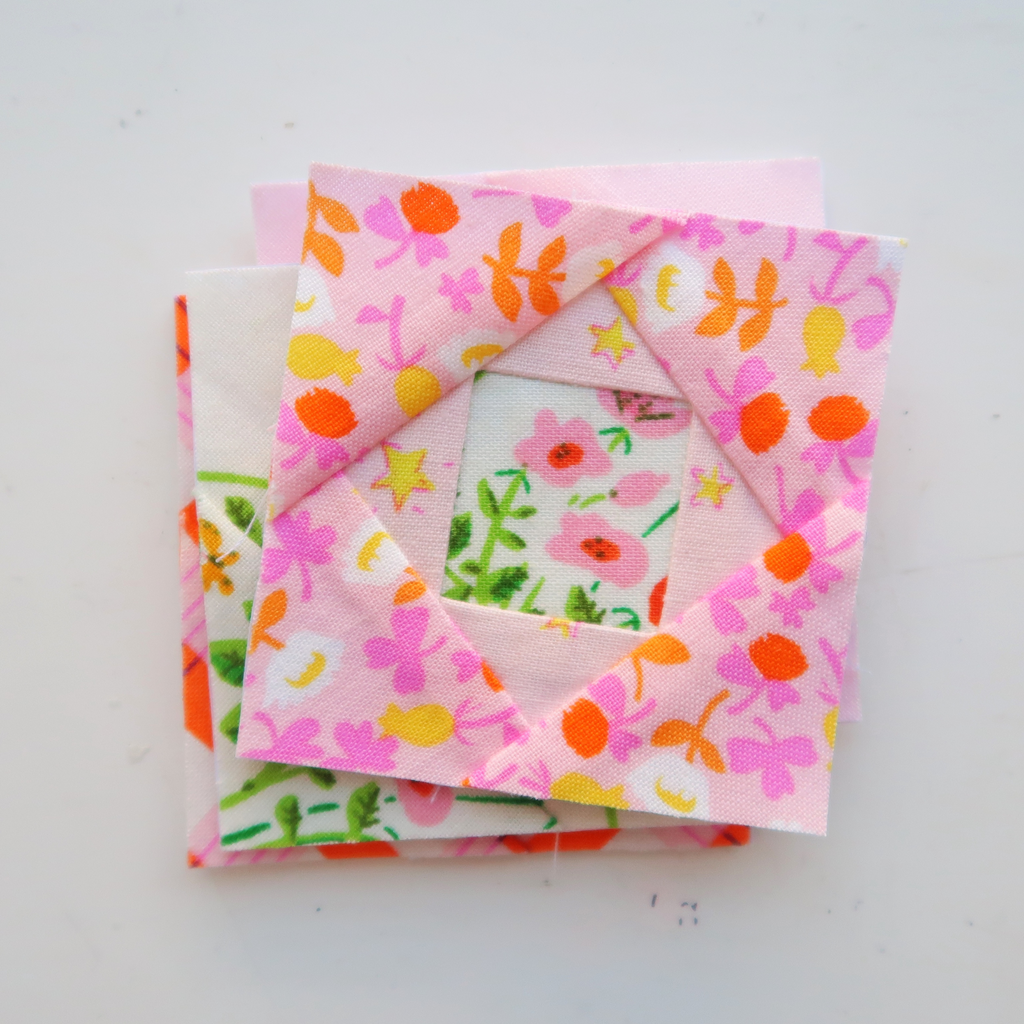
Here are my mini Economy Blocks. They finish at 2" and are super cute, right? Again, please download your free copy for them right here.
Now. Let's talk about Improv Piecing.
Another quilty technique I love. Pretty much the opposite to Foundation Paper Piecing (FPP). You make the rules. No block is like the next.
You can totally make a rough plan - but the result is always a little different. As per name, you're improvising. Piecing fabric together as you go along.
I do have an in-depth sewing pattern if you're interested. Showing you how I piece with some kind of a plan. Still improvising.
Fabric Layout using a mix of FPP and Improv
And here's the plan for the layout shown in the video above.
I am using a mix of FPP Economy Blocks (get your copy of the free pattern and templates here) and Improv Piecing.


I am starting with my quilt batting - basically the canvas for my panels. Giving me a frame to work with.
And then on top - I am placing my fabric.
Starting with a couple Economy Blocks at the top. Making sure they stay in the Safe Zone for my Quilted Boxy Pouch (you can find the exact measurements for the bag and Safe Zone on page 4).


Making sure nothing "important" is placed beyond the Safe Zone. Those bits will be cut away later on - so please be mindful with your fabric placement in those areas.
Now I am placing fabric to the right and left of my Economy Blocks. Changing them around a little until I am happy with the layout.
For me. It's all a mix of small prints, solids and florals. Keeping it busy and interesting but not too distracting. And if in doubt - I am always using a solid or more quiet print.
After choosing the top section, I am picking fabric for the bottom of my panel. Again. Changing it out until I am happy. Balancing prints and colours.


And now that I'm happy with the layout - I am piecing it all together.
Starting with the Economy Blocks. Then I am adding the fabric to the right and left of it. Straightening it all. And then I'm adding the bottom section.
And that's my panels all pieced.


Now that my panels are all done, I am machine quilting them using Aurifil 28wt. Giving my quilty panels the most amazing texture.
And finally I'm trimming my panels down according to the measurements in the pattern for the Quilted Boxy Pouch. Here you can see why we had to consider the Safe Zone above.


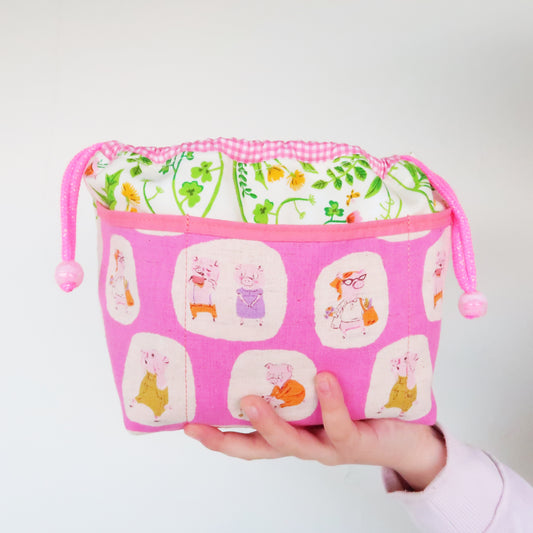
Finished Quilted Boxy Pouch
And here she is. My finished Quilted Boxy Pouch using the panels we've just created.
You can see the Economy Blocks on top and then the most wonderful prints framing them all around.


A super easy quilty project for everyone. Even if you never worked with a zipper before. But I show you everything in the pattern for the Quilted Boxy Pouch.
Materials Used
And of course. If you need a couple more details on the materials I've used. Here we go.
I am using a mix of my favourite fabrics.
- A mix of Heather Ross for the Economy Blocks. Some florals and some of her whimsical main prints
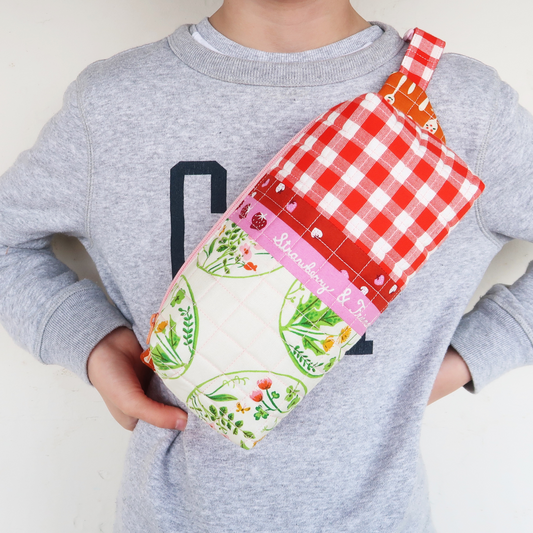
- Then I am using this fab, red gingham (I've already ordered more - so in love with it)
- And finally a set of Ruby Star Society prints. Such as the strawberries, stars and spoons
Next up is thread. I am using Aurifil 50wt to piece my blocks and then assemble the bag. And Aurifil 28wt for machine quilting my panels and then topstitching along the zipper (= pretty much all visible seams are made using Aurifil 28wt).
As for batting - I am just using what I have. Leftover batting from one of my last quilts. Nothing fancy. Whatever I have on hand.
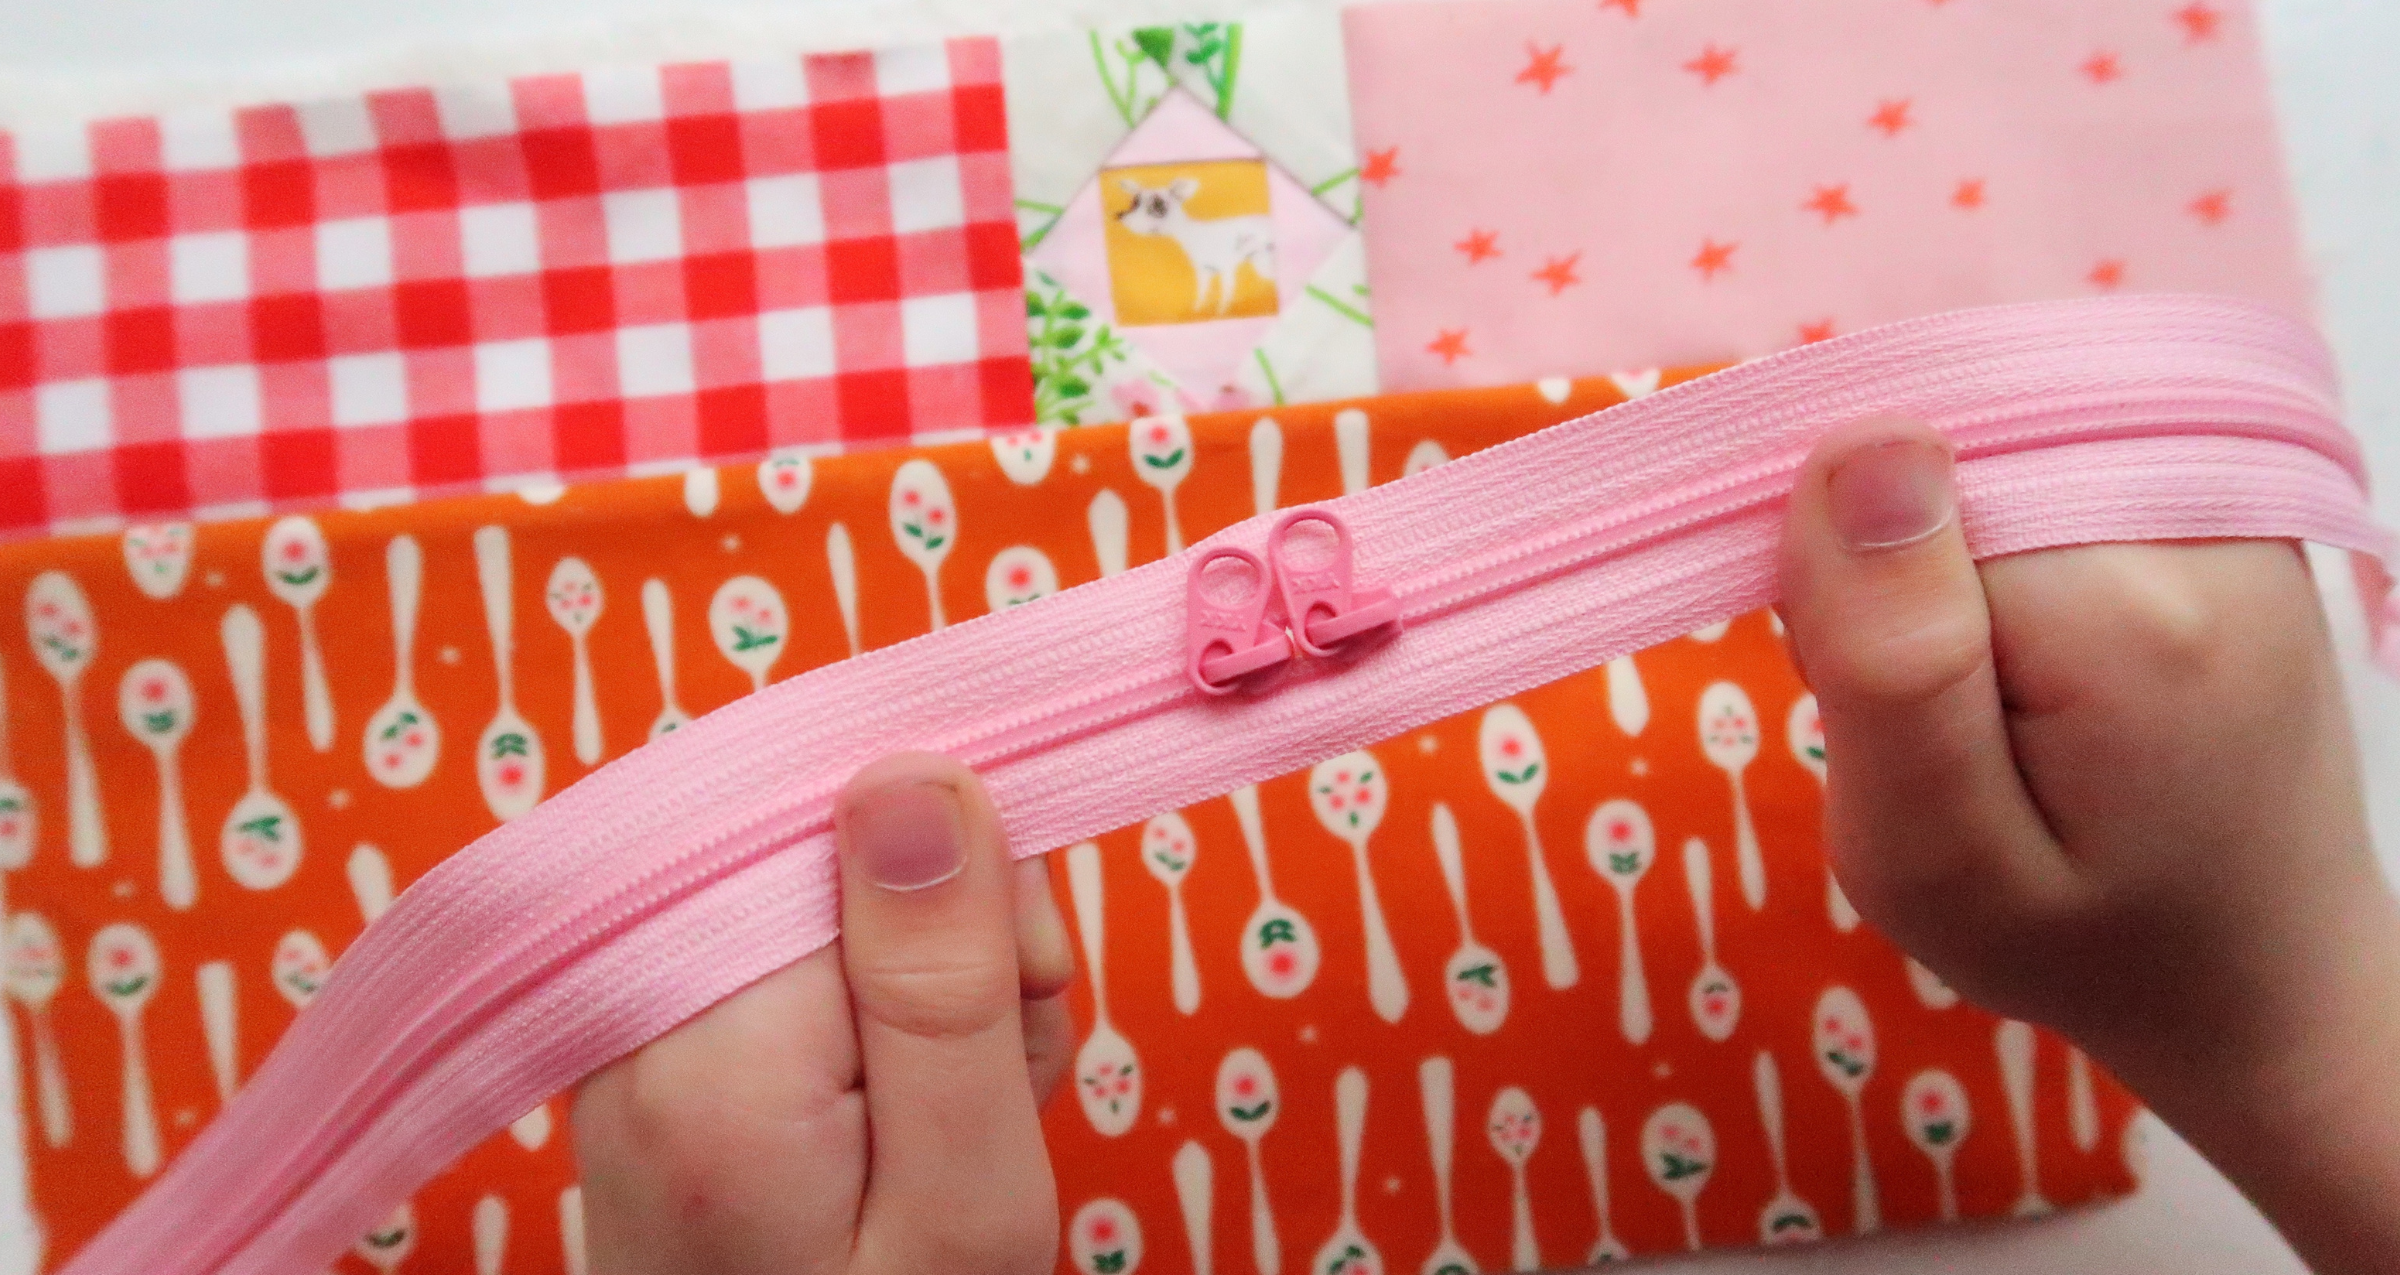
And finally the zipper. I love using pink zippers (you might have guessed it). And then I love customising them by using a different colour zipper pull. I have written a full blog post on this, including a quick 2 minute video tutorial if you're curious.

And that's a wrap.
No gate keeping. All my best tips and tricks on how I arrange and piece my quilty panels. No rocket science - as always.
And this is my very own take on all the Quilty Bags you see all over my socials and website.
Hope you have the best day.
Laura x

This blog post contains affiliate links, specifically I am a participant in the Amazon Services LLC Associates Program, an affiliate advertising program designed to provide a means for us to earn fees by linking to Amazon.com and affiliated sites. I will never post a link to a product I do not personally recommend. If you click on an affiliate link and then proceed to purchase something from that affiliated website, I receive a small commission. This helps me continue to provide high quality, free content. Please send me an email to laura@sweetcinnamonroses.com if you have any questions.