

Ever been bored of your zippers?
Yes... well, then this is for you.
Let's cutify the zippers you already have and turn them into something truly unique. Only taking you 2 minutes!
But let's dive right into it...
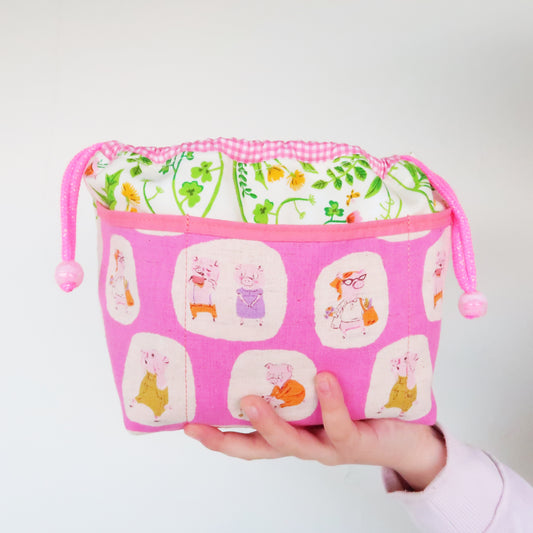
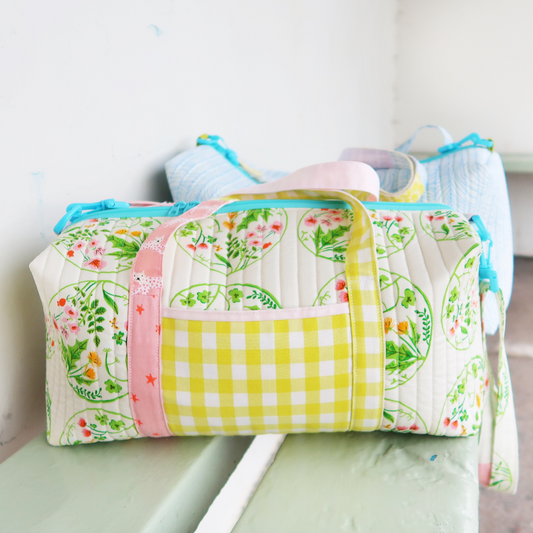
But before we get started. Here's the plan. We use a plain zipper in one colour and swap out the pulls with another one. Making an extra cute little zipper bag as shown below.
And before you're asking... this is the Easy Duffle I made during the Sew Along (you can now sign up for the FREE self paced event right here if you fancy sewing with me).


Disclosure: Some of the links below are affiliate links, meaning, at no additional cost to you, I may earn a small commission if you click through and make a purchase.
Ok. Let's talk about what you'll need.
Cute zippers 101
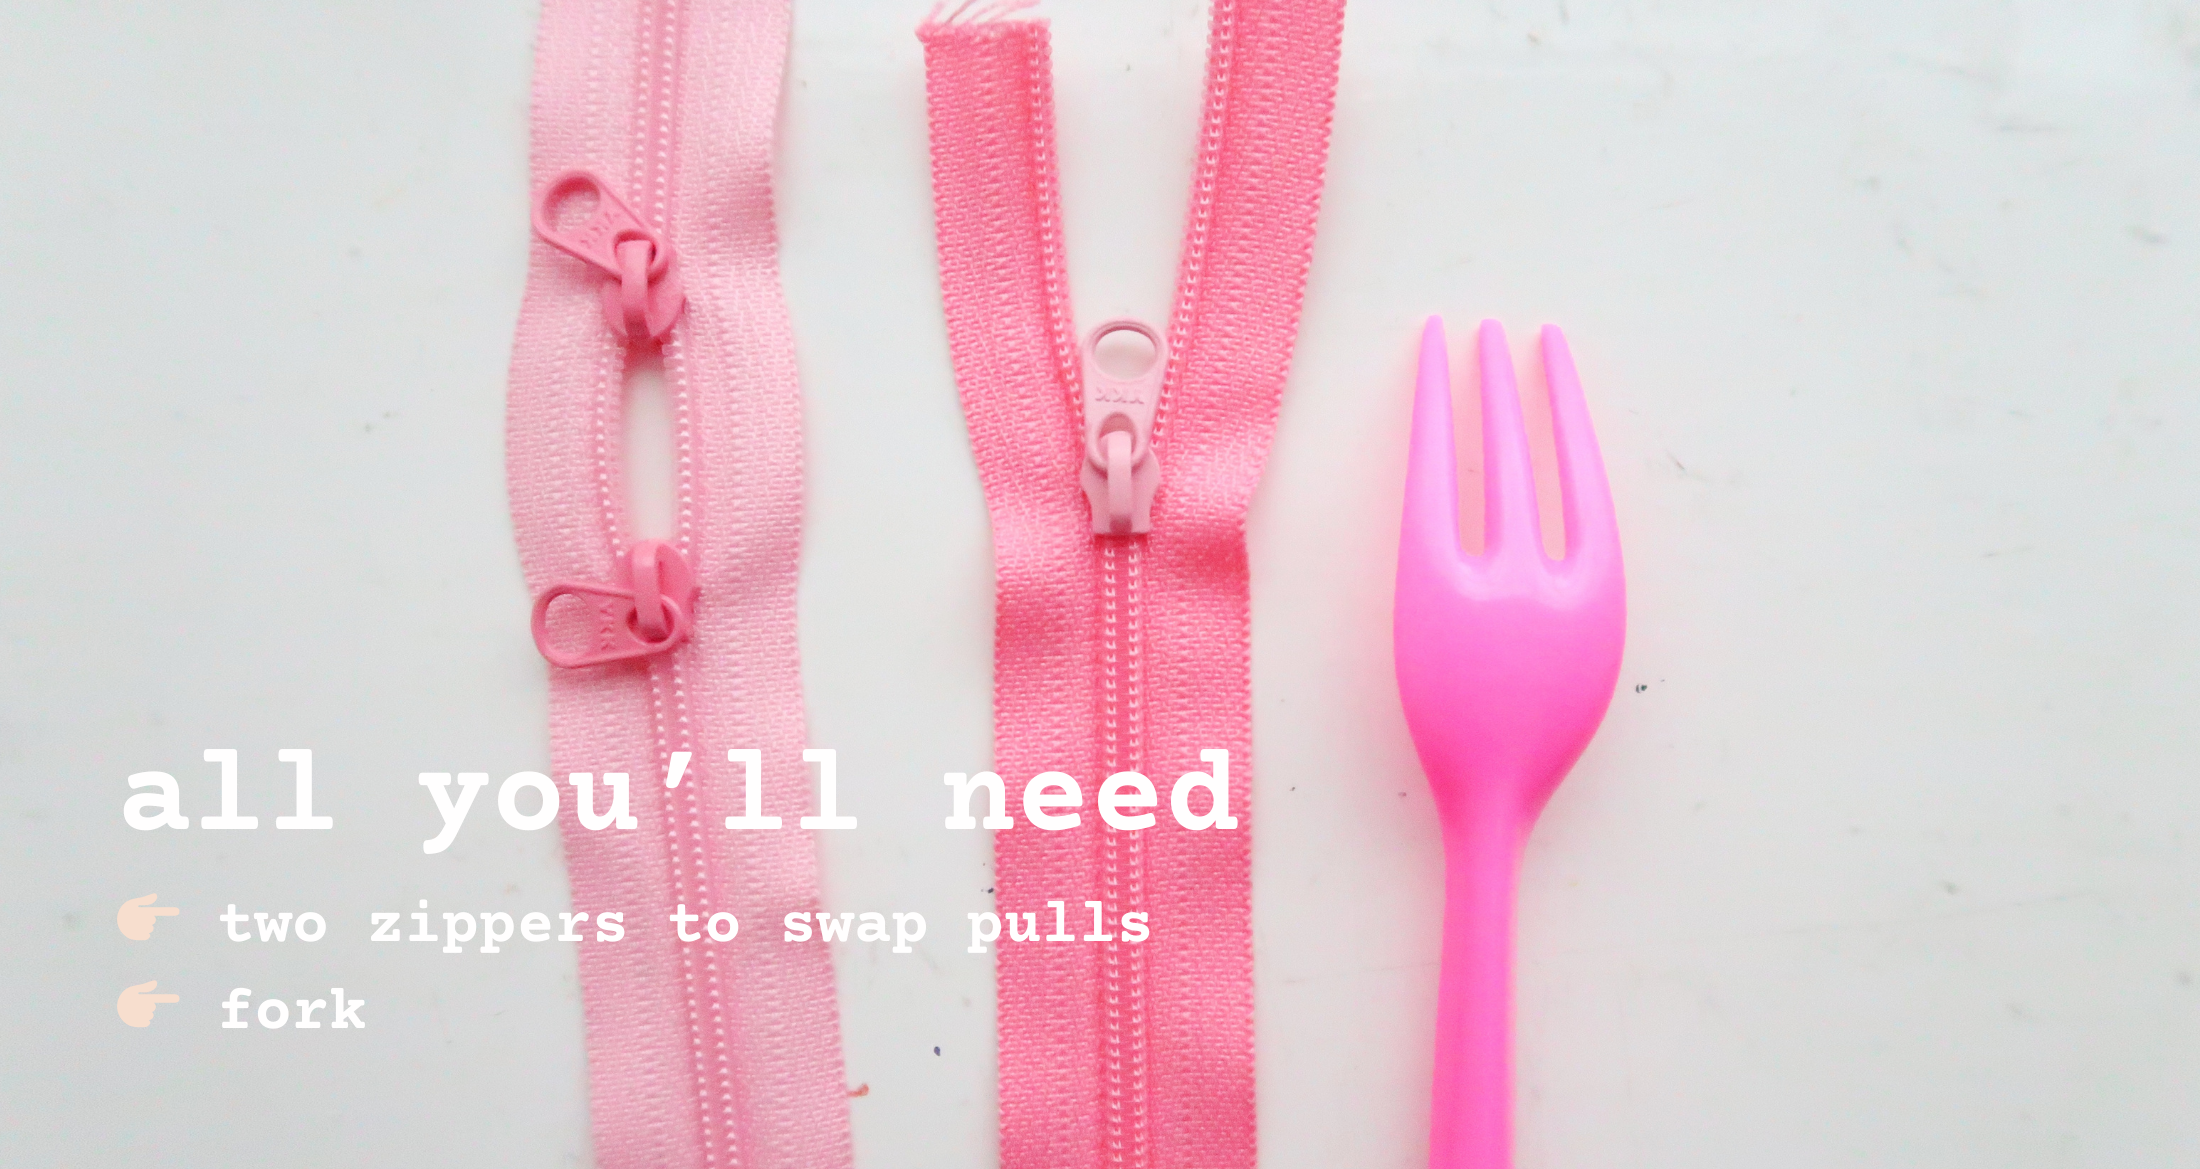
And this is all you'll need.
- two zippers to swap pulls
- and a fork
And that's it. Turning your zipper from being a little boring... to making them the star of the show.
Just grab two zippers (make sure they are the same size). I like to match them a little in colour - but of course, you can go all in and make some fun combination. Or even mix up the zipper sides... making it even more colourful.
In fact. That's something I will have to do next.
And of course - get yourself a fork.
They are both pink (candy pink and blush) but I hope you can see that I swapped pulls. Not too much in your face but such a sweet little detail.
Watch it right here
In case you're a visual learner - this might be for you.
Click right here and watch the tutorial where I show you everything, step by step.
No gate keeping! Make sure to turn on the noise and let me explain it all in detail. I really don't want you to miss out on this easy trick to make your bags even cuter.

Make sure to subscribe to my YouTube channel for more!
And it's really that easy. But let me sum it up for you one more time. See below.
Two Minute Zipper Trick
And here's the trick. I promise, it's not rocket science.
Three easy steps for you to remember. And it will take you only 2 minutes!!
- 👉🏻 take off pull
- 👉🏻 pull on fork
- 👉🏻 re-thread
And that's it.
Grab your scissors and take the ends of your zipper. Then get off those pulls (if it's a single or double pull - just get it off).
Now push your zipper pull onto your fork, small end down.
And then re-thread your zipper - and remember it helps to push your fork against your tummy as it can be a little wiggly.
If your zippers ends up a little un-even (or your double pull doesn't close neatly where the pulls meet), just re-do it. There's no limit. Repeat until you're happy!


Bonus Tip
And here's my fave tip.
Take your normal zipper and thread a pull on each end. Making it a double pull zipper. This is especially cute when it comes to making bigger bags like the Easy Duffle.
And again - this works for all zippers!!


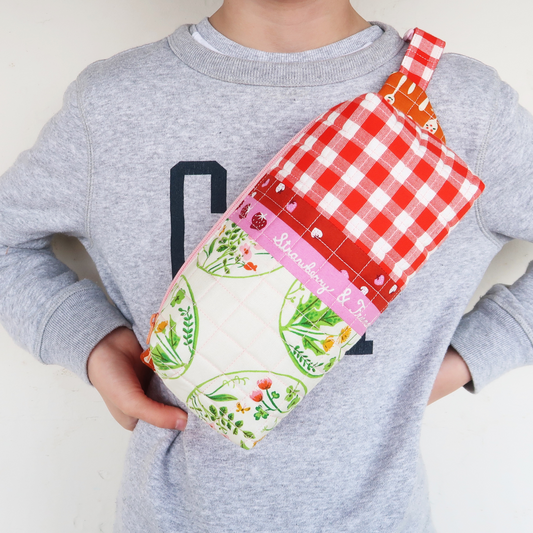
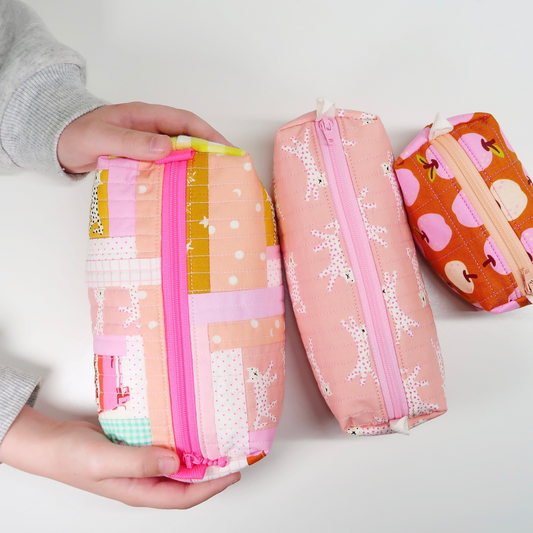
The duffle bag shown above is the Easy Duffle Bag and the one at the bottom is the Quilted Boxy Pouch. Both patterns are super easy and suitable for all skill levels (I will show you that inserting zippers doesn't have to be hard).
Materials
And finally. Let me share more about my materials.
I am sure you already have everything at home - but just in case it's time for you to stock up on zippers again.
Here are my favourites.
I really like these cute, round pull zippers. And if they are pink - I love them even more. Of course.
Saying that. If you are into colourful zippers (and also fancy saving some pennies), then I would highly recommend buying them in bulk here. You can get a whole bunch of them here and they are super inexpensive. You can mix and match colours... it's amazing!
Top tip. Make sure to buy a batch that's long enough so you can easily trim without making them un-useable.
And here's the link to my Amazon Storefront where you can find all the quilty notions I love and use, all in one place.
 And that's a wrap. Hope you get to match your zippers to your next project. Making your bags and pouches even more YOU.
Two minutes well invested!
Hope you have the best day.
Laura x


This blog post contains affiliate links, specifically I am a participant in the Amazon Services LLC Associates Program, an affiliate advertising program designed to provide a means for us to earn fees by linking to Amazon.com and affiliated sites. I will never post a link to a product I do not personally recommend. If you click on an affiliate link and then proceed to purchase something from that affiliated website, I receive a small commission. This helps me continue to provide high quality, free content. Please send me an email to laura@sweetcinnamonroses.com if you have any questions.
1 comment
Or . . . With a double pull zipper, have each pull in a different colour to each other as well as the zip. It looks great with the right bag / fabrics.
Thanks for sharing this fun idea. “Cutify” is definitely a word :)