Disclosure: Some of the links below are affiliate links, meaning, at no additional cost to you, I may earn a small commission if you click through and make a purchase.
Create a Handmade Christmas this year!

Are you already in the mood for Christmas? And do you plan to gift Handmade this year?
I am totally ready. The tree is up and decorated and my Christmas production line is set up. This year I plan to make as many Christmas presents as I can myself and dang, I hope you're with me. Let's make all the presents we possibly can this Christmas! Shall we?
So, let's make as many Christmas Glitta Pouches as we can this year together.
They are so super quick to make and totally suitable for beginners as well. Or make a bunch together with your kids - I promise they will love filling up your pouches with glitter. Mine are all going for it like there's no tomorrow...
And dang, everyone loves getting one. Not only kids. We can all definitely use some more fun and glitter in our lifes right now. Oh and did I mention how perfect they are as teachers gifts? All my kids teacher will get a set this year again - we have to keep up the tradition.
Hahaha, I am pretty sure half the households in our wee town own at least one by now. There's always a birthday party, Christmas, end of term... any occasion really.
And they only take about an hour to make!
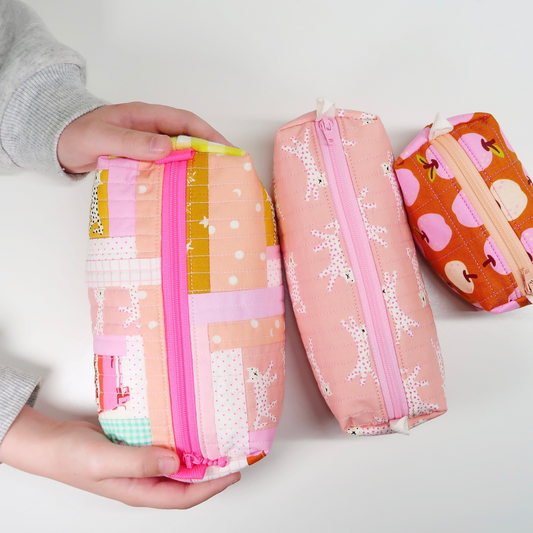
The Glitta Pouch pattern comes in three sizes - a coin purse, a pencil case and a project bag.
The one pictured here is the medium sized one, the pencil case. Again, the perfect teacher gift *wink wink*. And also a good size to store your sewing scissors, pens, hera marker, thread and needles. So a great little project bag for on-the-go as well...
My kids love storing their Legos in them. Keep their pennies in the small coin purse or collect sea glass at the beach and have a matching project bag for each shade of sea glass... You can imagine, we have a lot of them in our wee house.
But you know what - after making a couple Glitta Pouches you'll see how easy they are to construct. And you'll be ready to pretty much customise them to your liking. Size them up or down or round off the corners. I promise, they are so easy and you'll get the idea after making only a couple. You'll become a Glitta expert in no time!
Ok. Now let's talk about the materials you will need for making your own Glitta Pouch.
- Fabric
- Vinyl
- Zipper
- Glitter
- Thread
- Notions
Fabric:
I like to use quilting cotton for my Glitta Pouches. It's super lightweight and comes in a great range of happy prints. I love simple yet fresh and modern fabric and the choice seems to be endless...
For the Christmas Glitta Pouch I used the Tinsel Santa Print by Cloud9 Fabrics and I love how cheerful it is. Pink Santas plus glitter, yes please. Every. Single. Day. For me please. Especially over Christmas.
Vinyl:
As for the vinyl, I would recommend some very soft and pliable 12 gauge vinyl. You don't want it to be either too hard or too sticky. So play with some options until you find the one that has just the right consistency for you.
I recently seen some of you using old plastic packaging (for duvets etc) and cutting it up for your Glitta Pouches. Such a fun and resourceful idea. I absolutely love it.
Zipper:
The Glitta Pouch comes is three sizes. For the small coin purse a 5" zipper would be perfect and for the pencil case and project pouch I am using a 10" zipper. And to keep it easy, I would highly recommend using a plastic zipper as it's just easier to handle. But of course, you could also use a metal one but please make sure not to sew over the metal teeth on the final step of the pattern.
Glitter:
YES! This is the fun bit. There are so many fun options out there. I used this very fine holographic glitter for my Santa Glitta Pouch and I love the look of it. But of course, you can also go for some bigger pieces. The bigger the glitter chunks, the easier they freely float around in your bag. Which makes it so fun for kids. Or have a look into real fine glitter mostly used for Make Up or Nail Art. There are so many fun options out there to chose from. Or dang, mix them all up and make it even more epic.
Thread:
For the assembly of my Glitta Pouch I am using Aurifil 50wt in white. For all the steps from prepping the pieces, attaching the zipper and the final assembly of the pouch. For topstitching along the zipper I am using Aurifil 28wt in a corresponding colour, usually a couple shades lighter then the actual fabric so it nicely blends into the overall pouch. These seams will be seen later on, so investing in nice thread here makes definitely sense.
Notions:
Please, please, please always only use clips to hold your vinyl in place as needles will leave holes and you won't be able to get rid of them anymore. This is super important and will help you immensely create a perfect little pouch (without extra holes!).
I know, you might be a little vary of sewing with vinyl but I promise you - it's super easy! I like to use my brand new Teflon foot I bought for myself only a couple months ago (and now I am not sure what I was waiting for for so long). Such a treat! But if you don't like to buy a new foot just now, that's totally fine, as within the pattern I also talk you through a household alternative you can use. Baking paper (also known as parchment paper in the US). Or use the tissue paper that usually comes with a roll of vinyl. Sandwich a layer of fabric, the vinyl and your paper together, increase the stitch length and your ready to sew. When you are done - gently remove the paper! That's it!!!
I really hope this was helpful and you feel empowered to try sewing with vinyl yourself. It's such a fun material but please be warned, making Glitta Pouches is truly addictive.
Please find your copy of the pattern in my shop. I am sure your family and friends and all the teachers in your life, will love receiving handmade present by you this year.
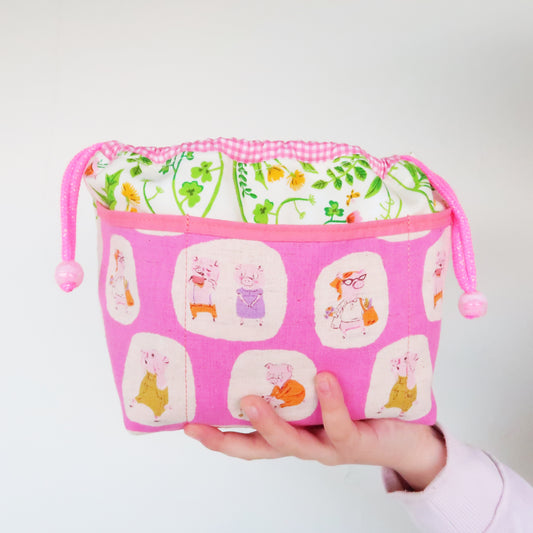
But why not also try the Christmas WeeBrawBag this year? Now - as you are able to tackle vinyl and you know how to insert a zipper, why not also giving a drawstring bag a go? Even easier and definitely addictive as well.
Wee Braw Bags are super quick to make but they look oh so fancy. Read more about the Christmas WeeBrawBag on my latest blog post.
Happy Sewing + please Stay Safe, my friends.
Laura x
This blog post contains affiliate links, specifically I am a participant in the Amazon Services LLC Associates Program, an affiliate advertising program designed to provide a means for us to earn fees by linking to Amazon.com and affiliated sites. I will never post a link to a product I do not personally recommend. If you click on an affiliate link and then proceed to purchase something from that affiliated website, I receive a small commission. This helps me continue to provide high quality, free content. Please send me an email to laura@sweetcinnamonroses.com if you have any questions.


