

If you're making your own clothes, sew bags and pouches or you're into quilting - it all comes down to master a consistent seam allowance (or SA).
Not only a straight line (which by itself is hard enough) but also at a certain distance from the edge of your fabric. For quilters and bag makers - this is your 1/4" SA. And here, precision is everything. Even small imperfections quickly add up and your quilt top will probably end up wonky.
So how do you find your 1/4" seam line?
Disclosure: Some of the links below are affiliate links, meaning, at no additional cost to you, I may earn a small commission if you click through and make a purchase.
There are pretty much two ways for you to sew at a consistent 1/4" seam allowance. And it really doesn't have to be tricky. In this video tutorial I show you both!
Are you ready?
Ohhh... and of course, make sure to follow me on YouTube for more!
Two super easy ways for you to be accurate. No more wonky seams, my friend!
And here again the two options you have:
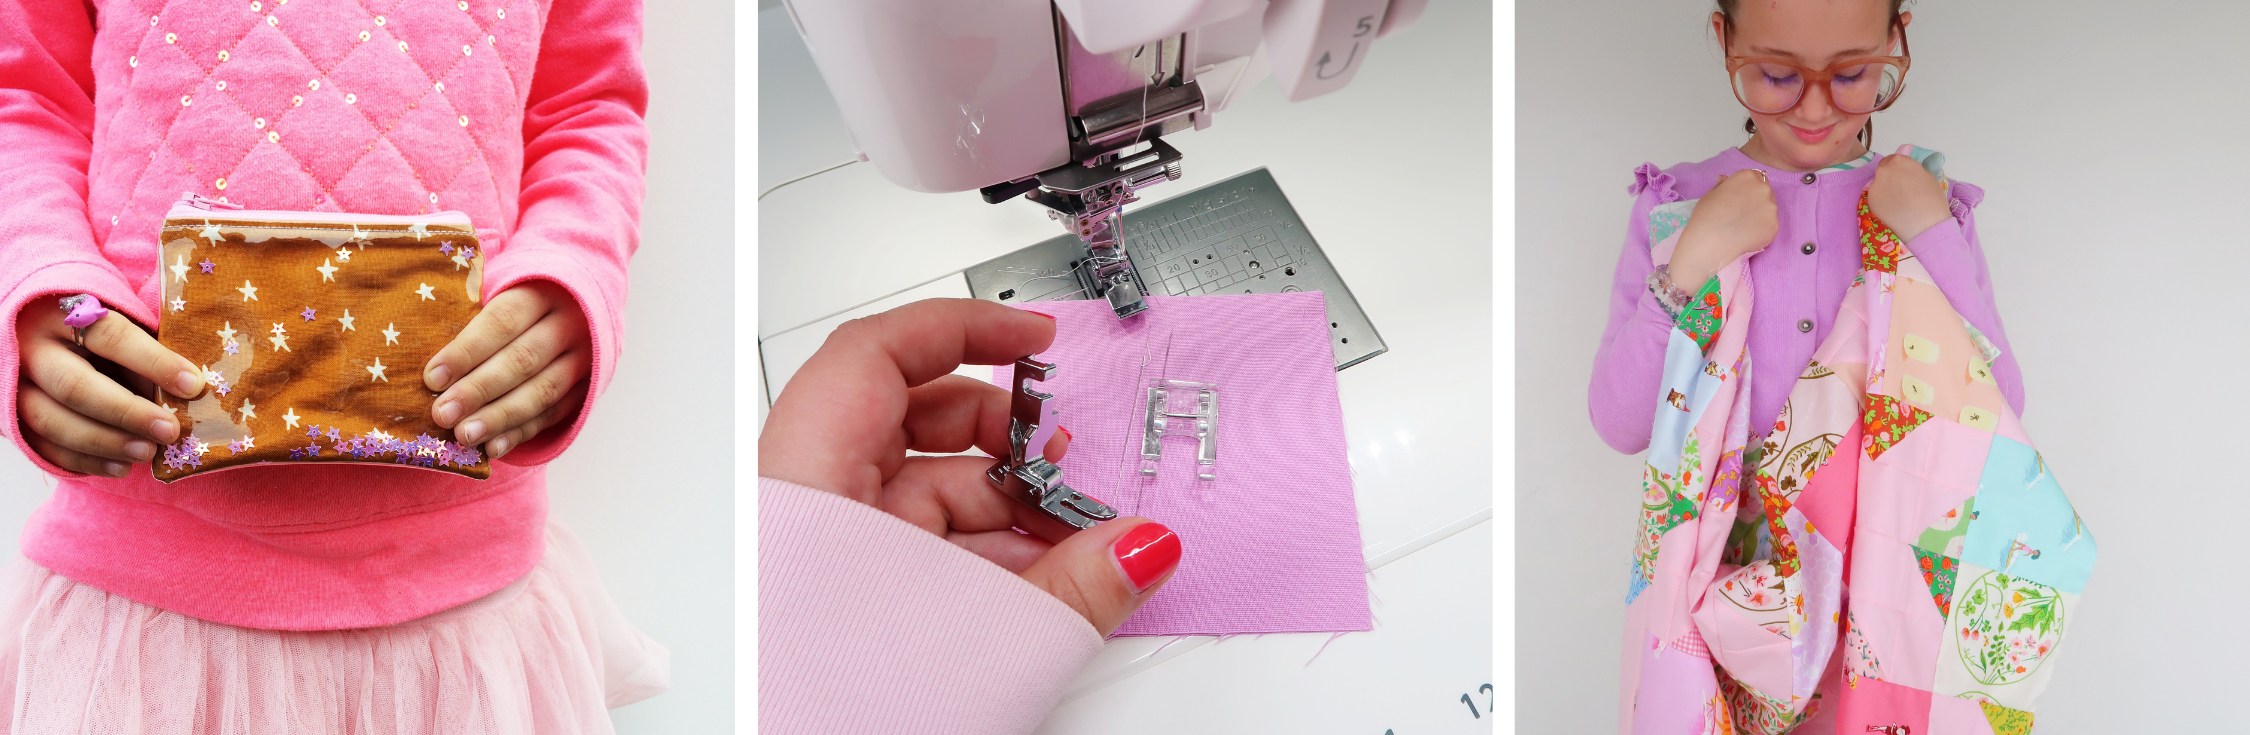
- Grab your 1/4" foot (with my Janome M7 it's the HP foot) and line up the right edge of your foot with the edge of your fabric. Try not to look at your needle while sewing but instead concentrate on lining up your edges on the right!
- Draw two lines, 1/4" apart. Now get yourself an open foot (I used my satin foot), line up the right edge of your foot with the line on the right and change your needle position so that the needle is right on top of your second line. And that's your 1/4" seam line for that sewing foot.
Most machines come with a 1/4" foot. So check your machine - you most likely have one. And it's also the easier option if you'd asked me.
But if not, changing your needle position is a super quick way for you to also create a consistent 1/4" seam allowance. And there's no need for you to splurge out.
Ohhh and a bonus tip for you:
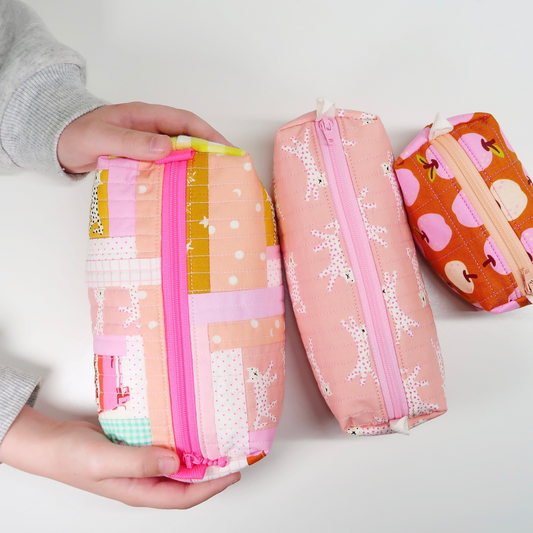
Changing your needle position is not only handy for finding your 1/4" SA but also your 1/8" SA. Especially when it comes to bag and pouch making - I love to topstitch close to the edge, next to a zipper for example (as you can see with the Glitta Pouch below). And a neat visible seam really makes your project shine!
Finding your 1/8" SA works just the same way. Just draw two lines 1/8" apart and repeat the steps above.

From now on, I hope you won't be intimidated anymore when a pattern is referring to a different seam allowance. You can now simply find yours and sewing at a consistent 1/4" is a skill that only needs practise. Just give it a bit and soon you'll master a straight seam at 1/4" every single time.
But of course - if you have any questions. Please don't hesitate to get in touch. I am only an email away.
Take care and Happy Sewing!
Love, Laura x
This blog post contains affiliate links, specifically I am a participant in the Amazon Services LLC Associates Program, an affiliate advertising program designed to provide a means for us to earn fees by linking to Amazon.com and affiliated sites. I will never post a link to a product I do not personally recommend. If you click on an affiliate link and then proceed to purchase something from that affiliated website, I receive a small commission. This helps me continue to provide high quality, free content. Please send me an email to laura@sweetcinnamonroses.com if you have any questions.
1 comment
Thank you for this tip Laura I will definitely try this.
I have been having trouble with 1/4 and 1/8 inch when putting in zips and top stitching so I will see if this technique solves the problem .