The Glitta Pouch literally sparkles! Yes... you heard it right. This pouch is, in fact, sparkling and shiny and ohh so fun. And let me tell you a secret - it's not only wee girls that love a shiny pouch! In fact, big girls love them just the same. Maybe even more so. We all remember the days when we were wee... *I am frantically shaking up and down my glitta pouch right now*
What do you think? Would you like to hear more about the Glitta pouch?
I promise - sewing with vinyl doesn't have to be hard or sticky! Let me share my best tips and tricks with you and you'll want to make dozens of Glitta pouches yourself by the end of it. Frantically shaking your finished pouch with me...
Shall we get started...?

Disclosure: Some of the links below are affiliate links, meaning, at no additional cost to you, I may earn a small commission if you click through and make a purchase.
Glitta pouches are so super, duper quick to make and totally suitable for beginners as well. Or even better, make a bunch together with your kids - I promise they will love filling the pouches with glitter. Mine are always going for it like there's no tomorrow...


Did I mention how great they are for holding all your notions on-the-run? The perfect bag for your hand - and/or project bag. Bag in bag - you know what I am talking about...


About the Glitta Pouch...
I think we can agree by now, the Glitta pouch is super fun. But not only that. You will also love making it! It's a super quick project and if you have little helpers at home - make use of those wee fingers... Stuffing a pouch with all kind of tiny bits and bobs you have lying around is so, so rewarding. Dang, I've seen pouches made by folks that even had Lego people in them!
But again - this is another pattern that comes with a warning. They are super addictive to make and kind of multiply over night!
Ok. Let't talk a little more about Glitta pouch itself. Are you ready?
- The pouch is absolutely beginner friendly. Only straight lines, my friend!
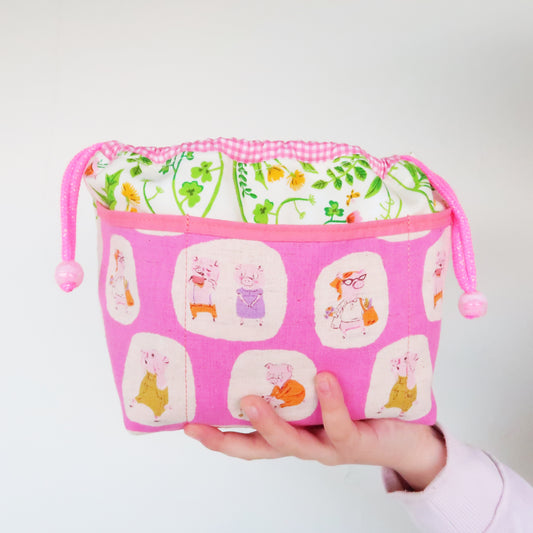
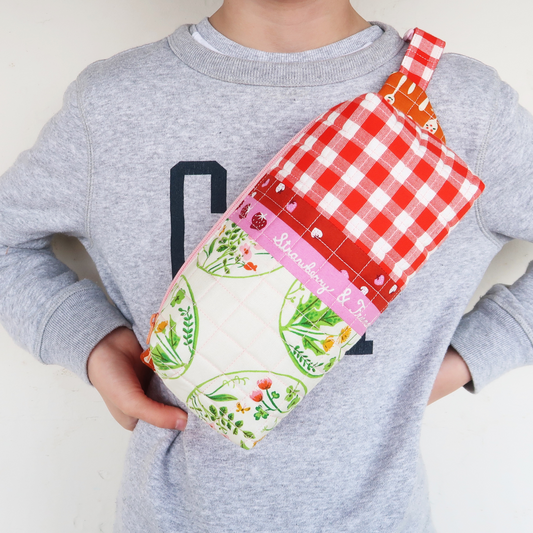
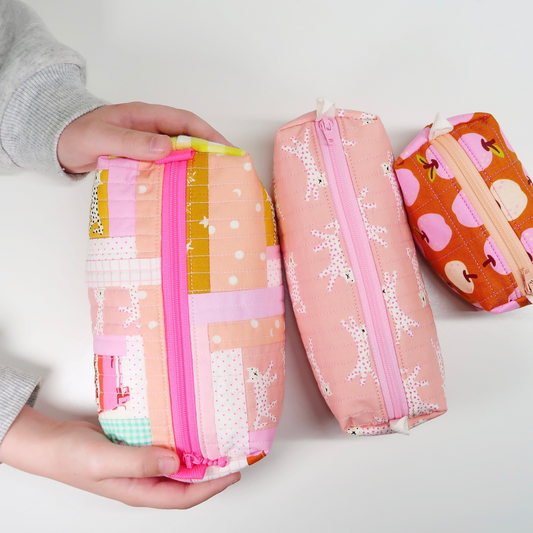
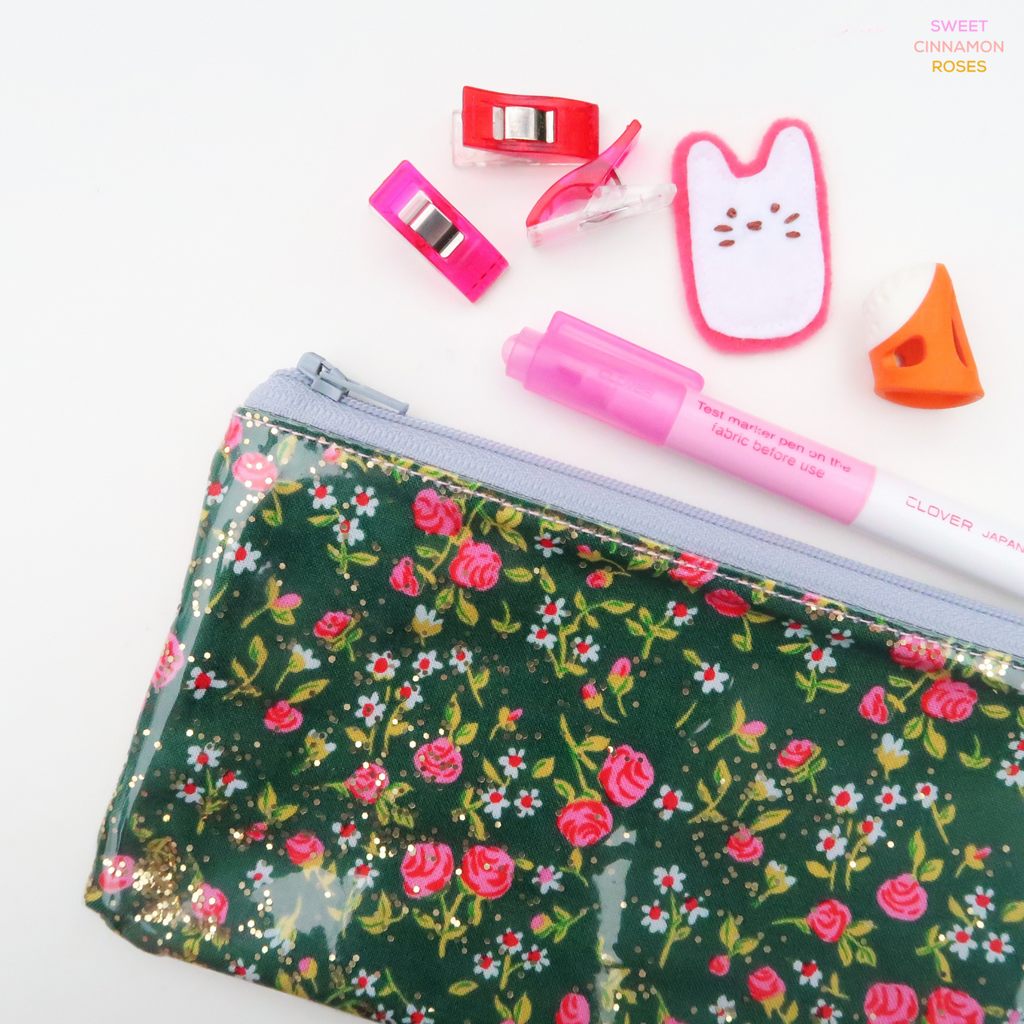
- The Glitta pouch comes in three sizes - the coin purse (measuring 3.5" x 3"), the pencil case (measuring 8.5" x 4.5", that's the one pictured in this blog post) and a project pouch (measuring 8.5" x 6").
- The pouch is totally scrap-friendly and super, duper easy to customise in size and shape.
And if you're wondering about the pattern itself - let me tell you more about the actual pattern. Shall we start?
- The sewing pattern is a digital file (PDF) and ready for instant download. Make sure to save it and you're all ready to go. Super easy! The Glitta pouch is a measure and cut pattern, meaning all pattern pieces are cut using a rotary cutter, cutting mat and ruler. There is no need to print it unless you wish to do so, as there are no templates needed. So you can start today!
- The pattern is consisting of 6 pages, includes loads of pictures, detailed instructions and tables. I talk you through each step of the pattern - almost as if I am sitting right next to you. Your sewing buddy, cheering you on! I wrote the pattern with absolute beginners in mind but even if you have been sewing for the last decades, I am sure you'll love making Glitta pouches as well...
If you like to know more about teaching classes or your local guild, selling finished bags, need more information on buying, saving and printing the pattern - please hop over to my FAQs, there I answer all your questions in more detail.

Materials needed...
Before you start sewing, let me tell you a little more about the materials you'll need.
First, you will need a copy of my pattern which you can find in my shop. Remember, it's a measure and cut pattern, meaning all pattern pieces are cut using a rotary cutter, cutting mat and ruler. No need to print anything, unless you wish to do so. So you can start straight away picking your fabric and glitter!
So here a list with all the things you'll need:
- Glitta pouch pattern
- Fabric
- Zipper
- Vinyl
- Glitter
- Thread
- Notions
- Sewing Machine
Fabric:
You will need fabric. I like to use quilting cotton for my Glitta pouch. It's super light weight and makes turning at the very end so much easier. You don't want to wrangle heavy canvas and layers of vinyl through a tiny opening... trust me!
For my pouch I used one of my favourite florals (ermm sorry, I took a picture of the wrong colour way here but you get the idea) by Heather Ross together with a pink Kona cotton for the lining. I just can't help myself... Both are quilting cotton and if we are honest, the only fabric substance I buy.
Zipper:
The Glitta Pouch comes is three sizes. For the small coin purse you'll need a 5" zipper (or longer) and for the pencil case and project bag you would need a 10" zipper (or longer). And if you like to keep it easy - I would highly recommend using plastic zippers as they are just so much easier to handle. But of course, you could also use a metal one but please make sure not to sew over the metal teeth on the final step of the pattern.
Another top tip: I always use 10" zippers. They are my absolute go-to zipper length for literally everything. Even for the much smaller coin purse... you can always chop off the ends of a plastic zipper, right? And now the tip: buy them in bulk! I order mine all the way from the US but they are here in absolute no time, super cheap if I buy a pack of 50 or more and the colour choice is amazing (cotton candy pink, bubble gum pink and gray are my faves if you were wondering).
Vinyl:
As for the vinyl, I would recommend some very soft and pliable 12 - 16 gauge vinyl. You don't want it to be either too hard or too sticky. So play with some options until you find the one that has just the right consistency for you.
I've recently seen someone using old plastic packaging (for duvets etc) and cutting it up for a Glitta pouch. Genius. Such a fun and resourceful idea. I absolutely love it. Bear Grylls would be all over that...
Glitter:
This is the fun bit! There are literally so many amazing options out there. Go and try as many as you can, I'd say. I like to use very fine, holographic glitter for the one in the pictures above and I loooove the look of it. But you can also go for some bigger pieces. The bigger the glitter chunks, the easier they float freely around in your pouch. Which makes it even more fun when it comes to shaking (*frantically*). Or have a look into super fine glitter that is used for Make Up or Nail Art. Seriously, there are so many options and I am sure you will find your favourite as well. Or why not using them all together one pouch...?!
Thread:
For the Glitta pouch I am using two kinds of thread weight. All the construction work is done using Aurifil 50wt - for literally every seam that is hidden on the inside. And for topstitching I like using Aurifil 28wt in a corresponding colour.
I have this thing with thread when it comes to visible seams. I hope you like to hear it... well, I give it to you anyway! Ha!!! Ok, I like my seams to be seen. To shine and be a part of my work. The only real rule I have, is to go for a lighter shade. For some reason I don't like my thread to be darker than the actual fabric... but again, this is pretty much down to personal taste.
Notions:
Please, please, pleeeaaase always only use clips to hold your vinyl in place as needles will leave holes and you won't be able to get rid of them anymore. Ever. This is super important and will help you immensely create a perfect little pouch (without any extra holes!).
I know, I know. You might be a little vary of sewing with vinyl but I promise you - it's super easy! I like to use my brand new Teflon foot I bought for myself only a couple months ago (and now I am not sure what I was waiting for for so long). Such a treat! But if you don't like to buy a new foot just now, that's totally fine, as within the pattern I also talk you through a household alternative you can use. Baking paper (also know as parchment paper in the US)! Or use the tissue paper that usually comes with a roll of vinyl. It's super, duper easy: just place some paper in between your sewing foot and the vinyl and sew right over it. When you're done, just carefully rip it off. That easy!
Sewing Machine:
I am using my Janome MC 6700p - and I love her. She is a real workhorse, so reliable and the seams are gorgeous and always even. Never skipping a stitch. And as a bonus: she looooves Aurifil!
Ok. Making a Glitta Pouch is super simple - it’s just a few straight lines! But it's all in the detail. More precisely, it's all about your sewing feet. I am using the Ultra Glide foot, the zipper foot (E) and the satin stitch foot (F), as I like to see where I am going... just clip on the foot and you are ready to go! That easy!
And finally, let's talk about needles. Throughout the whole project I am using my jeans needle (either in 90 or 100), it nicely glides through all layers - fabric, vinyl and zipper teeth. So you don't have to worry if it get's bulky, a strong jeans needle can handle it.

And now...
Are you with me?? Shaking your pouch like crazy while nobody's watching? Yes... I thought so! They are just super fun but wait until a little one in your life gets hold of it...
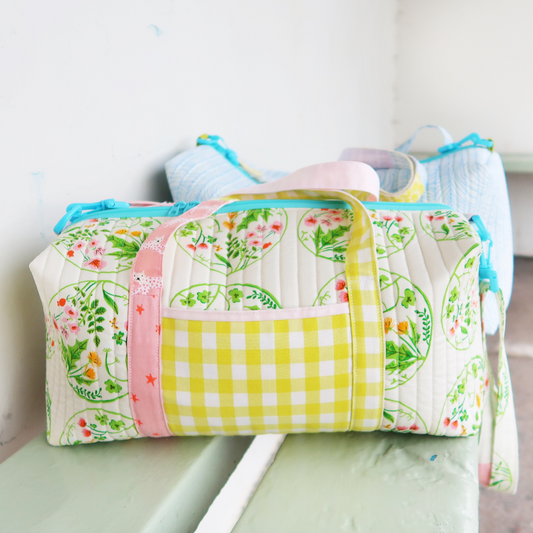
So now you are confident sewing with vinyl.. why not attempt a new technique?! How about the Wee Braw Bag...? It's super easy - if you can sew a straight line, you can make a Wee Braw Bag. And dang, they are seriously addictive as well. Head over to my post on the Wee Braw Bag, there I share all my best tips and tricks with you, my fave materials and lots of inspiration. Are you ready...?

Community...
I love our community and I want to hang out with you! Unfortunately a blog is not necessarily the right place to chat without barriers, share pictures and cheer you on. But I want to hear your questions and I love to see what you come up with.
That's why I set up a Facebook group for you. A group for you and me and all the amazing creators out there who like to join and share their makes using Sweet Cinnamon Roses patterns. It's a private group, with rules in place, so you can feel safe! I make sure of that!
So. What do you think? Fancy hanging out with me?

But of course, you can also find me over on Instagram or Facebook for more inspiration.
And finally I like to take the chance to thank Janome UK for working with me. I love my Janome MC 6700p and I really don't want to miss her anymore... So thanks Team Janome for having me!
Take care and Happy Bag Making.
Love, Laura x
This blog post contains affiliate links, specifically I am a participant in the Amazon Services LLC Associates Program, an affiliate advertising program designed to provide a means for us to earn fees by linking to Amazon.com and affiliated sites. I will never post a link to a product I do not personally recommend. If you click on an affiliate link and then proceed to purchase something from that affiliated website, I receive a small commission. This helps me continue to provide high quality, free content. Please send me an email to laura@sweetcinnamonroses.com if you have any questions.