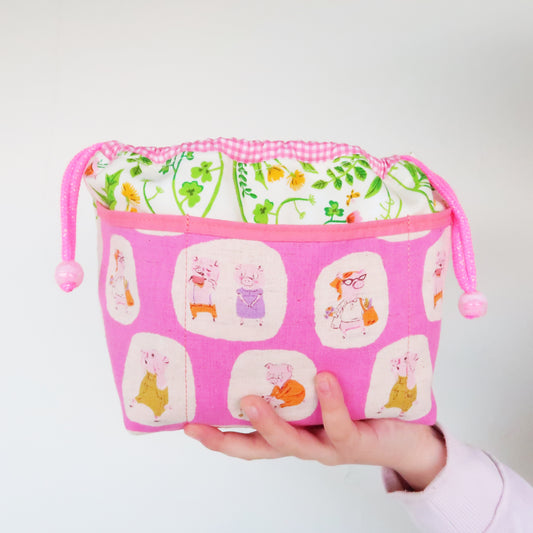
Seriously, if you like bags you will love the new NAMI KNOT, you can't miss it.


Sewing Pattern
Now let's talk about the pattern a little more.
This is what you'll get.
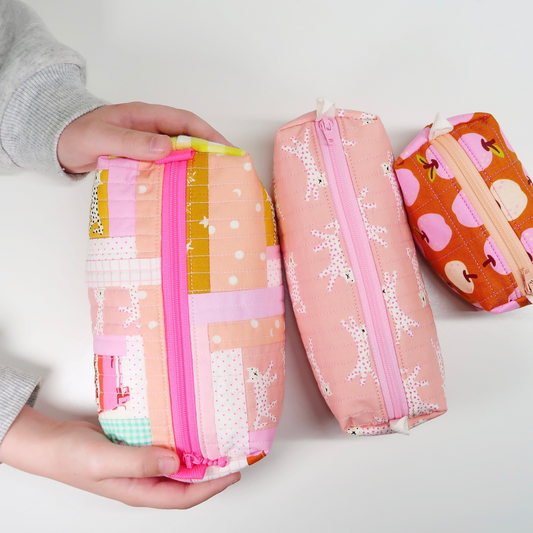
The pattern comes in three sizes and is super beginner friendly. You can make an easy, plain one or use up your fave scraps and make a scrappy, patchwork version. Extra points if you add some cute economy blocks (you can find my free pattern and templates here). My favourite one is the patchwork version...
Finished sizes (all in wxdxh) and the height is the fillable height of your bag, so you can close it as shown in the pictures
- Large: approx. 5.5" x 5" x 3.5" (wxdxh)
- Medium: approx. 4.5 " x 4" x 2.5" (wxdxh)
- Mini: approx. 4.5" x 3" x 2.5" (wxdxh)
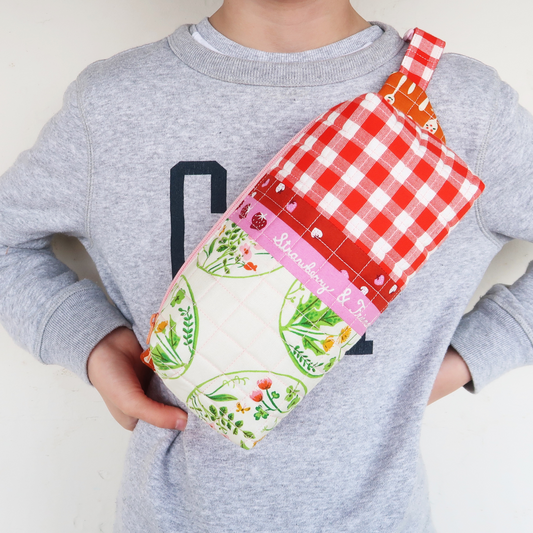
Tip: Fill your bag about half way. Snap it closed and fold over the top. Tie a knot and you’ve created your handle.
So yes, the bag is technically taller but I am intentionally leaving her half empty to style her this way. Using her ears as a handle. Makes sense. Right?


 Video Tutorial
And if you're a fellow visual learner, please see for yourself how easy it is to make your very own bag. It's truly so, so easy.
Watch the video tutorial on how to make your bag right here!

And of course make sure to follow me over on YouTube for more.
Materials for your Bag
Let's talk about materials. Shall we?
As always - you won't need a lot. I made this pattern super easy and accessible. No need to buy crazy fancy supplies, notions or materials.
Next to a copy of the pattern, you will need fabric, thread, left over batting from your last quilt, magnetic snaps (or KAM snaps) and your basic sewing supplies.
And here's the link to my Amazon Storefront where you can find all the quilty notions I love and use, all in one place.
Fabric I like using quilting cotton and here, here and here are a few of my favourites. Whatever you fancy really. If you're using scraps - even better.
Thread Any thread will do. I like a combination of classic Aurifil 50wt for construction and 28wt for all visible seams (top stitching along the edge and machine quilting).
Batting Left over batting from your last quilt will do. I like using this one, but whatever you have at home will do! But again, you can totally substitute it and use whatever you have at home - no need to go shopping for more material.
Basic Sewing Supplies You will need your sewing machine, rotary cutter, cutting mat, ruler, hera marker, pen, binding clips, scissors and maybe a seam ripper (just in case).
And of course. If you're planning to make a patchwork bag, you will need a selection of prints. But I am sure you have plenty of those at home. Go and use those scraps. No need to spend more money.
And finally. If you like to add a couple economy blocks - you can find my free pattern and templates over here.

Ohhh... and before I forget. If you're not a beginner anymore and have tons of fabric (I know you do!!), please go and make a scrappy one. All your fave prints make your bag even more interesting.
And totally use economy blocks. I always get asked what to make with them. And my answers is always - BAGS!!! Make a bunch and piece the panel of your bags using your blocks. I promise - you'll love it.
Click here to get my free templates.

And that's a wrap, my friend. The easiest project bag ever. And probably the cutest one. Now I hope you'll loooove it as much as I do.
Ohh and of course, if you have any questions please don't hesitate to reach out. I am only an email (laura@sweetcinnamonroses.com) away and here to help. Even though I know you can totally do it!!!
As always. I hug your face.
Laura x


------------------------------------------------------------
This blog post contains affiliate links, specifically I am a participant in the Amazon Services LLC Associates Program, an affiliate advertising program designed to provide a means for us to earn fees by linking to Amazon.com and affiliated sites. I will never post a link to a product I do not personally recommend. If you click on an affiliate link and then proceed to purchase something from that affiliated website, I receive a small commission. This helps me continue to provide high quality, free content. Please send me an email to laura@sweetcinnamonroses.com if you have any questions.