

Little zipper pouches... why are they so addictive to make? Every time - like every single time - I want to make just one quick little project next to all the work I should actually be doing (like doing my taxes, working on that long forgotten WIP, write a new pattern, clean the bathroom, the list is endless...). But by that time I am obsessed again! It never is only one. I have to make them in big batches... Do you know what I am talking about?
Is it because they are so quick to make? Or super adorable? Why can't I stop?

Disclosure: Some of the links below are affiliate links, meaning, at no additional cost to you, I may earn a small commission if you click through and make a purchase.
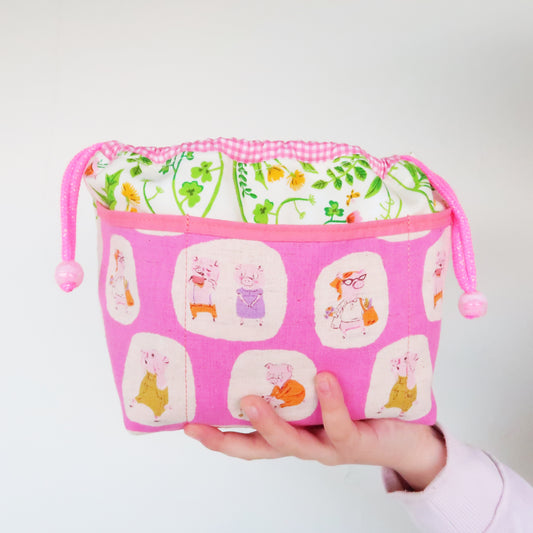
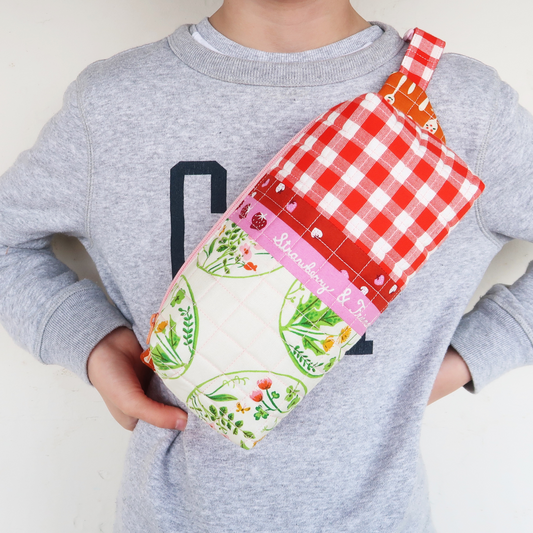
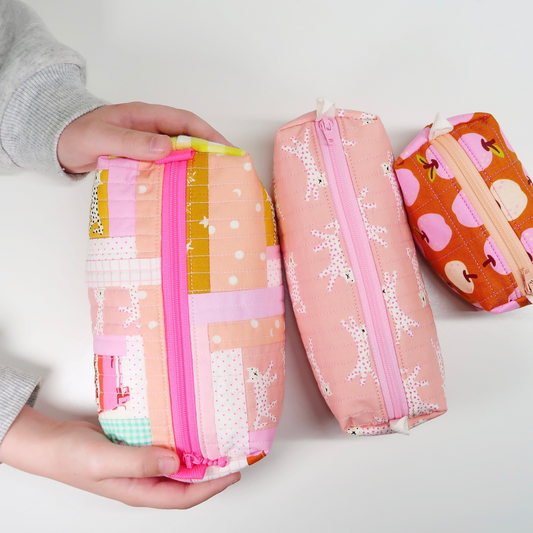
Ok. Let me show you the ones I made this time around. They are so cute and fit right in with the batch I made last time. Ahhh, I couldn't pick a favourite... Maybe the yellow one?!


And here right next to the batch of last time...


Surely now you get me... Don't you also want to pull fabric right now and make them by the dozen? Yeah, I feel you. But before you get started let's talk about the pouch a little more. Ok, shall we get started?
First of all. The Zip Around Pouch pattern is by Bad Banana Patterns and you have to get yourself a copy from her. I will share a couple tips and tricks with you here but you will need a copy of the pattern for dimensions, step-by-step pictures and instructions. Ok. So here we go.

Materials needed
Pattern:
First of all - you'll need the pattern by Bad Banana Patterns! You will have to print it for the template at the end and then you can get started right away.
Zipper:
You will need a 12" zipper - I like to use metal zippers but plastic ones will do as well. The cuter the better. As always.
Fabric:
Of course you will need fabric. I like my pouches to look super scrappy so I use a different print for each element. Preferably a mix of Liberty lawn and Heather Ross fabric - munki munki if I like to treat myself. I start with the main print for the top and bottom and then pick the lining, the zipper strips, zipper stop and finally the binding. Dang, this sometimes takes me forever. Getting the fabric just right for each pouch but it's so worth it in the end.
Interfacing:
As I am using super thin fabric, Liberty lawn as well as munki munki is so delicate, I like to add SF101 to give it a little more structure. Same for the zipper strips and zipper stop, I just don't want the pouch to be floppy in the end. For the circle sandwiches I also add an extra layer of left-over quilt batting next to the SF101 on each side, again to give the pouch a little more structure.
Thread:
And finally thread - I like to use a combination of thread weights. For construction I am using Aurifil 50wt in white and for machine quilting and all visible topstitching I am using Aurifil 28wt in a coordinating colour. It's all about texture, my friends.


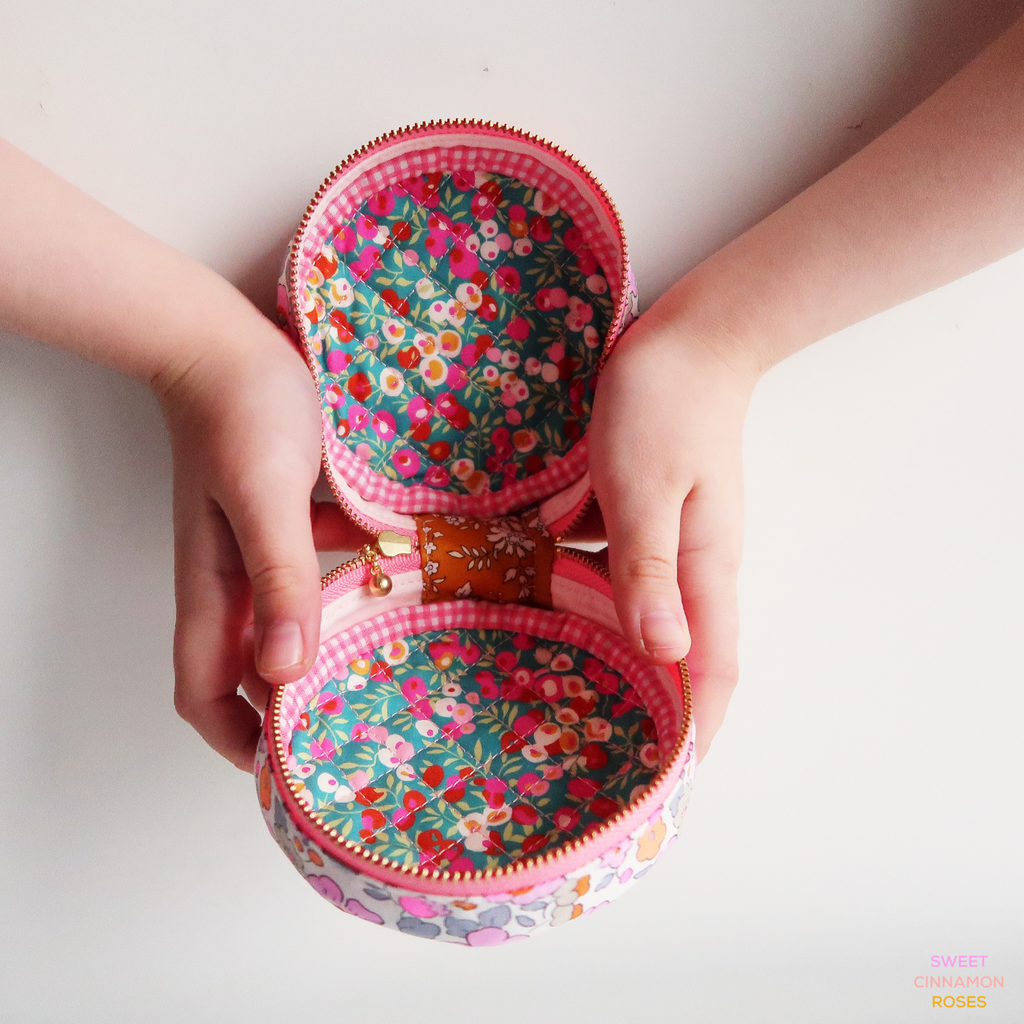
So again. A sandwich of fused munki munki (SF101), left-over quilt batting and fused Liberty lawn (SF101) all machine quilted using Aurifil 28wt. The texture is divine and so worth the extra time...
I am using my Hera marker to create a crease and then trace the quilted lines using my quilting bar, roughly 1/2" apart. I know, I know. It does take a bit of time but it's such a soothing step of the overall process. Probably my fave part.


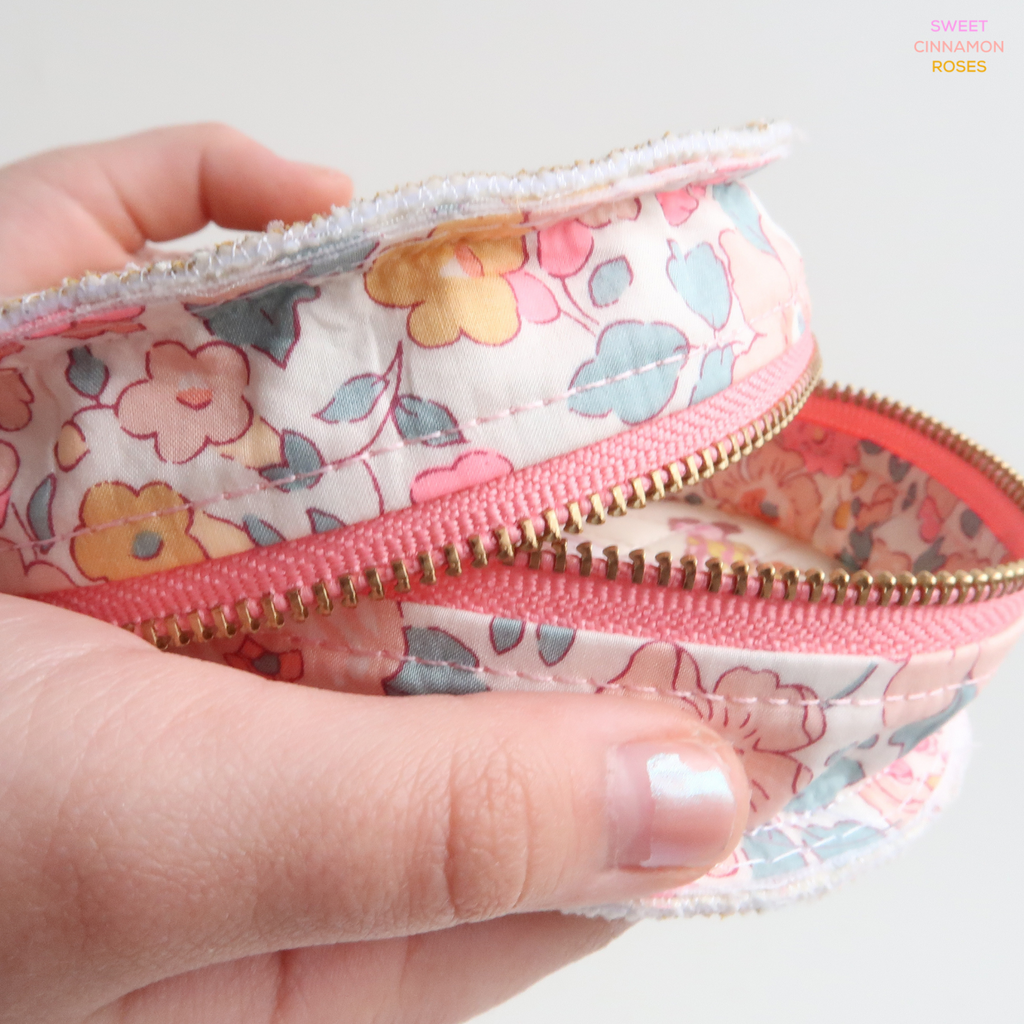
Next up is the zipper. As mentioned above, I like to add interfacing (SF101 by Pellon) to all four pieces of my zipper sandwich. It just gives the pouch a little more structure and stops it from being too floppy.
I also add 1/4" in width to all four zipper strips - so my pouch is a little taller/ deeper than the one in the original pattern. Bonus tip: it's also much easier to wrangle the pouch through the machine later on with the zipper a little wider...
Again. For inserting the zipper I used Aurifil 50wt and then after opening the sides I used 28wt for topstitching along the edges of the zipper. And I increased the stitch length just a little.
Ohh and finally. I like to baste the outside edges of the zipper by machine. A long stitch length using Aurifil 50wt. Those stitches will be hidden later on but I like to make sure everything is in place before I start the final assembly.


Now, cut the circles into shape, prep the zipper end and create the zipper circle. Again. I like to baste the edges of the zipper end in place after the circle is assembled. Just to make sure all stays in place when it comes to the final assembly.
I skip the loop these days. Even though it's super cute - I just prefer it without one just now. But that's absolutely up to you.


And here my friend, I might go a little overboard with clips. BUT dang it, I think you just can't use too many. ALLLLL the CLIPS for me, please!
Make sure that all is neatly in place. If you're using a directional print, make sure to mark the top, bottom and sides of the circles and respective points on your zipper circle. And with all four points neatly lined up, you're ready to go. Hahaha, I thought I done this correctly only to find out my waterfall was upside down... of course I had to re-open the seam. Argh. Happens to the best of us...

And then just go for it! Please don't be intimidated by the curves - go suuuuuper, duuuuuper slow and you can do it. Maybe use the needle down function on your machine to make it even easier.
Once you're happy it's time to attach the binding.

If you're struggling with the length of the binding maybe just cut the strips a little longer and attach the binding as you would do with a quilt. Leave the binding open and join the ends after attaching about 3/4 of the binding. So you can make sure if fits your circle exactly (see below for more detailed pictures on this technique).
Finally. Attach the other side by hand using a small ladder stitch. And you're done!!!!
And if you're anything like me... you can't just make one but have to make them in pairs. At least. Sorry. But you can't say I haven't warned you!!!


And if you still can't have enough - here a couple pictures of me making the last batch. Enjoy!


And that's a wrap, my friends. I love making this pouch and I am sure there will be many more...
But now I better clean that bathroom before getting the kids to bed. Oooopsie.
Take care and Happy Sewing!
Love, Laura x
This blog post contains affiliate links, specifically I am a participant in the Amazon Services LLC Associates Program, an affiliate advertising program designed to provide a means for us to earn fees by linking to Amazon.com and affiliated sites. I will never post a link to a product I do not personally recommend. If you click on an affiliate link and then proceed to purchase something from that affiliated website, I receive a small commission. This helps me continue to provide high quality, free content. Please send me an email to laura@sweetcinnamonroses.com if you have any questions.
3 comments
Do you as any width to the binding pieces too? I’m finding it quite tricky to attach with the width stated to give a neat finish.
So cute! The extra 1/4" you added to each side is smart. Just ordered the pattern from Bad Banana and am headed to my craft room to find cute fabric.
I love these zips, where does one find them, pretty please?