Disclosure: Some of the links below are affiliate links, meaning, at no additional cost to you, I may earn a small commission if you click through and make a purchase.
Welcome to Day 2
Welcome to day 2 of the Quilted Boxy Pouch Sew Along! I am so excited to have you join me, my friend!
But let's get started. Shall we?
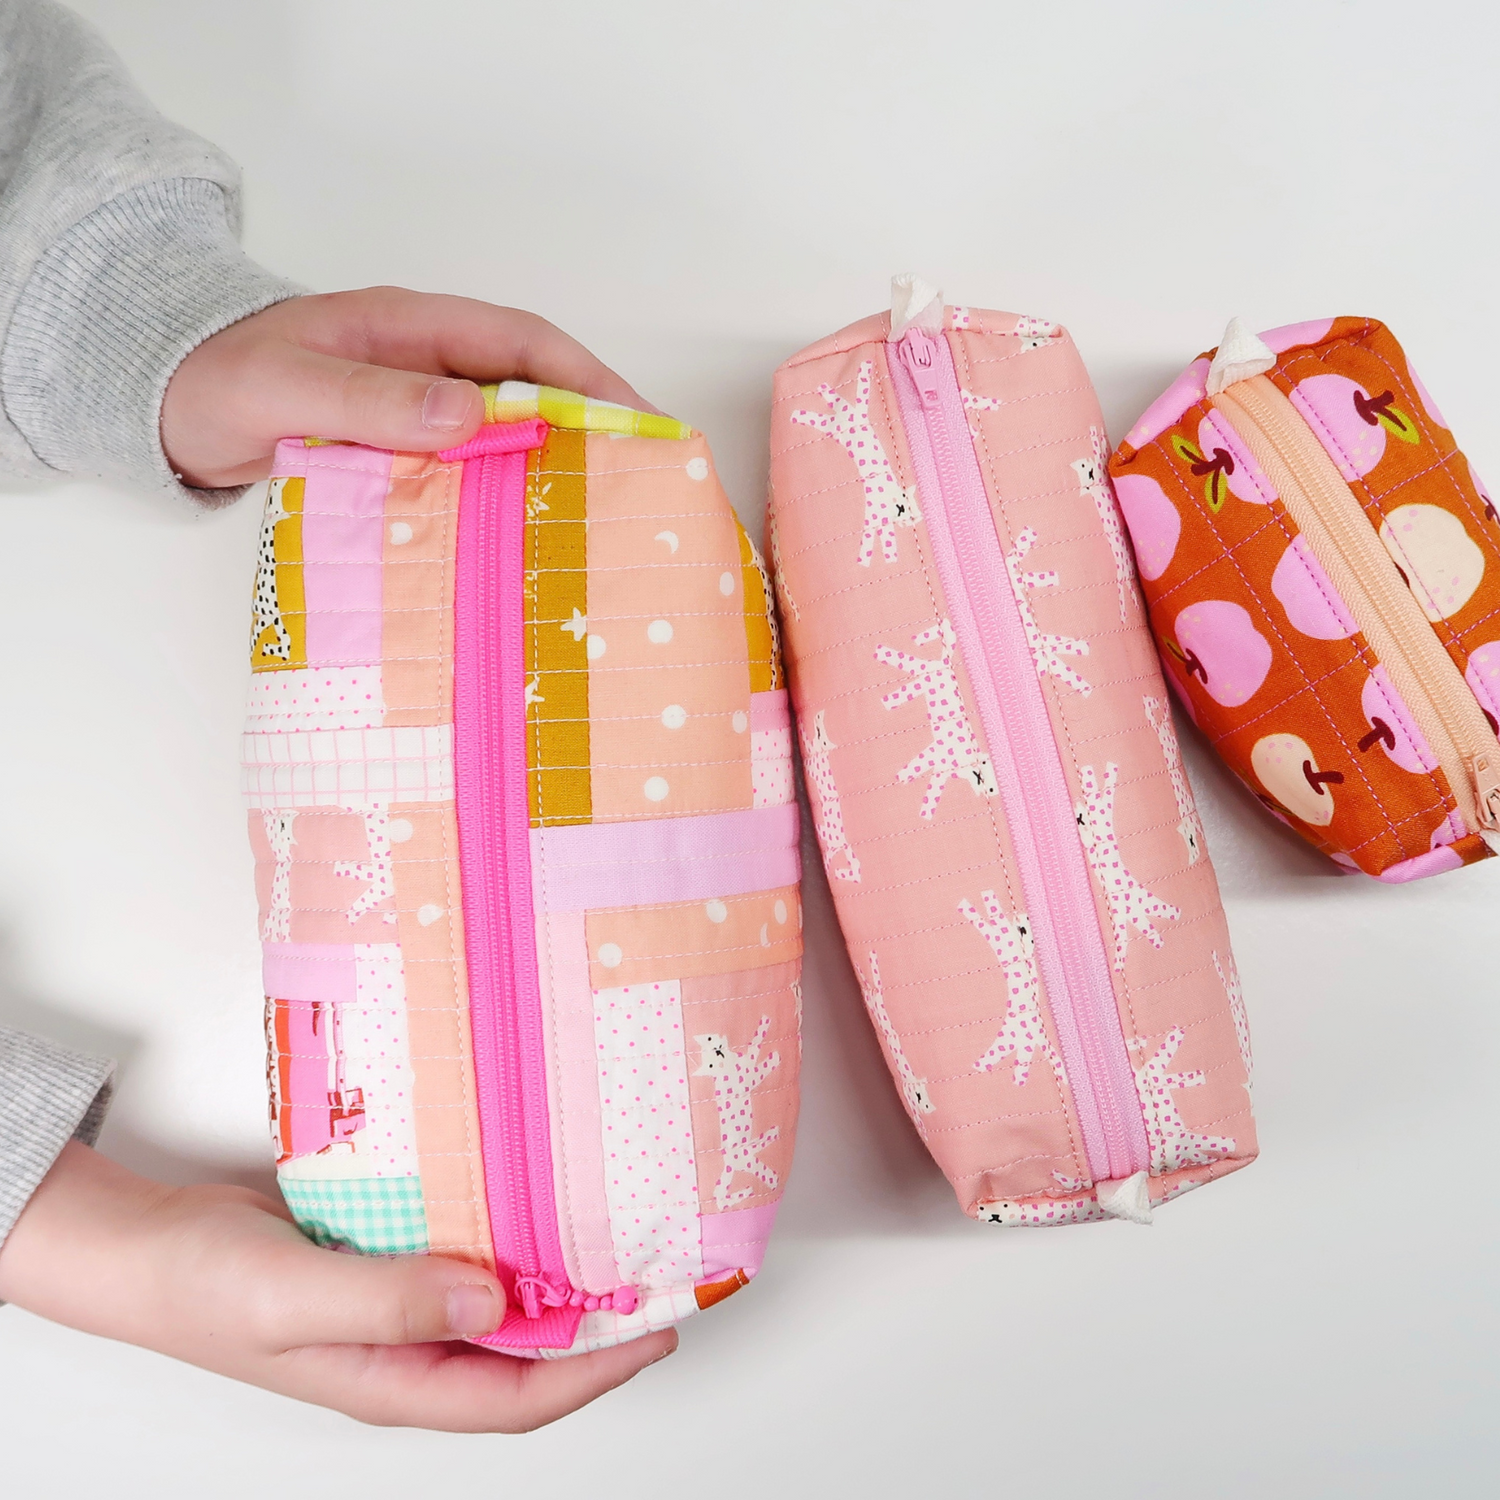
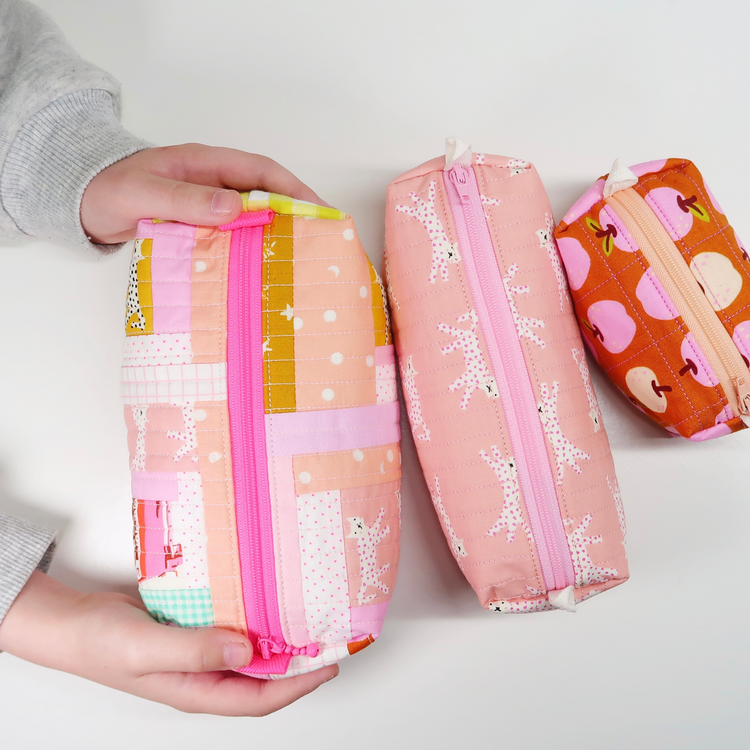
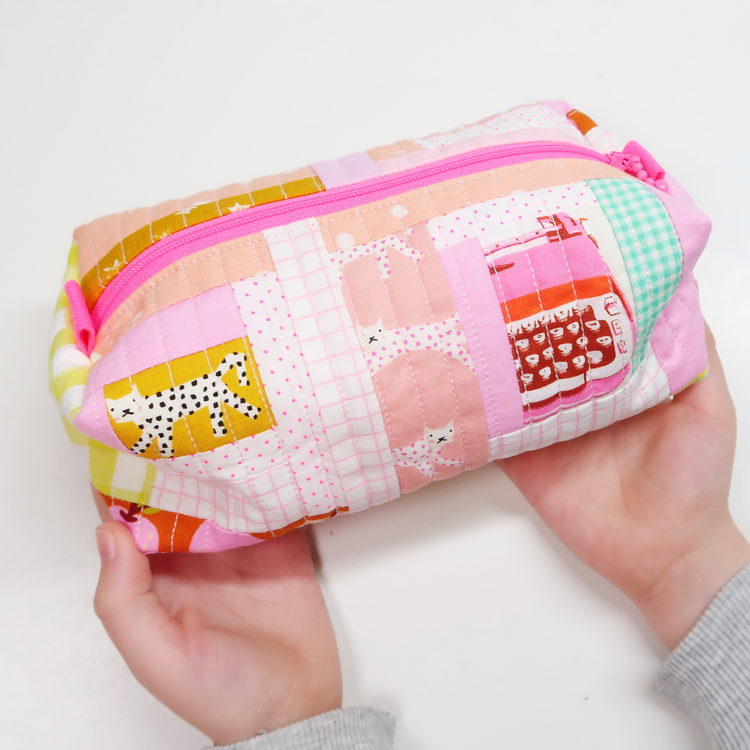
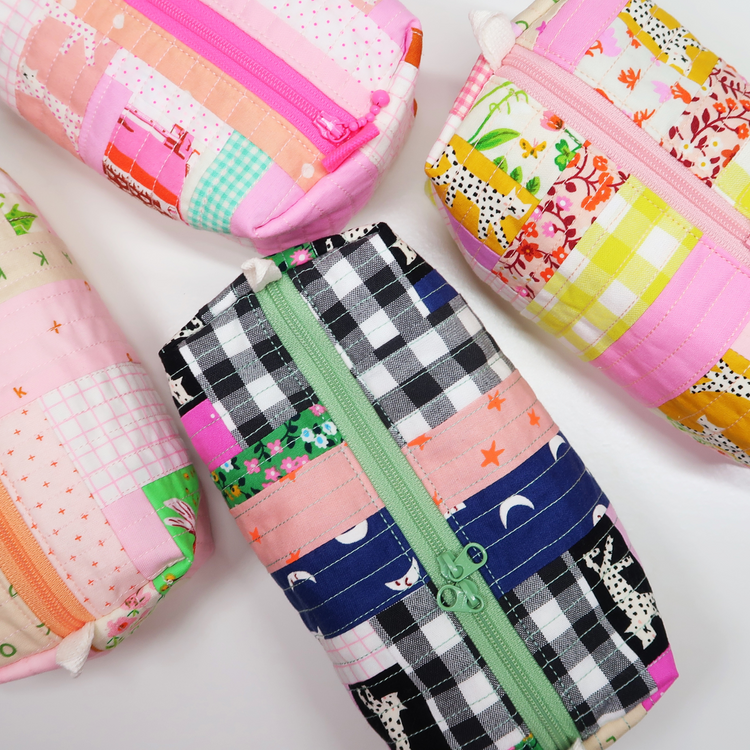
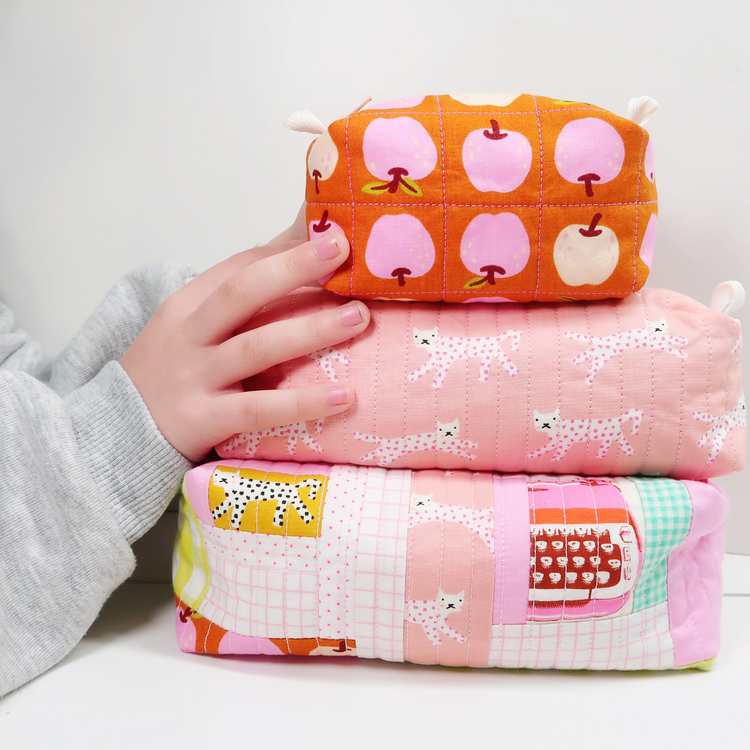
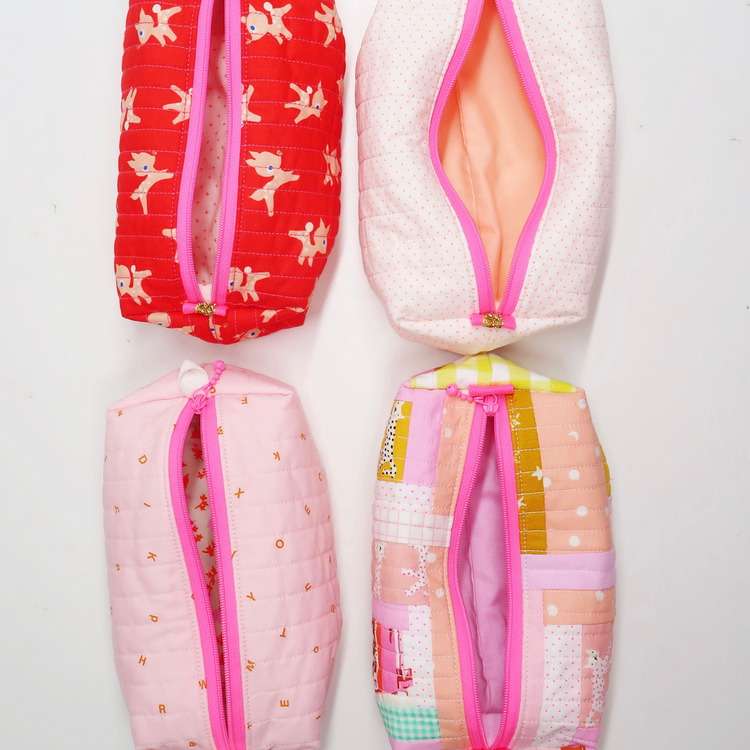
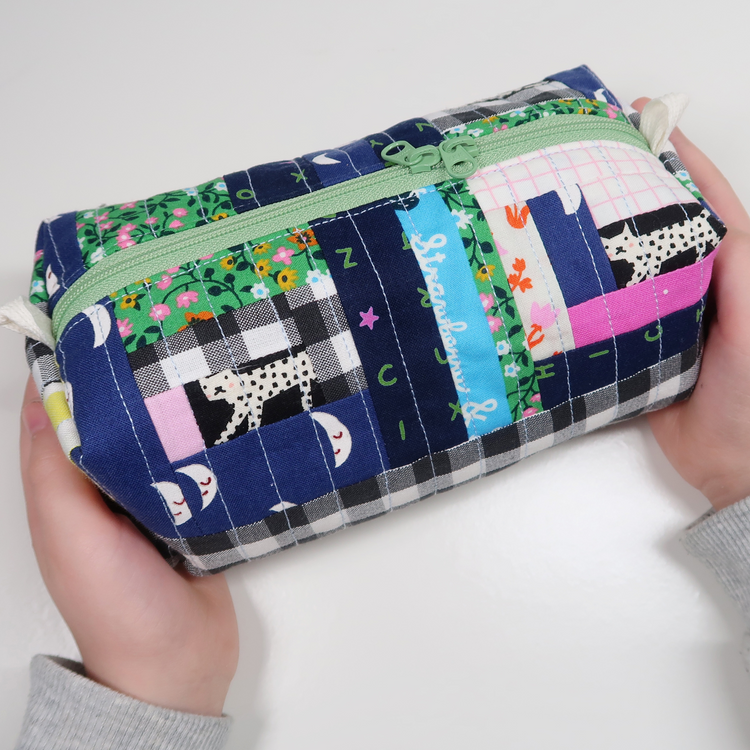
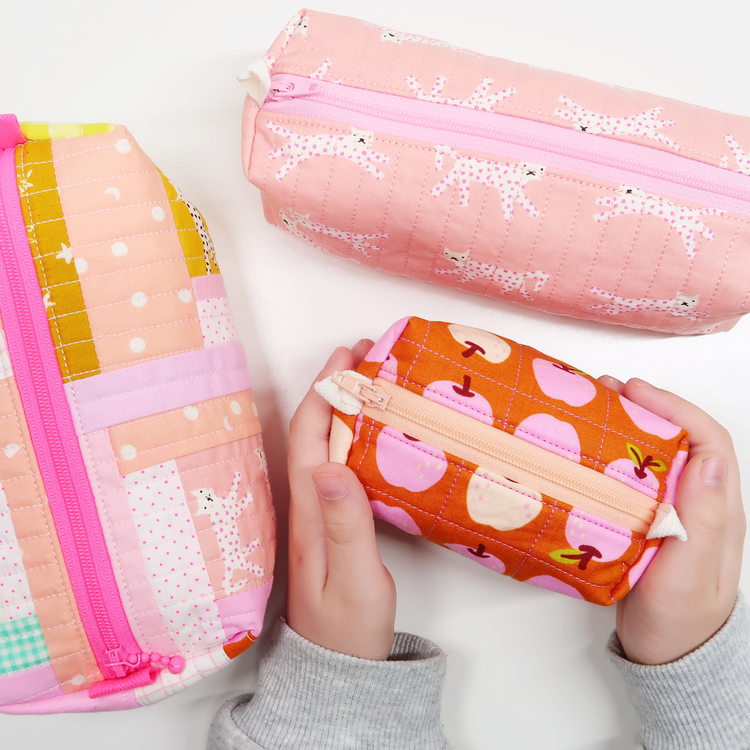
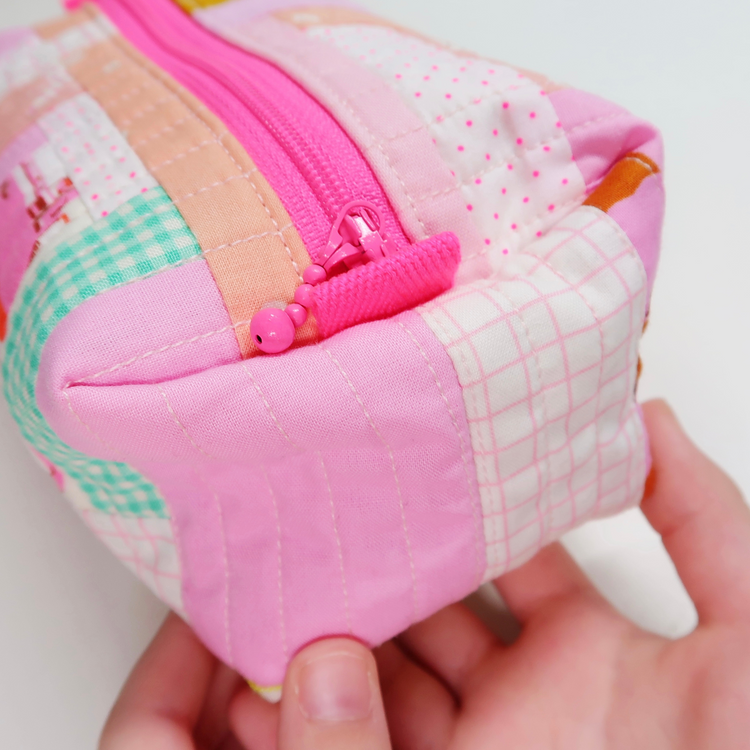
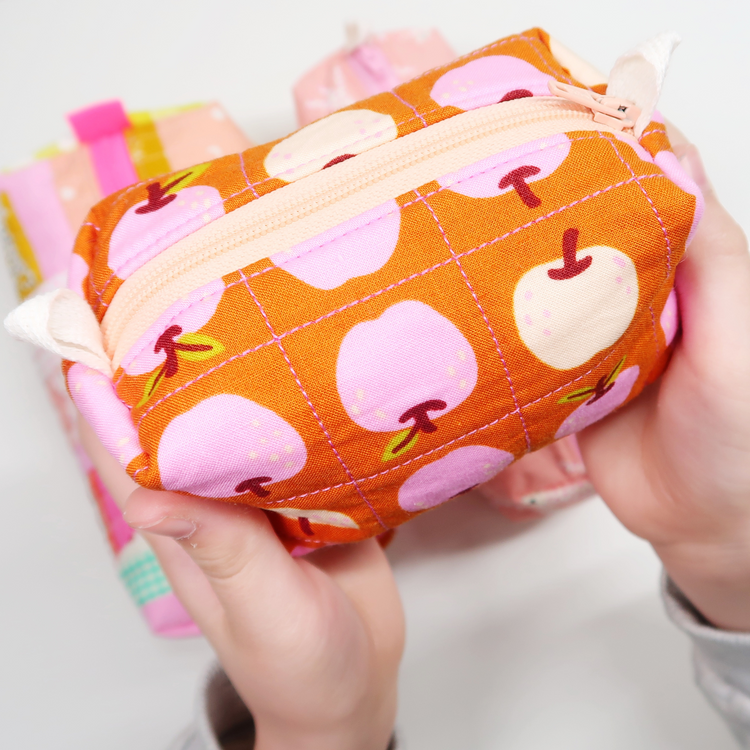
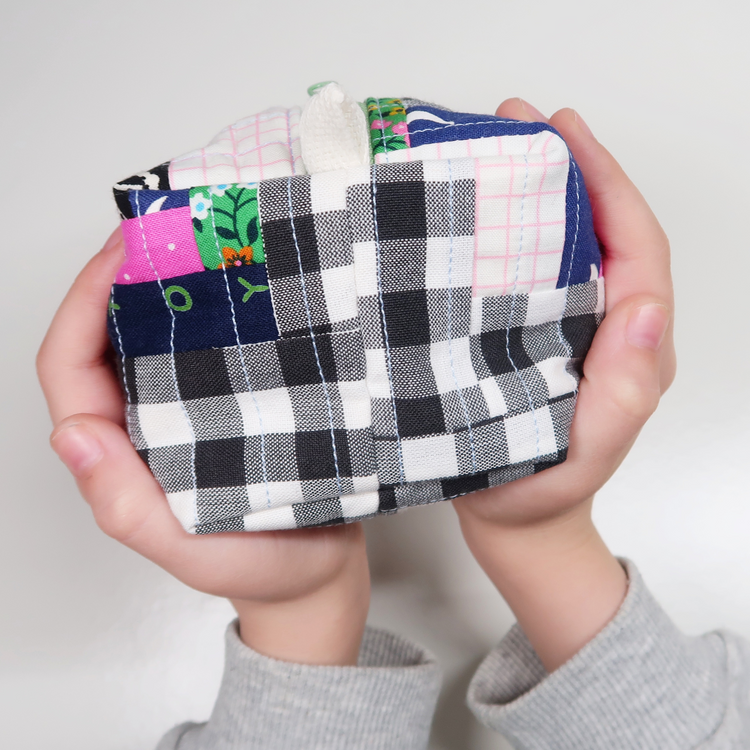
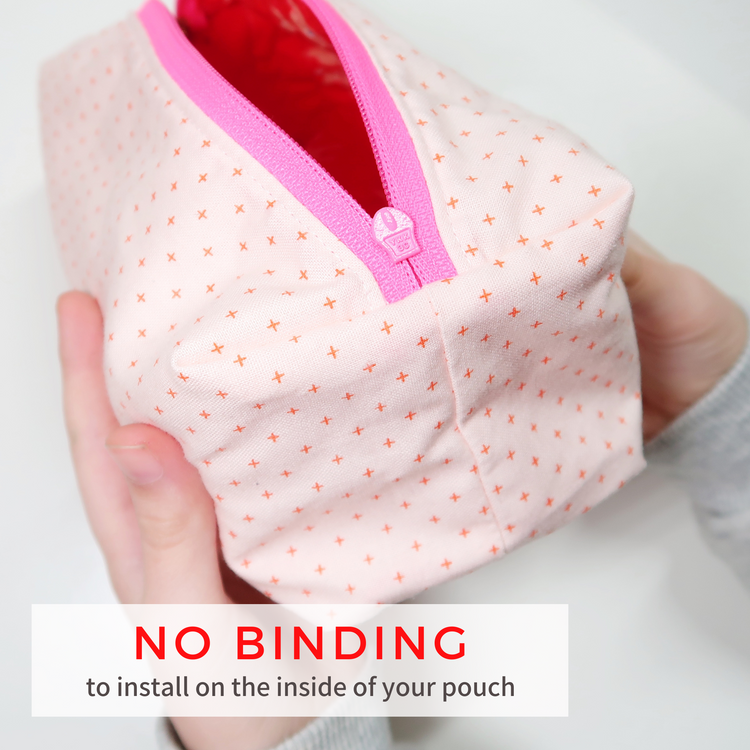
Today we are machine quilting the outside panels of your pouch. Giving the quilted boxy a wonderful texture. This step is probably the most therapeutic of them all.
Schedule
And here again the schedule for the week!
- Day 1 - piece your patchwork panels
- Day 2 - quilting your panels (today)
- Day 3 - insert your zipper
- Day 4 - assemble your bag
- Day 5 - finishing touches
Super quick turnaround. I would say it will take you about an hour a day each day of the Sew Along. Today even less...
If you feel you're falling a little behind. No worries. Don't feel pressured along. Catch up whenever you're ready. You are the one in charge!
Day 2 - Video
And here's the video for Day 2 of the Quilted Boxy Pouch Sew Along. Tab on the image below to play the video!

Today I am sharing how I quilt the panel for my pouch by machine. It's a super meditative process and the texture you achieve is incredible. But please see for yourself...
Materials
Again. You don't have to buy anything! All you'll need is some left over quilt batting and some thread.
But of course... if you're curious about some of the materials I am using, please have a look below for more details.
Batting. I am using left over batting from my last quilt and this is my fave type of batting. But again, use what you have on hand. Any batting will do. It's all about giving your quilted panels so extra texture and a little more structure for your pouch. Fusible fleece or soft and stable would also work nicely!
Thread. I am using Aurifil 28wt for machine quilting. It's a little thicker and creates some wonderful texture in combination the batting. But of course... you can whatever thread you have already.
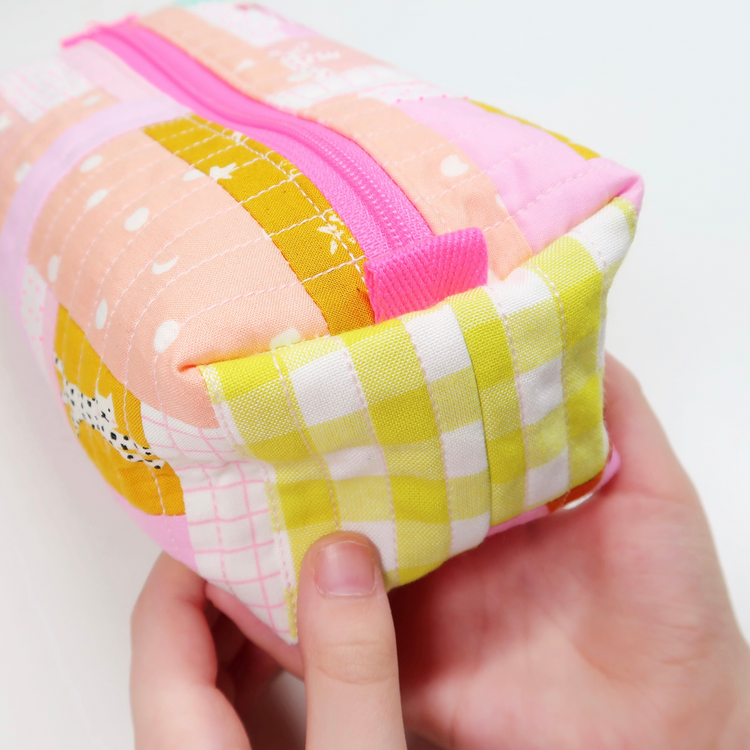
Basic quilty notions. And finally, you'll need your basic quilty notions. Today I am also using a square ruler, marker and scissors to cut out the corners of my pouch. But again... you probably have those already.
Share your progress!
And now the fun bit! Wahoooo! Please share your quilted panels over on Instagram (or Facebook) using the #quiltedboxypouch. I can't wait to see yours... Y-A-Y!

And thats's a wrap for day 2. You done it! Tomorrow we are inserting the zipper. The easiest (trust me) and quickest step of them all!
Take care and big quilty hugs,
Laura x
-----------------------------------------------------------
This blog post contains affiliate links, specifically I am a participant in the Amazon Services LLC Associates Program, an affiliate advertising program designed to provide a means for us to earn fees by linking to Amazon.com and affiliated sites. I will never post a link to a product I do not personally recommend. If you click on an affiliate link and then proceed to purchase something from that affiliated website, I receive a small commission. This helps me continue to provide high quality, free content. Please send me an email to laura@sweetcinnamonroses.com if you have any questions.