Let's talk about zippers.
My favourite topic ever. But that wasn't always the case. I remember when I first started, I stayed far away from them. They had such a bad reputation, I was sure I couldn't handle them. I mean, I was just learning how to sew a straight line...
But boy was I wrong. In fact - it only takes you 4 straight(ish) lines and your zipper is in and professionally topstitched. And the best part, your zipper guides you all the way! Line up your zipper foot with the edge of your zipper and just follow along the edge...
No need to be scared of them. And I am mostly talking to "past-me".
But let's dive in a little more.


Disclosure: Some of the links below are affiliate links, meaning, at no additional cost to you, I may earn a small commission if you click through and make a purchase.
Before we go into detail. Let's be on the same page in regards to our vocabulary. Here are the parts of the zipper for you to remember.
We are looking at plastic (aka nylon) zippers. In my case, I am using #3 nylon zips for pretty much all my zipper bags and pouches. No metal zippers, no invisible zips and no crazy chunky novelty zippers.
Anatomy of your Zipper
Five things to remember. I promise, it totally makes sense if you just look at your zipper. And nobody is coming to test you...
Let's break it right down, so you know exactly what each part does. So later you can go ahead and easily customise your zipper by mix + matching zipper pulls (without any fear!).
Trust me, it's super straight forward. And your bags and zipper pouches will look amazing.

Teeth.
The teeth (aka nylon coils) interlock to open and close your zipper. They are sturdy yet easy to handle. And when making your bag, you can carefully sew over them (especially if you changed your needle for a strong denim one).
You can easily separate your teeth and put them back together. I'll show you how to mix + match zipper pulls further down but you can also mix + match your teeth and tape. Having two coloured tape and teeth!
Tape.
The tape of your zipper is the fabric bit and also the foundation of your zip. The part that you sew into your bag and is mostly hidden on the inside of your bag. Again made of plastic (nylon) and super flexible. You can easily sew on it without worrying about your needle.
Slider and Pull.
The slider is the part that is gliding along your teeth, interlocking and separating your coils. Opening and closing your zipper. And the pull is the little tab you get to hold on to, to glide the slider up and down. They are one unit and you'll see me later taking of the pull (and slider) and switch them out for another colour.
Stop.
The stop is the little metal (or sometimes plastic) piece that stops the slider from coming off. You can find them at the top and bottom of your zipper.
Later on, I'll take the stop off to switch out my zipper pulls. But more about that further down...


Zipper Sizes
Now let's talk about zipper sizes and those numbers you sometimes see. Super easy and nothing to be worried about.
Plastic (nylon) zippers come in different sizes and the # number refers to the width of your teeth (in mm) - when your zipper is closed. Your tape may vary as well, which can affect how your zipper "sits" inside your bag.
- #3 zipper - approx. 3mm coil width, my favourite for all my bags, pouches and even the duffle bag
- #4.5 zipper - approx. 4.5mm coil width, for slightly sturdier bags, sometimes with bigger pulls
- #5 zipper - approx. 5mm coil width, more sturdy for large, heavy duty bags made of leather or canvas
Again. I pretty much exclusively use #3 zippers. No fuss. Super easy to use.


Mix + Match
Now let's talk about the fun part.
Mix + matching your zipper. Making your next bag super fun and even more unique.
Again. I am using a set of standard #3 nylon zippers in two different colours. Changing out the slider and pull for a super customised zipper. I am also using my scissors and an old plastic fork to help me along.
Sorry. I was lying. It's not me but my daughter showing you in 11 quick steps how to customise your zippers. Let's go!

Step 1 - Cut off your bottom stop!
Get two zippers. Same zipper (in size, brand, style) but different colour. Now cut off the bottom stop using a pair of old scissors. Discard the cut off.

Step 2 - Cut off the other bottom stop!
Repeat for your second zipper.

Step 3 - Pulls (and sliders) off!
Take off the slider and pull of both your zippers.

Step 4 - Don't lose anything!
Now you've got 4 pieces of zipper tape in two colours, and two sliders and pulls. Make sure not to loose anything at this point (don't ask why 🤪).

Step 5 - Fork time!
Grab an old fork. This ones works well for me. This might be a little trial and error until you find one, you like. I like this one, as the teeth are pretty close together yet a little flexible.

Step 6 - Slider onto fork!
Push your slider (and pull) onto your fork with... 👇🏻

Step 7 - It should look like this!
... the skinnier bit of your slider at the bottom. This is important.

Step 8 - First tape!
Get your tape (in the other colour!) and carefully re-thread it through the little tunnel in your slider. Only a couple teeth though but enough to have sit safely inside your slider.

Step 9 - Second tape!
Now get your second tape and carefully wiggle it through the tunnel of your slider on the other side. Make sure not to "free" your first take accidentally. Once both tapes are in... 👇🏻

Step 10 - Fork push!
...hold on to the tape with one hand and use the other to push your slider (and pull) up all the way onto your zipper. This can be a little wiggly and you might need a couple attempts, but you'll get there. Once you've done it - its super easy!

Step 11 - Tadahhhhh!
And that's no more boring zippers! You've just made a brand new, super exciting new zipper for your next bag. Ohh... and don't forget to use the other pieces of tape and zipper pull to make a matching zipper, the opposite colour way.
And from here on, you just insert your zipper as usual. Just make sure you don't accidentally take off your slider and pull, as you've removed the stop!
And here a quick picture. All in one. Take a screenshot to remember it for your next bag!

Double Pull Zips
And now, one trick you might like.
Did you ever see these cool zippers with two sliders? Where you open the zipper kind of both ways? And now guess what... you can make them yourself. Yep! You can easily just add a second slider to your zipper above, creating a brand new double pull zip.
And it could just look like this 👀

Zipper Projects you'll love ❤️
Finally. Let's have a look into projects where you can use your new, custom zipper. Not only making a cute bag or zipper pouch, but letting your new zipper skills shine!
Remember, zippers are our friends. Nothing to fear.
Here a couple of my faves:
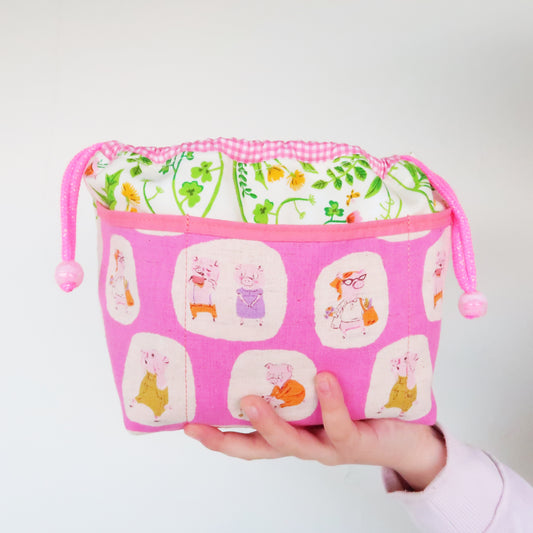
- Chubby Coin Purse - super quick, and the zipper neatly sits on top!
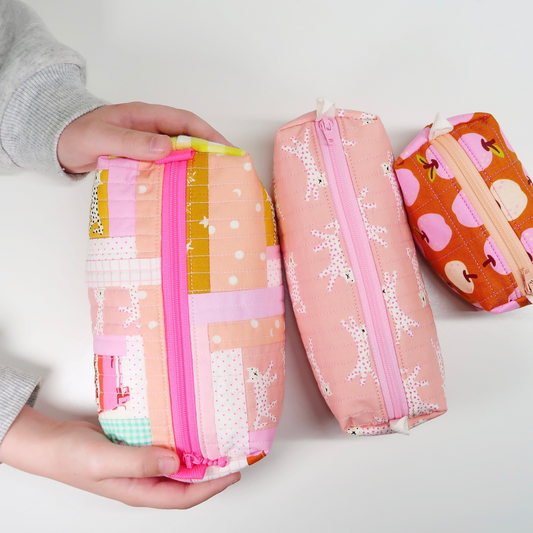
- Quilted Boxy Pouch - my go-to project, and so versatile
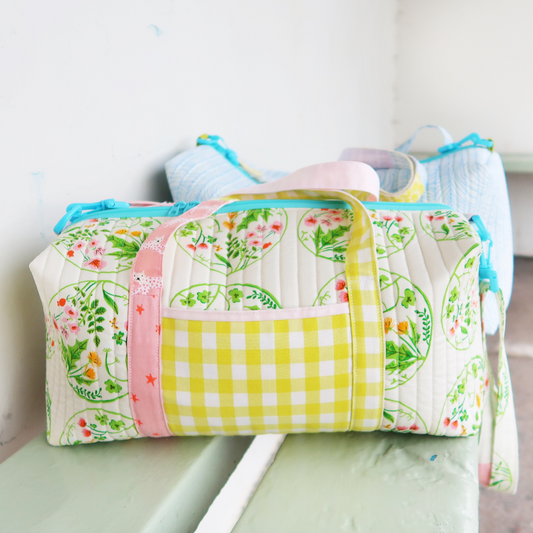
- Easy Duffle Bag - pretty much a large boxy pouch and bestseller by a mile!
- The Sunday Ruffle - mix + match zipper pulls and zipper tabs!!
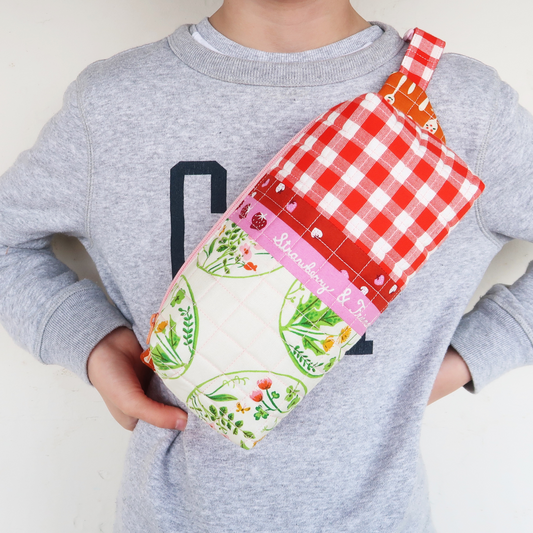
- Quilted Bum Bag - super handy cross body bag, such a fan!
You can find all patterns in my shop. And if you're in Europe, please have a look at my Etsy Store to get all my patterns.


Where to get them?
I get all the time where I get my zippers. And we're not gatekeeing! So here we go. A couple of my favourite places.
- Etsy: you can get these super cute, round pull ones here. Quick turnaround even though they come from China and they're super affordable.
- Etsy: again, not the round pull ones but large batches in all the colours (again super affordable)
- Petit Pan: they have the BEST neon zippers, a little harder to source but so good
- Rose Garden Patchwork: cute, round pull zips in cute colours

And that's a wrap, my friend. Thanks so much for reading if you made it this far. I truly appreciate you being here.
Big quilty, mix and match zipper hugs.
Laura x


------------------------------------------------------------
This blog post contains affiliate links, specifically I am a participant in the Amazon Services LLC Associates Program, an affiliate advertising program designed to provide a means for us to earn fees by linking to Amazon.com and affiliated sites. I will never post a link to a product I do not personally recommend. If you click on an affiliate link and then proceed to purchase something from that affiliated website, I receive a small commission. This helps me continue to provide high quality, free content. Please send me an email to laura@sweetcinnamonroses.com if you have any questions.