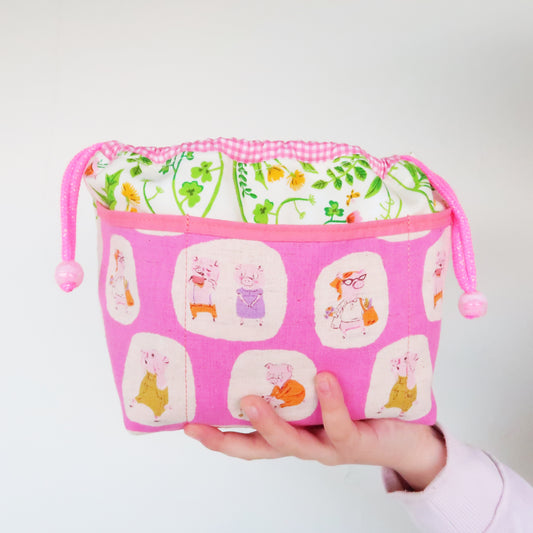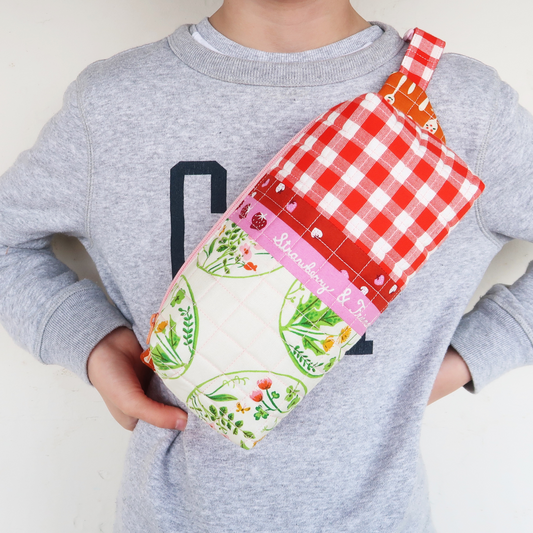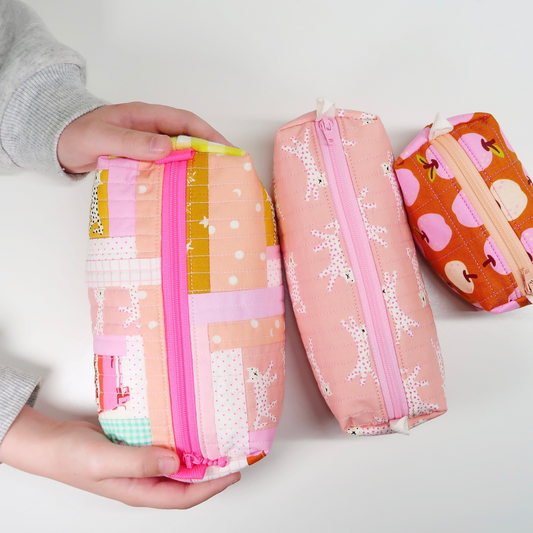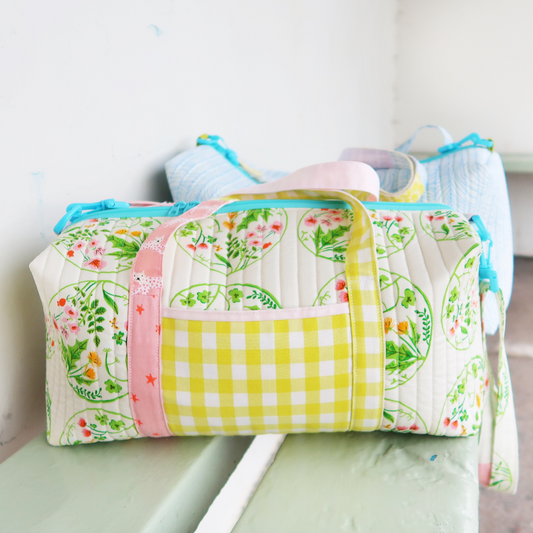
Little bags and pouches... are my all time favourite thing to make. The cuter the better. Obviously. And I have a couple fave patterns. My go-to patterns if you like.
Next to the Zip Around Pouch (probably the cutest zipper pouch there is), I love making clasps purses. They are almost round, super adorable and the perfect gift for a fellow maker. Don't you agree?
But let me tell you a little more about this one...


Disclosure: Some of the links below are affiliate links, meaning, at no additional cost to you, I may earn a small commission if you click through and make a purchase.
A few years ago a friend shared the pattern for a very similar purse with me (she literally sent me a hand-drafted template) - which was so kind and thoughtful. And I made quite a few of them... Ohhh I was so in love with those cute little purses. And I got asked all the time where I got the pattern from.
But unfortunately she never sold the pattern anywhere. So I was no help and I couldn't send you in the right direction... Anywhere.


Now fast forward a couple years... another friend of mine decided to draft and sell her very own version of the kiss clasp purse. Y-A-Y!
Maggie published her Betsy Purse a while ago and what can I say. It's equally adorable as the first ones I was making!
Her Betsy Purse comes in three sizes (!!) and her instructions are amazing. They are super quick to assemble and finishing them is so satisfying. Please don't be scared by the frames... it's seriously so easy. In fact it's rather soothing to install the frames at the very end (a bit like finishing the binding of a quilt by hand).
And this is what you'll need:
First of all - you'll need a copy of Maggie's pattern. Make sure you have a printer for the templates at the end of the pattern.
- metal clasp (three sizes)
- fabric - the cuter the better obviously
- interfacing (fusible fleece or leftover quilt batting will do as well)
- thread (I use 50 wt for construction and 12wt for installing the clasp)
- friction pen or fabric marker (optional)
- and of course a copy of the pattern
But let's talk about the materials a little more. Shall we?
Metal clasp:
You can find the clasps in different styles and designs. And for Maggie's purse you can use 2", 3" and 3.5" frames. Maybe start with the larger one before you try yourself at the slightly more fiddly one.
And of course - the frames come in all kind of cute designs. I really like the ones with the big colourful plastic balls, the candy colour frames but of course, you can also find more elegant frames.
Fabric:
You will need fabric. Like I've said... the cuter the better! For this one I used West Hill by Heather Ross as the main print, Liberty Tana lawn for the sides and Ruby and Bee solids for the lining. Previously I made a couple using some super rare munki munki and neon Betsy - showcasing the most beautiful and rare prints (bc you actually don't need that much fabric).
So go all out and use your most treasured prints. This purse is the perfect project to let your fabric shine!
Interfacing:
Maggie is suggesting to use fusible fleece which is super handy and easy to use. If you're anything like me though and constantly run out of interfacing - you can totally use your leftover batting as well. Just see if that works for you.
Thread:
For construction you'll need strong thread like Aurifil 50wt. This is for piecing all your panels and the final assembly. In the end you then have to baste the frame onto your purse and again - I used Aurifil 50wt for that. Big stitches holding the frame in place.
And finally you have to stitch the frame into place - those stitches are visible later on! So you want them to be pretty. Here I used Aurifil 28wt in a matching shade.
Friction pen or fabric marker:
Totally optional but as always it's handy to have either a friction pen or similar marking tool on hand. I only used mine to mark the centre of the purse before basting it onto the frame - this step is a little fiddly and marking the centre helps to check if everything is in place.
Pattern:
And finally. You'll need a copy of the pattern. You will have to print it for the template at the end and then you can get started right away.


And that's a wrap, my friend. I love making this purse and I am sure there will be many more...
Ohhh... and of course. If you did enjoy making this one - you will most likely looooove the Zip Around Pouch as well. Have a look over on my blog for all the details, fave materials and a mini tutorial on all the tweaks I made.
Take care and Happy Sewing!
Love, Laura x
This blog post contains affiliate links, specifically I am a participant in the Amazon Services LLC Associates Program, an affiliate advertising program designed to provide a means for us to earn fees by linking to Amazon.com and affiliated sites. I will never post a link to a product I do not personally recommend. If you click on an affiliate link and then proceed to purchase something from that affiliated website, I receive a small commission. This helps me continue to provide high quality, free content. Please send me an email to laura@sweetcinnamonroses.com if you have any questions.


1 comment
So, so sweet! Beautiful write-up, and the fabric and clasp are perfect. 🙌🏻
I love your blog, Laura. 💞
Maggie