Let's get creative and make this spooky season a handmade one!
Me and my family, we love Halloween and so it's a no-brainer for us to go all in. Making last-minute treat bags and handmade zipper pouches every single year.
But let's get started. Shall we?

Disclosure: Some of the links below are affiliate links, meaning, at no additional cost to you, I may earn a small commission if you click through and make a purchase.
It might be last minute - but isn't it always? Whipping up some quick trick or treat bags literally on the day... but this is how we creatives roll. Right?
Ohhh and here the best reason ever to go handmade this year: reduce some of the incredible amounts of plastic and wrapper. Plastic trick or treat buckets and single use bags! Now I got your attention... Right, my friend?
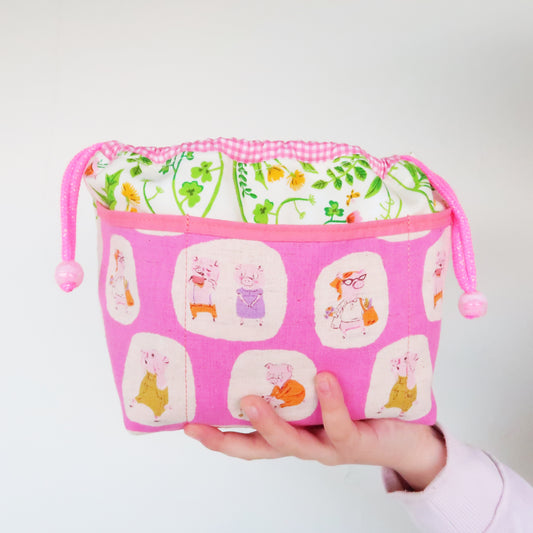
Let's start with the cutest of all bags - the MINI. Based on the original Wee Braw Bag - the MINI is a free spin-off pattern that you can get over here on my Sewing Blog. Just give me your details and I'll send your free copy right away.
Sewing Course
But of course - if you like to actually sew with me. Why not join my on-demand Sewing Course: Project Bag?! It's created in a way that you can make your very first item within one afternoon/ sitting. Binge watch the videos first or sew right alongside me.
Five easy to digest modules cover the basics of bag making before personalising your project bag in the bonus sections.
Level: beginner friendly!
But let's talk about what you'll need:
- grab some of your cute Halloween prints you like to feature (scraps will do)
- solids or basics for casing and lining
- cotton twill, bias tape, parachute cord or some sort of cute string
- cord ends (optional)
- thread for construction and coordinating thread for topstitching (optional)
And of course - make sure to get your free copy of the MINI Wee Braw Bag over here. And that's it, my friend. Y-A-Y!
And of course - one of my absolutely favourite makes ever!
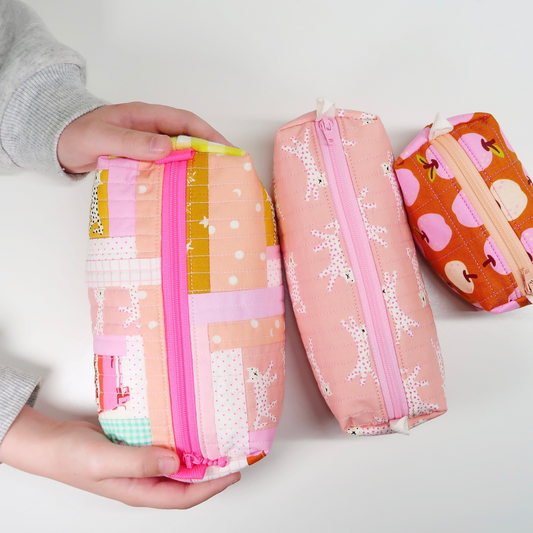
The Glitta Pouch. Pretty much the perfect Halloween project as you can go all in. Using Glitter or even little spooky trinkets you might have at home already. And dang... they are so much fun. Not just for kids. Just saying!
And this is what you'll need to make your spooky Glitta Pouch:
- some Halloween prints (again, scraps are fine)
- solids or a basic for the lining
- some plastics zippers (I like to buy them in bulk - getting them for a fab price)
- see through vinyl that's nice and pliable
- thread for construction and coordinating thread for topstitching (optional)
- and of course... glitter (the bigger the glitter pieces, the better they float through your pouch)
And finally you will need a copy of the Glitta Pouch Sewing Pattern. You can find it in my shop amongst all my other patterns. But this is a true fave, my friend.
The pattern comes in three sizes, is super scrap friendly and suitable for beginners. Trust me - sewing with vinyl and inserting zippers doesn't have to be tricky. I will show you how... almost as if I am sitting right next to you.
If you fancy finding out more about the Glitta, read about all my tips and tricks or like seeing more samples - please head over to my blog post solely dedicated to the Glitta Pouch.
And that's a wrap, my friend.
I hope you have enough time to whip up some last minute treat bags this Halloween. Hahaha... I know what I'll be doing the night before!
Take care and happy Bag Making!
Laura x
This blog post contains affiliate links, specifically I am a participant in the Amazon Services LLC Associates Program, an affiliate advertising program designed to provide a means for us to earn fees by linking to Amazon.com and affiliated sites. I will never post a link to a product I do not personally recommend. If you click on an affiliate link and then proceed to purchase something from that affiliated website, I receive a small commission. This helps me continue to provide high quality, free content. Please send me an email to laura@sweetcinnamonroses.com if you have any questions.


