Disclosure: Some of the links below are affiliate links, meaning, at no additional cost to you, I may earn a small commission if you click through and make a purchase.
Video Tutorial
And if you're a fellow visual learner, please see for yourself how easy they are to make. In this step by step video tutorial I share every single bit you have to know.
No gatekeeping. As always.
Please watch the full video tutorial for The Sunday Ruffle here.
And of course make sure to follow me over on YouTube for more.
Sewing Pattern
Now let's talk about the pattern a little more.
This is what you'll get.
The pattern comes in two sizes and is suitable for (confident) beginners. It's a bit of a skill builder but more on that later.
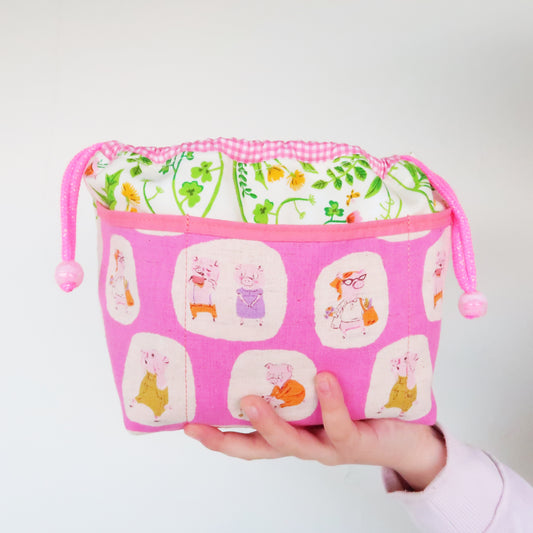
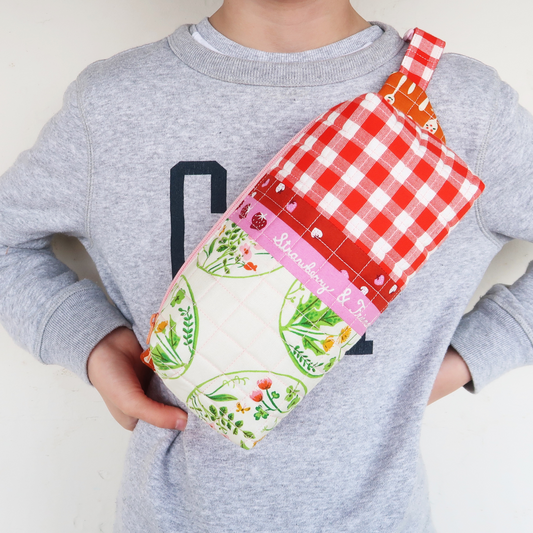
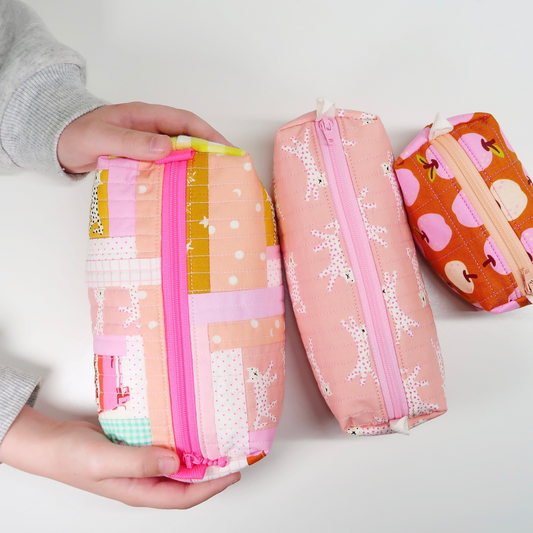
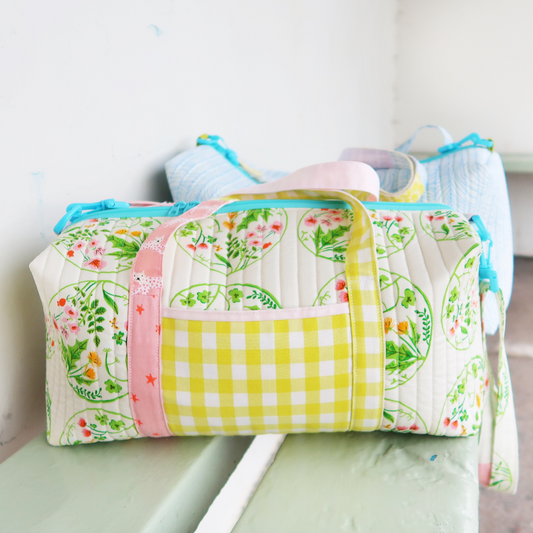
You can make an easy, plain one or use up your fave scraps and make a scrappy, patchwork version. Extra points if you add some cute economy blocks (you can find my free pattern and templates here). My favourite one is the patchwork version...
Finished sizes not including the ruffles (all in wxh):
- The Sunday Ruffle: approx. 7" x 5" (wxh)
- Mini Ruffle: approx. 4.5" x 3.5" (wxh)
You get to make the cute ruffle bags in two sizes but you can easily hack the pattern. Adjust the size of your quilted bag, add bigger or smaller ruffles, piece the patchwork panel, add or skip handles and so much more.
The step by step sewing pattern comes with a ton of pictures, tables, instructions and links to helpful video tutorials. I promise you, it's like I am sitting right next to you. Again, this project is made for beginners in mind. Showing you that zippers don't have to be hard.
Now. The best bit. The Zipper Tabs. In fact, they are fussy cut tabs and so fun to make. They do make the pattern a little more tricky (hence the "confident") but they are definitely doable.
Materials for your Bag
Let's talk about materials. Shall we?
As always - you won't need a lot. I made this pattern super easy and accessible. No need to buy crazy fancy supplies, notions or materials.
Next to a copy of the pattern, you will need fabric, thread, left over batting from your last quilt, SF101 interfacing, ribbon, a zipper and your basic sewing supplies.
Fabric I like using quilting cotton and here, here and here are a few of my favourites. Whatever you fancy really.
Thread Any thread will do. I like a combination of classic Aurifil 50wt for construction and 28wt for all visible seams (top stitching along the edge and machine quilting).
Batting/ Interfacing Left over batting from your last quilt will do. I like using this one, but whatever you have at home will do! And then you'll need a little bit of SF101 fusible interfacing for the handle, giving it a little more structure. Saying that - I skip the handle all together for the Mini Ruffle.
Ribbon I like to use cute ribbon for the bag. Optional but I think it's a cute little detail I don't want to miss.
Zipper. And then you will need a zipper (8" or longer for The Sunday Ruffle, and 5" or longer for the Mini Ruffle). I like to buy 10" zipper in bulk and just use them for everything. Or these cute ones with the round zipper pull.
Basic Sewing Supplies You will need your sewing machine, rotary cutter, cutting mat, ruler, hera marker, pen, binding clips, scissors and maybe a seam ripper (just in case).
And of course. If you're planning to make a patchwork bag, you will need a selection of prints. But I am sure you have plenty of those at home. Everything you probably have laying around already. No need to spend more money.
And finally. If you like to add a couple economy blocks - you can find my free pattern and templates over here.

Ohhh... and before I forget. Bonus points for mix and matching your zippers. Switching around your zipper pulls is not only fun but oh so cute. Making your little bag even more unique.
You can find the blog post and full video tutorial for it over here. Trust me - you don't want to miss this.

Bag Making Skills
Finally, let's talk about skills.
The pattern is for (confident) beginners. Confident only as you have to tackle a few bag making skills. Nothing tricky or hard - but maybe new things you never tried before.
I show you in detail how to:
- add ruffles (in different width)
- piece + quilt your bag
- install a zipper
- add zipper tabs
- and how to create fussy cut tabs!
The bag is fully lined with no binding or raw edges on the inside. The final assembly is super easy, really. And of course - you'll get to watch the sewing tutorial while making your bag. Ideal for visual learners.
And that's a wrap, my friend. The the cutest pattern ever and I hope you'll love it as much as I do.
Ohh and of course, if you have any questions please don't hesitate to reach out. I am only an email (laura@sweetcinnamonroses.com) away and here to help. Even though I know you can totally do it!!!
As always. I hug your face.
Laura x

------------------------------------------------------------
This blog post contains affiliate links, specifically I am a participant in the Amazon Services LLC Associates Program, an affiliate advertising program designed to provide a means for us to earn fees by linking to Amazon.com and affiliated sites. I will never post a link to a product I do not personally recommend. If you click on an affiliate link and then proceed to purchase something from that affiliated website, I receive a small commission. This helps me continue to provide high quality, free content. Please send me an email to laura@sweetcinnamonroses.com if you have any questions.


